


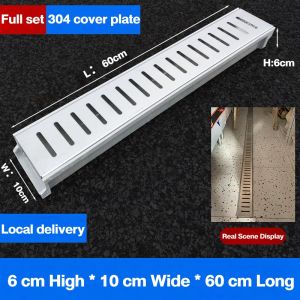
U-Groove Resin Drain Gutter - Snap-On Stainless Cover 20yr Lifespan for Outdoor Yard
🏗️ The Complete Drainage Solution – Strong, Clean, Long-LastingStainless Steel Cover + Resin Concrete Drainage Channel | U-Shape Linear Drain | Corrosion-Resistant | High Load Capacity | Complete System🔥 One-stop drainage solution – channel + cover, ready to install! 🔥💧 Why Choose Our Complete Drainage System?Poor drainage leads to flooding, standing water, slippery surfaces, and property damage. This integrated drainage system combines the best of both materials:✅ Premium Resin Concrete Channel – Lightweight yet incredibly strong, smooth interior for fast flow ✅ Stainless Steel Cover – Rust-proof, elegant finish, perfect for visible installations ✅ Complete System – Channel + matching stainless steel cover – no hunting for compatible parts✅ Corrosion & Chemical Resistant – Withstands acids, alkalis, salts, and petroleum products ✅ High Load Capacity – Available in A15, B125, C250, D400 grades for pedestrian to heavy vehicle traffic ✅ Smooth Interior Surface – Prevents debris buildup, self-cleaning effect, easy maintenance ✅ Modular Design – Sections connect easily for continuous runs✅ UV & Weather Resistant – Built for harsh Philippine sun and rain🏗️ Perfect Applications✅ Commercial Kitchens & Restaurants – Grease-resistant, easy to clean ✅ Swimming Pools & Water Features – Non-slip covers, chemical-resistant ✅ Food Processing Plants – Hygienic, smooth surfaces, no bacterial growth ✅ Industrial Facilities – Handles chemicals, oils, heavy loads✅ Parking Garages & Driveways – Vehicle-rated options available✅ Shopping Malls & Plazas – Aesthetic stainless steel complements modern design✅ Hotels & Resorts – Beautiful finish for guest-facing areas✅ Municipal Projects – Parks, sidewalks, public squares✅ Gas Stations & Car Washes – Fuel-resistant, easy to flush✅ Residential Landscaping – Gardens, patios, pool surrounds🛠️ Installation Guide – 6 Simple StepsProper installation ensures maximum performance and longevity :Step 1: ExcavationDig trench to required depth, allowing space for concrete base on sides and bottom Step 2: Pour Base ConcreteCreate a stable foundation with proper slope (1:100 minimum) toward outlet Step 3: Lay ChannelsStart from the outlet end and work backward. Apply sealant between joints for watertight connection Step 4: Install CoversPlace stainless steel covers immediately to prevent concrete from entering channels during side-pouring Step 5: Pour Side ConcretePour concrete on both sides up to ground level. Ensure channels remain straight and level Step 6: Final Clean & FinishRemove covers, clean out any debris, replace covers securely. Finished surface should be 3-5mm higher than surrounding pavement for proper drainage 👷 Professional installation recommended for load-bearing applications🚚 Shipping & Delivery (Philippines)Stock Location: Manila / Bulacan warehouseProcessing Time: Ships within 2–3 business daysDelivery: 3–7 days Metro Manila, 5–10 days provincial (via LBC, 2GO, Lalamove)

Pro Auto Luminaires
You May Also Like
304 Stainless Steel Flat Washer JIS Standard Large Size Metal Washers M1.6 to M36 for Hardware Tools and Equipment

15ft x 30ft maruyama s400
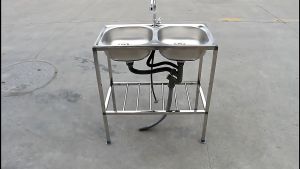
DOKIO Stainless Kitchen Sink With Faucet Stand Shelf Portable Double Basin Sink Single Tank With Support Shelf

btnx 0–2000 W/m² RS485 output interface - total solar radiation sensor Z4K2H
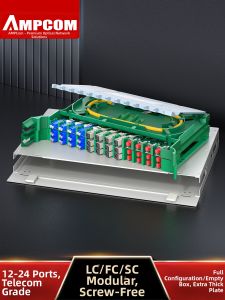
Integrated Fully Populated Single/Multi-mode Fiber Optic Splice Tray
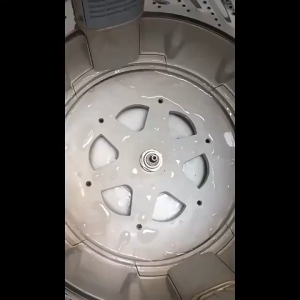
Universal 36/38mm Washing Machine Clutch Wrench Tool
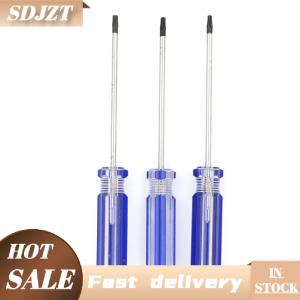
SDJZT new T8 T9 T10 Tamper Proof Screwdriver Security Torx Driver Disassembly For XBOX PS3
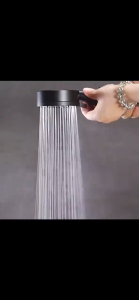
High Pressure Shower Head 4 In 1 Shower Set With Faucet Shower Set For Bathroom 5 Modes Adjustable
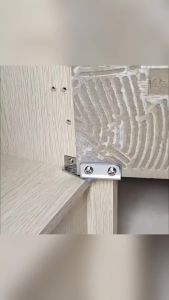
Nexlent Non-perforated Glass Door Hinge Wine Display Cabinet Hinge Mounted Hinge Set

2pcs Sliding Door Window Pulley Stainless Steel Window Pulley Weight Bearing Roller For Window Or Door
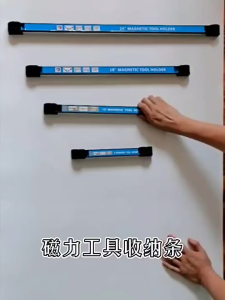
Heavy-Duty Tool Magnetic Shelf Knife Storage Strip Magnetic Tool Holder 18/24inch Carring Weight 12KG for Hanging Tool Bag