YAMAHA MIO i125 FULL DECALS / STICKER FOR MOTORCYCLE PARTS AND ACCESSORIES
YAMAHA MIO i125 FULL DECALS / STICKER FOR MOTORCYCLE PARTS AND ACCESSORIES
Understanding YAMAHA MIO i125 Decals
What Are Full Motorcycle Decals?
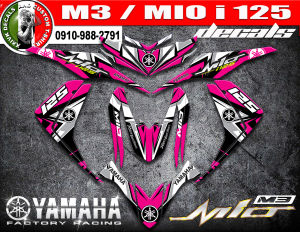
Full motorcycle decals are custom graphics that cover large portions of a motorcycle's surface, enhancing its appearance and adding a personal touch. These decals can include various designs, patterns, and logos that can be applied to different parts of the motorcycle, such as the tank, fenders, and fairings.
Choosing the Right Yamaha Mio i125 Decals
When selecting the perfect decals for your Yamaha Mio i125, consider the overall look you want to achieve. Some popular options include vibrant colors, sleek designs, and eye-catching graphics. Additionally, ensure that the decals are made from high-quality materials to withstand the elements and maintain their appearance over time.
Custom Motorcycle Graphics: A Brief Overview
Custom motorcycle graphics offer endless possibilities for personalizing your ride. From subtle designs to bold statements, these graphics can transform your Yamaha Mio i125 into a one-of-a-kind masterpiece. Moreover, custom graphics can be designed specifically for your motorcycle, ensuring a perfect fit and seamless integration.
Installing Yamaha Mio i125 Decals
Tools Needed for Installation
To successfully install your Yamaha Mio i125 decals, gather the following tools:
- Decal application tape
- Isopropyl alcohol (IPA)
- Microfiber cloths
- Squeegee or credit card
- Scissors
How to Install Motorcycle Parts Stickers
Follow these steps to install your Yamaha Mio i125 decals:
- Clean the surface thoroughly using IPA and microfiber cloths.
- Apply decal application tape to the decal and carefully cut around the design.
- Peel off the backing paper and position the decal on the desired area.
- Smooth out any bubbles or wrinkles using a squeegee or credit card.
- Remove the decal application tape and trim any excess material.
Tips for Perfectly Applying Your Decals
For optimal results, follow these tips when installing your Yamaha Mio i125 decals:
- Work in a dust-free environment to avoid dirt and debris from getting trapped under the decal.
- Ensure the surface is completely dry before applying the decal.
- Take your time and work slowly to avoid mistakes.
Enhancing Your Motorcycle's Appearance
Exploring Yamaha Mio i125 Accessories
In addition to decals, Yamaha Mio i125 accessories can further enhance your motorcycle's appearance. Some popular options include chrome parts, LED lights, and custom seats. These accessories can complement your decal design and add a touch of personal style to your ride.
Creating a Unique Look with Custom Graphics
Custom graphics allow you to create a unique look that reflects your personality and style. Whether you prefer bold designs or subtle touches, custom graphics can transform your Yamaha Mio i125 into a one-of-a-kind masterpiece. Moreover, custom graphics can be designed specifically for your motorcycle, ensuring a perfect fit and seamless integration.
Showcasing Your Motorcycle with Decals
Decals are an excellent way to showcase your Yamaha Mio i125 and make it stand out from the crowd. By choosing the right decals, you can add a personal touch to your ride and express your individuality. Additionally, decals can protect your motorcycle's surface from scratches and damage, making them a practical choice as well.

Azel's Decal Store
Review

You May Also Like
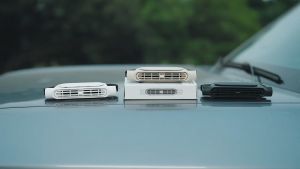
Air Cooling Fan 3 Speeds Adjustable Car Seat Cooling Fan USB Powered Rear Seat Ventilator for Front Rear Seat Passenger

Universal Phone Car Mount with Super Suction & Magnet | Portable Foldable Holder for Jeepney Grab Car Off-Road | Upgraded Anti-Slip Design
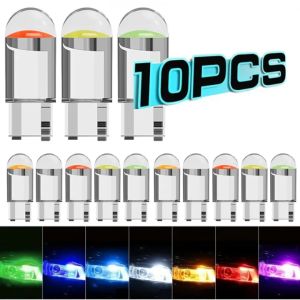
10Pcs T10 LED Crystal Bulb Car COB Signal Integrated Light 7 Colors Wedge License Plate Light Dome Indicator Light Reading Light Plate License Lamp 12V
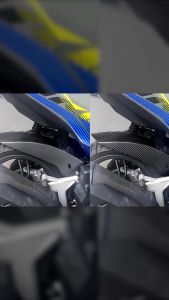
BunMo Rear Tire Hugger Honda Click 125i v3/v2/v1 Carbon White Hugger Motorcycle Accessories Mud Guard
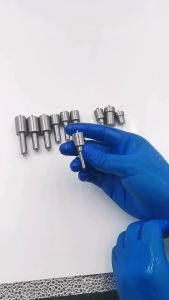
DLLA144P1050 Doctor Common Rail Injector High-Quality Brand New Stable Durable Suitable 0445120013
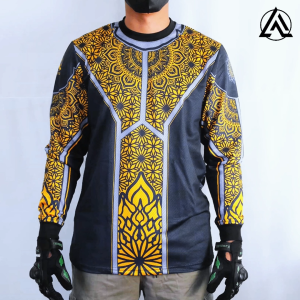
Adriatico Clothing MANDALA Moto Jersey | FDF
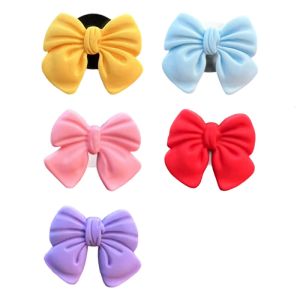
Elegant Bows Car Air Vent Clips With Fragrances Diffuser Plastic Vent Decorations Vehicle Interior Accessories for Women
Car Mounted Phone Holder Excavator Interior Anti-Vibration Shockproof Special Fixing Bracket Truck Navigation Large Suction Cup Support Frame

600W Solar Car Power Inverter DC 12V to AC 220V Modified Sine Wave 50Hz High-Power 4 USB Port 1 AC with Safety Fuse
COBRA DIGITAL VIDEO RECORDER 9.66 VIEW MIRROR 4K FRONT + REAR 1080 + WIFI HARD WIRE 6M WIRE WITH REAR CAMERA WITHOUT SD CARD BLACK

2 Pcs 5Inch 72W LED Work Light Waterproof Car LED Work Lamp For Driving Fog Lamp Offroad Truck SUV JEEP Foglight