


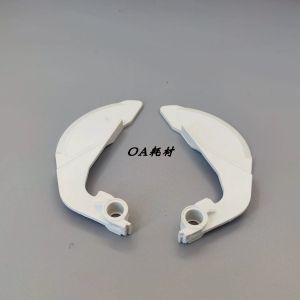
Ricoh MP1350, MP1356, MP1357, MP1100, MP9000, MP1106, MP1107 Pager Cardboard
Ricoh MP1350, MP1356, MP1357, MP1100, MP9000, MP1106, MP1107 Pager Cardboard
Introduction to Ricoh MP Series Pager Cardboard
Ricoh MP series printers, including the MP1350, MP1356, MP1357, MP1100, MP9000, MP1106, and MP1107 models, come equipped with a pager cardboard feature that enables efficient paper handling. This article provides a comprehensive guide on installing, troubleshooting, and optimizing the pager cardboard feature for these printer models.
What is Ricoh MP1350 Pager Cardboard?
The Ricoh MP1350 pager cardboard is a specialized paper tray designed to store and feed paper efficiently. It supports various paper sizes and weights, ensuring seamless printing experiences.
What is Ricoh MP1356 Pager Cardboard?
Similar to the MP1350, the Ricoh MP1356 pager cardboard is a paper tray tailored for the MP1356 printer model. It offers enhanced paper handling capabilities, making it ideal for high-volume printing environments.
What is Ricoh MP1357 Pager Cardboard?
The Ricoh MP1357 pager cardboard is another paper tray designed specifically for the MP1357 printer model. It shares many similarities with the MP1350 and MP1356 pager cardboards, providing reliable paper handling solutions.
How to Install Ricoh MP Series Pager Cardboard
Installing the pager cardboard on your Ricoh MP series printer is a straightforward process. Follow these steps to install the pager cardboard for the MP1350, MP1356, and MP1357 printer models.
Installing Ricoh MP1350 Pager Cardboard
- Power off the printer and unplug it from the power source.
- Open the front cover of the printer and locate the pager cardboard tray.
- Slide the tray out and insert the desired paper size and weight.
- Close the front cover and reconnect the power source.
Installing Ricoh MP1356 Pager Cardboard
- Turn off the printer and disconnect it from the power source.
- Lift the top cover of the printer and access the pager cardboard tray.
- Insert the appropriate paper size and weight into the tray.
- Close the top cover and reconnect the power source.
Installing Ricoh MP1357 Pager Cardboard
- Turn off the printer and disconnect it from the power source.
- Open the front cover of the printer and locate the pager cardboard tray.
- Insert the desired paper size and weight into the tray.
- Close the front cover and reconnect the power source.
How to Troubleshoot Ricoh MP Series Pager Cardboard
If you encounter any issues with the pager cardboard on your Ricoh MP series printer, refer to the troubleshooting steps below for the MP1350, MP1356, and MP1357 printer models.
Troubleshooting Ricoh MP1350 Pager Cardboard
- Check if the paper size and weight are correctly inserted into the tray.
- Verify that the paper tray is properly closed and aligned.
- Ensure that the printer firmware is up-to-date.
Troubleshooting Ricoh MP1356 Pager Cardboard
- Confirm that the paper size and weight are appropriate for the tray.
- Check if the paper tray is correctly closed and aligned.
- Update the printer firmware if necessary.
Troubleshooting Ricoh MP1357 Pager Cardboard
- Inspect the paper size and weight to ensure they are suitable for the tray.
- Confirm that the paper tray is properly closed and aligned.
- Update the printer firmware if needed.
How to Optimize Ricoh MP Series Pager Cardboard Performance
To maximize the efficiency of your Ricoh MP series printer's pager cardboard feature, follow these optimization tips for the MP1350, MP1356, and MP1357 printer models.
Optimizing Ricoh MP1350 Pager Cardboard Performance
- Regularly clean the paper tray to prevent paper jams.
- Align the paper edges properly before inserting them into the tray.
- Keep the printer firmware up-to-date for optimal performance.
Optimizing Ricoh MP1356 Pager Cardboard Performance
- Clean the paper tray periodically to avoid paper jams.
- Ensure proper paper alignment before inserting them into the tray.
- Update the printer firmware regularly for improved performance.
Optimizing Ricoh MP1357 Pager Cardboard Performance
- Clean the paper tray regularly to prevent paper jams.
- Align the paper edges correctly before inserting them into the tray.
- Keep the printer firmware updated for optimal performance.

TAO Study & Work
Review

You May Also Like
Ink Pad Epson L3150/L3210/L5190/L5290/L1110/L3110 Waste Sponge Tank Mini Printer
250g 1Kg 3D Printer Filament PLA Yellow white pink Purple 1.75mm wire Vacuum Packaging For 3D Printing Fliament pla white250gx4
![[COD] folp Waste Ink Collector Box For Epson L1250 L3110 L3158 L3160 L3210 L3250 L1110 Printer Maintenance Box Waste Ink Pad Sponge](https://img.lazcdn.com/g/p/c1d2552f377a086ff551d98b7ec68cec.jpg_300x300q80.jpg)
[COD] folp Waste Ink Collector Box For Epson L1250 L3110 L3158 L3160 L3210 L3250 L1110 Printer Maintenance Box Waste Ink Pad Sponge
Brother DCP-T820dw Ink Tank w/ Original Ink Printer with Scanner and Xerox Long Legal ADF Continuous Ink CISS 220gsm Duplex Printing Automatic 2-sided Borderless | Brother Official Flagship Store Partner Dealer | Print Scan Copy T820 T820DW
Waste Ink Collector Maintenance Box
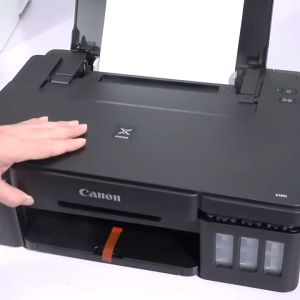
How to Replace Canon Pixma G1400-G4400 Printer Heads
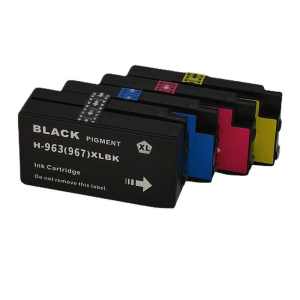
For HP 963 963XL Combo Ink Cartridge for OfficeJet Pro 9010 9010e 9012 9012e 9014 9014e 9020 9025 9022
PrinTEE - Photosensitive Stamp Ink 50ML Blue/ Black/ Red (selling per piece)

INKSCRIBED CRG-045 CRG045 Canon 045 Compatible Toner Cartridge imageclass MF635CX MF633CDW MF631CN LBP613CDW LBP611CN
0.2/0.4/0.6/0.8mm Hardened Steel Nozzle Assembly Hotend Extruder Nozzle Replacement for H2D 3D Printer Hotend Accessories

Bisofice Film & Slide Scanner: A Comprehensive Guide