


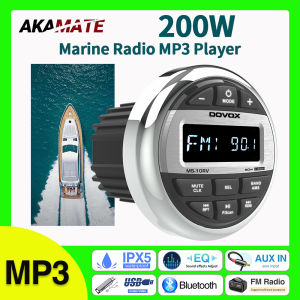
For RV Radio MP3 Media Player Boat Radio Stereo EQ Bluetooth Audio Radio FM AM Receiver Fit for Yacht ATV UTV SPA RZR
FunctionThis stereo has no CD player. Instead it has an AM/FM radio and RCA Aux audio inputs on the rear which can be used to play the audio from iPods.It also will play your digital MP3 files when you connect your MP3 player or Flash drive to the rear USB port . The unit also supports Bluetooth for wireless music streaming from your iPhone / Android or similar Bluetooth device. Line out is also provided for connectivity to a external amplifier.Specifications:Uses USB, RCA, AM/FM Bluetooth Audio SourcesImpedance:4-OhmsTuner Section FM Stereo Frequency Area US, Europe 18FM 12AM PresetsBluetooth:long distance music StreamingRMS power output: 4x50WPower supply:DC 12VWaterproof level:IPX5Lossless Music ExperienceEasily find your musical styie with 200W high-power amplifier stylesubwoofer audip autput, and custom EO settings.IPX5 Waterproof & Widely ApplicationThe radio is equipped with IPX5 waterproof design & newest weatherproofing techniques. You can use it for Boats,Yacht,Gauge, ATV, UTV, SUV, RV, Golf, SPA FOW Rooms,Swimming Pools, BAND Campers,RZR,Harvesters, AMS Truck and more.Waterproof ProtectionIntegrated injection molding of 2 RCA interfaces to better protect the wire and improve the service life of the interface save installation space, and make the wiring and connection cleaner.Wireless Bluetooth Music StreamingThis boat stereo can connect Bluetooth and play audio streaming from external devices. ID3 tag song readout and power off memory is supported.Support Multiple Entertainment ModesEquipped with FM AM radio with 30 station memory, USB 2.0 port and 3.5mm AUX input. Let you enjoy different modes audio entertainment.Lossless Music ExperienceEasily find your music style in 200W high power amplifier style. subwoofer audio output and custom EQ settings.Marine Stereo Function and Definition of wiresHow to Install ?(1) Cut a hole in the dash board at least 3.75" depth.(2) Slide the included spring washers B over the screw posts A and attach the screw posts to the back of the radio.(3) Complete the wiring connections and make sure it's connected properly(4) Insert the unit into the mounting hole.(5) Place the "u" bracket C over the screw posts and secure the radio to the dash using the included hex nuts D.(6) Cut the score marks E to fit the bracket length for your application.

Prime Supply_Play Life
Review

You May Also Like
![[COD] WHPHous Ship within 24 hours 3PCS Interior Detail Brush Boar Hair Bristle Brushes Car Cleaning Detail Tools](https://img.lazcdn.com/g/p/f1c2e65f064aaff31ef6f644fbc7fb88.jpg_300x300q80.jpg)
[COD] WHPHous Ship within 24 hours 3PCS Interior Detail Brush Boar Hair Bristle Brushes Car Cleaning Detail Tools
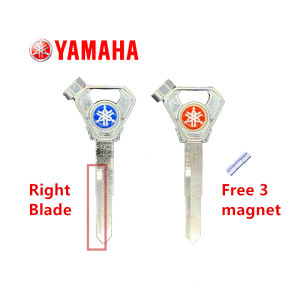
【Ready Stock】Motor Metal Blank Key / Kunci for YAMAHA aerox 155 sniper 150 MOTOR KEY- Right Blade
1101 Complete Stand Footrest Bar For XRM/TMX/CT100 Front Footrest Assemblu With Side Stand Made In Thailand High Quality

Selector Cable 43inches for Suzuki F5A Ring-Ring type 28370-85003 43" GSK BRAND
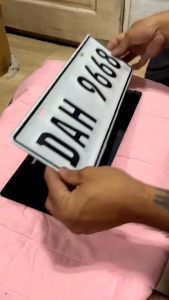
BACKPLATE DESIGN/PROTECTOR FOR CAR STANDARD SIZE (PAIR)
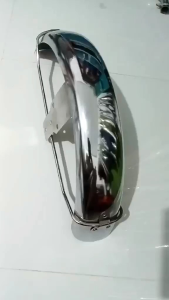
Front Fender BARAKO 1 and 2 / Tapaludo Pure Stainless
JIEKEFAN | Silent Replacement Wiper Blade For Chery Omoda Car
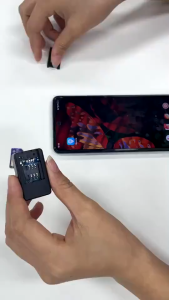
GPS Tracker for Car Real Time GPS Tracking Device mini GPS Tracker for Motorcycle kids Pet Positioner
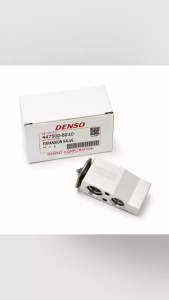
Genuine Toyota Avanza / Rush Expansion Valve 447500-8210 Densos Corporation for Subaru Forester XV Impreza
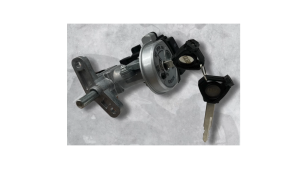
YAMAHA AEROX 155 IGNITION SWITCH KEY SET ASSEMBLY STOCK IGNITION SWITCH MOTORCYCLE PARTS MODEL
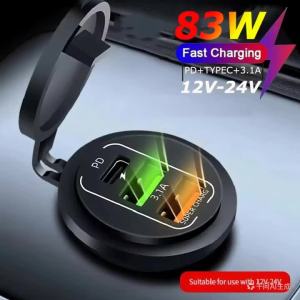
Car Charger Socket PD 30W QC3.0 USB C Ports Waterproof with Voltmeter 83W Fast Charging 12V/24V For Motorcycle Truck RV Boat