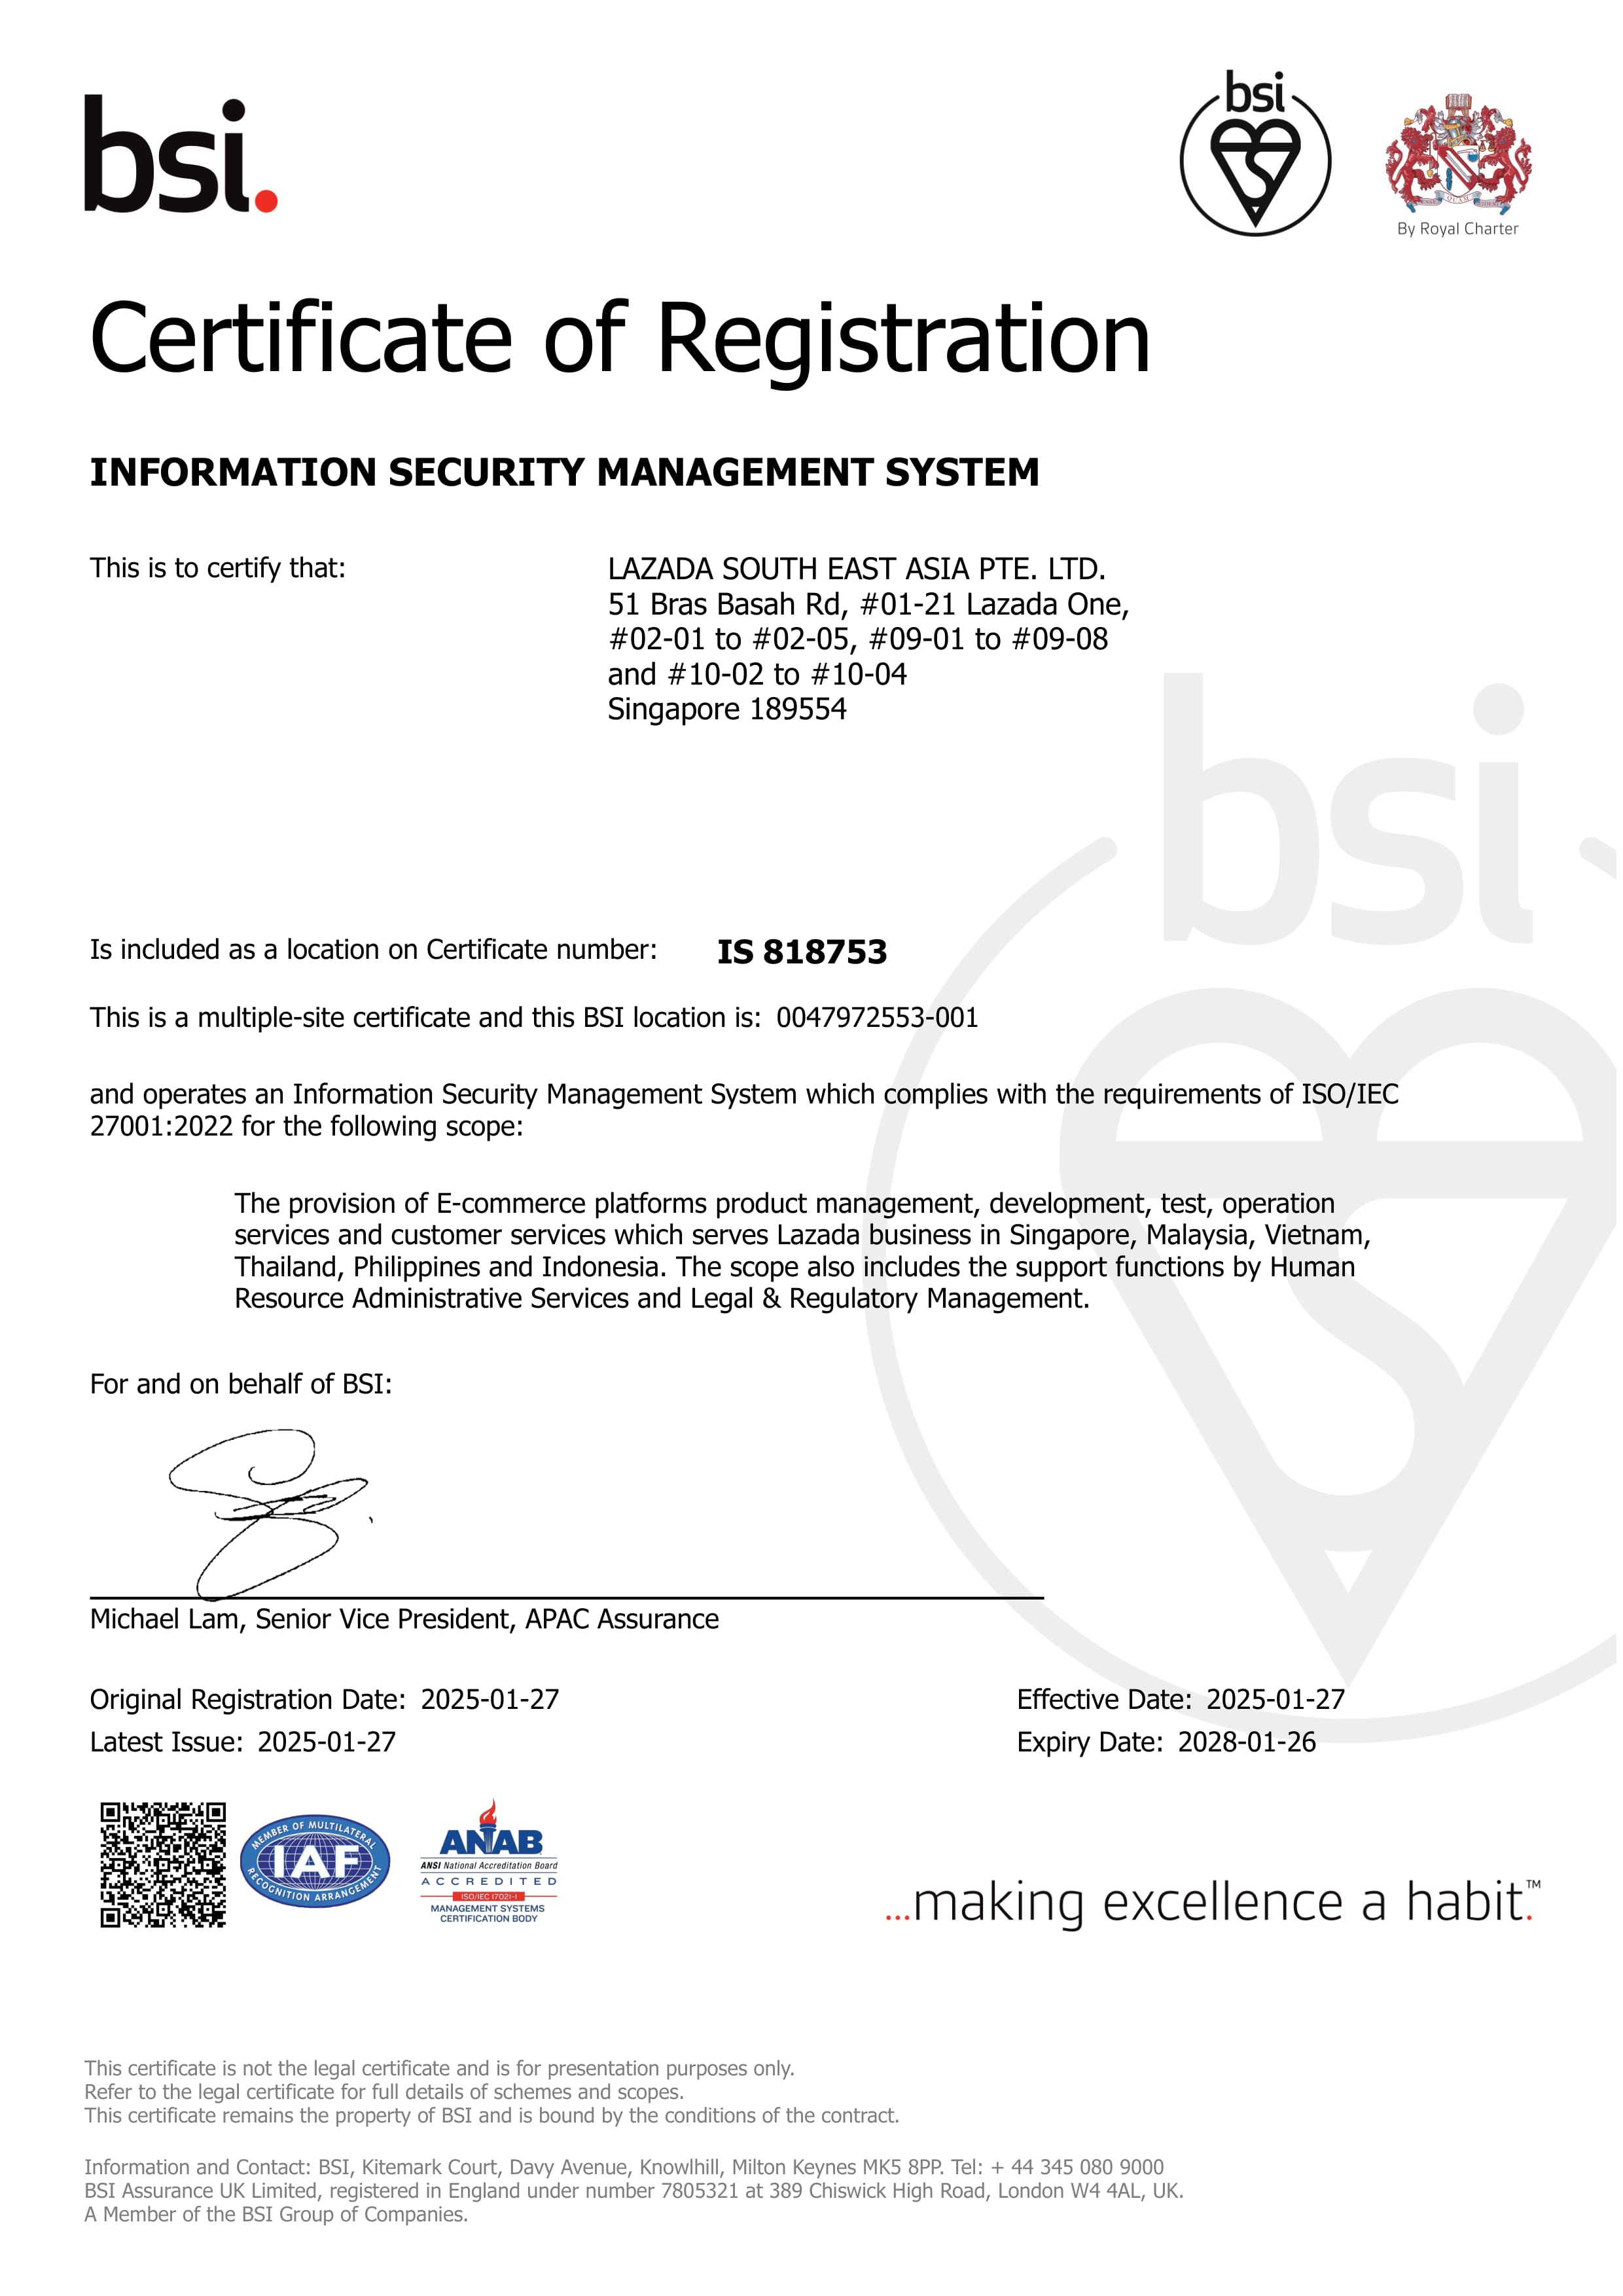



Aideepen | DC 5V LED Owl Touch Lamp DIY Electronic Crafting Touchable Nightlight Ornament Circuit Board Soldering Practice Kit
Features:1. DIY soldering project that helps develop hands-on skills2. Multiple LEDs form an owl shape, creating a warm, cute, and comforting atmosphere3. Four display modes offer a variety of distinct visual experiences4. Adjustable brightness for clear, high-intensity lighting during the day and soft, non-glare lighting at night5. The owl’s biomimetic design exudes a soft and cute charm; with built-in LED lights and adjustable brightness, it can serve as a desktop night lightProduct Specifications:Kit Name: LED Display Owl KitOperating Voltage: Powered by USB DC 5VMaximum Operating Current: Approximately 100mA (at maximum brightness, with all lights on)Touch-Sensitive Light Adjustment: Lightly touch with your fingertip to adjust the lighting mode; press briefly to switch LED modes; press and hold to decrease or increase brightnessFour Display Modes: Press the center briefly to switch between lighting display modes;Mode 1: All lights offMode 2: Outline lights onMode 3: Eye lights onMode 4: All lights onPrecautions:When using the kit, do not touch the component pins on the circuit board with your hands or any conductive objects, as this may accidentally contact the touch button pins and trigger the button functions.Soldering Instructions: Solder components in the following order: from low to high, and from small to large. Be sure to distinguish between positive and negative terminals!!!1. Install the chip socket and the chip so that the side with the notch aligns with the side of the PCB silkscreen that has a notch.2. For LEDs, the longer leg is positive and the shorter leg is negative; on the flat side, the negative terminal is on the flat side, and on the curved side, the positive terminal is on the curved side. Install the positive terminal so that it aligns with the side of the PCB silkscreen marked with a “+” sign.3. For electrolytic capacitors, the longer lead is positive and the shorter lead is negative. The “gray/white stripe” on the side of the capacitor indicates the negative terminal. Install the positive terminal on the side of the PCB silkscreen marked with a “+” sign.4. Install the transistor so that its semicircular side aligns with the semicircular side of the PCB silkscreen, and its flat side aligns with the flat side of the PCB silkscreen.Product List:1x Owl Touch Light DIY KitNote: This is a DIY kit with loose parts; you must solder and assemble it yourself. (Note: This kit is not a finished product; you must provide your own soldering tools for assembly.)

Prime Supply_Play Life
Review

You May Also Like
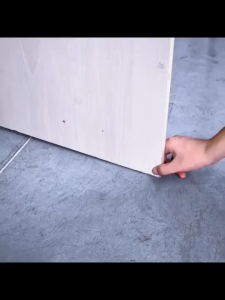
【BUY 3 TAKE 1 FREE】Silent Side Mounted Directional Rollers Durable Metal Furniture Door Support Move
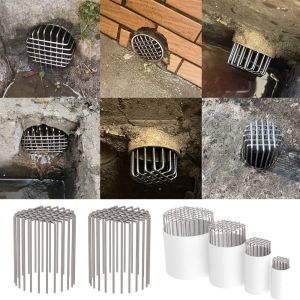
SWIFTTIDE Anti-blocking Roof Floor Drain Stainless Steel Round Rooftop Rain Pipe Cap Useful Large Displacement Balcony Drainage Cover Drainage Plumbing Fitting
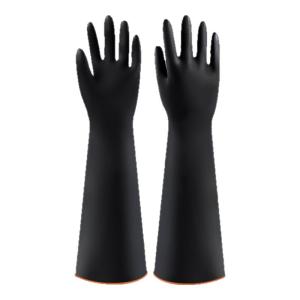
Acid and Alkali Resistant Glove

💥Instead of soldering💥BD Epoxy steel for metal Glue for metal steel Welding glue for metal Epoxy all purpose for plastic Quick-drying high temperature resistant waterproof and anti-corrosion Magical metal welding glue Heavy duty glue for metal
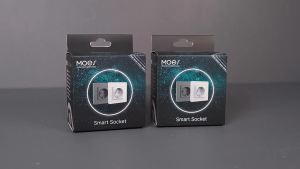
MOES | MOES Tuya ZigBee Smart Socket EU Wall Embedded Outlet Energy Monitor Indicator App Remote Control Voice Cotrol Alexa Google Home
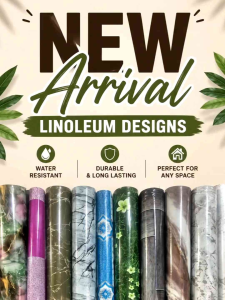
Team Wood Rubberized linoleum Renolium Flooring Sheet Vinyl(Sold per Yards)
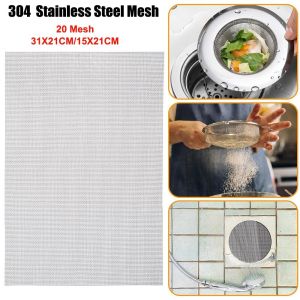
WAPKTY 20 Mesh Wire Mesh Screen 15X21CM Sturdy No Rust Window Screen Mesh High Quality 31X21CM Metal Mesh Screen DIY Projects Cage Vent Garden
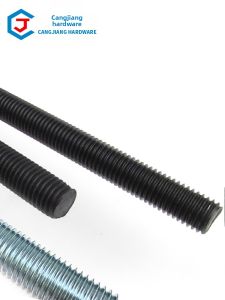
CANGJIANG | 8.8 Grade High Strength All-Threaded Screw

Manual Soldering Tools Internal Heating Fully Automatic Tin Feeding Electric Welding Tools Multifunctional Handheld Welding Electric Soldering Iron手动焊锡枪内热式
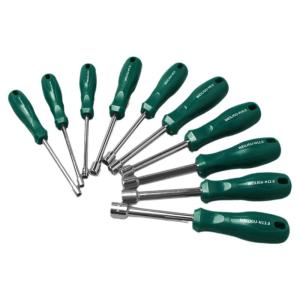
weiligu | Hex Socket Wrench

POLOLOCK by POLONET Bathroom Lock