


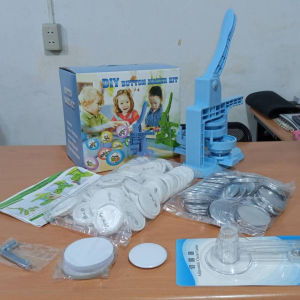
Button Pin Maker 58mm Machine DC-106 Sliding Type Manual Badge Press Machine Blue DIY Souvenir Crafts Anime Pin Button Press Machine Set for Business Campaign Gifts
📐 SPECIFICATIONSProduct Name: Button Maker 58mm (DC-106)Button / Mold Size: 58mm (2.25 Inches)GSM & PACK QUANTITY:Pack Quantity: 1 Box SetConsumables Quantity (Package Suit Variant Only): 100 Sets Metal Pin Base | 100 Sets Plastic Pin Base | 100 Paper Round Cuts | 100 Transparent Plastic Film Round CutsMachine Type: Slide Type Manual Button Pin MachineColor: BlueFrame & Mold Material: High-Strength Engineered Plastic Frame with Metal Molds✨ ADVANTAGES & FEATURESDurable & Lightweight: Built with a high-strength engineered plastic frame and precision metal molds for long-lasting performance.Easy Assembly & Operation: Smooth sliding mechanism designed for quick setup and effortless manual pressing.Precision Mold Quality: Delivers accurate crimping alignment and perfect output results every time.Lucrative Business & Craft Tool: Ideal for personal DIY gifts, school projects, event giveaways, or starting a personalized souvenir business.📦 PARTS & INCLUSIONSStand Alone Inclusion Set:1 x Button Pin Maker Unit with 58mm Mold2 x Adjusting Wrenches1 x User ManualFree Sample Button PinPackage Suit Inclusion Set:1 x Button Pin Maker Unit with 58mm Mold1 Pack x Metal Pin Bases (100 pcs)1 Pack x Plastic Pin Bases (100 pcs)1 Pack x Pre-cut Round Paper (100 pcs)1 Pack x Transparent Plastic Film Round Cuts (100 pcs)1 x Round Graphic Cutter2 x Adjusting Wrenches1 x User ManualFree Sample Button Pin🎨 HOW & WHERE TO USE✅ Recommended Applications:Personalized & Fandom Merch: Anime pins, gaming badges, and customized photo pins.Events & Fundraising: Weddings, birthday party souvenirs, religious gatherings, and charity fundraisers.Corporate & Academic: School organization pins, office name badges, business branding, and campaign materials.💡 Step-by-Step Usage Guide:Mold Assembly: Insert the upper mold into the top of the machine, then slide the bottom mold assembly into the sliding track.Secure Molds: Fasten the lock pin in place and ensure top and bottom molds are fully aligned.Load Upper Mold (Side A): Place the metal circle top face-up into the mold. Position your printed paper image on top, followed by the transparent plastic film.Load Lower Mold (Side B): Place the back pin piece into the opposite mold side, ensuring the pin back faces upward.First Press: Pull the lever down firmly to crimp the image, film, and metal top into the upper mold mechanism.Second Press & Finish: Slide the lower mold tray over to align the back piece under the upper mold, then pull the lever down again to complete the badge assembly. Inspect your finished 58mm button pin!⚠️ REMINDERS & DISCLAIMER📌 Proper Mold Installation: Ensure the bottom pin maker mold and all component parts are installed correctly and in their exact designated positions without swapping parts.📌 Layer Alignment: Always double-check that your printed image is facing up and the transparent plastic film sits on top before pressing.📌 Mold Alignment: Confirm top and bottom molds are fully aligned before pulling the handle.📌 Do Not Force Lever: Never force the lever if you feel resistance or sticking. Stop and check component alignment before operating.

Crystal Image
You May Also Like

Merry Gift Water Ice Moon border color cellophane transparent OPP Floral lined with flower packaging flower boquet water proof material
TOPTOY | Acrylic Paint By Numbers Hello Kitty Kuromi Painting By Numbers on Canvas Coloring By Number for Adults Paint Digital Art
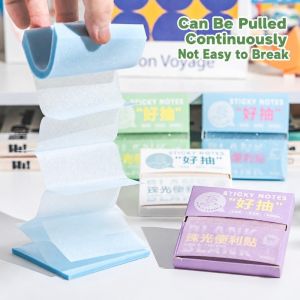
5211JEW 100Sheets PET Sticky Notes Shimmer Pearlescent Transparent Self-adhesive Note Paper Glitter Pull-out Pearlescent Sticky Notes Gift
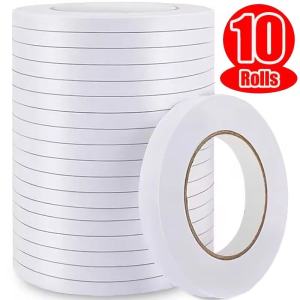
10-50Pcs Multi-Purpose Double Sided Tapes Strong Adhesive Sticky Tapes DIY Gift Wrapping Tools

Marie’s | Water-Soluble Non-Toxic Face Painting Kit for Children
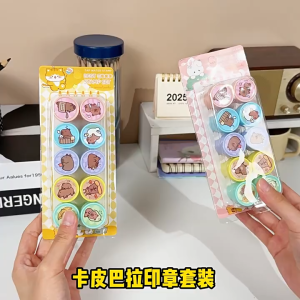
MOMO Cartoon Animal Seal 10PCS/Card Student Label Seal School Stationery
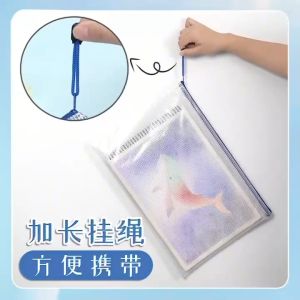
A3/A4/A5 Mesh Zipper File Bag Envelope Document Storage Pouch Bag Holder Organizer
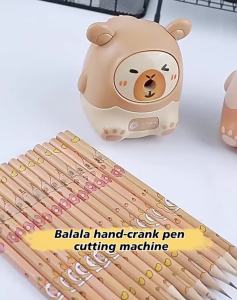
Kapipala Pencil Sharpener Kawaii Hand-crank Mechanical Automatic Pencil Adjustable Thickness Korean Stationery Cultural Supplies
MAOMEI 6pcs/set DIY Gift Invitation Santa Claus Snowman Letter Paper Xmas Letter Pad Kraft Paper Christmas Envelopes
50pcs Clip Pusher Clips Metal Hand Push Clamp Replacement Clips
Yasen Photo Paper High Glossy A4 Size 20 Sheets 230gsm for Photography Documents Business Graphics ID and Labels