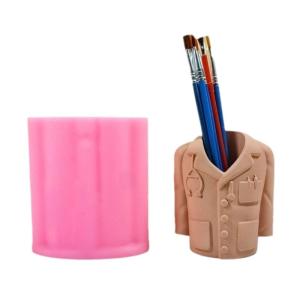
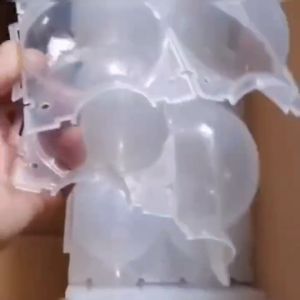
Silicone Mold for Doctor Coat Shaped Pen Holder Plaster Cement Flower Pots Making Mould Handicraft Enthusiast Supplies
Silicone Mold for Doctor Coat Shaped Pen Holder Plaster Cement Flower Pots Making Mould Handicraft Enthusiast Supplies
Introduction to Molding Supplies for Enthusiasts
Welcome to the world of molding supplies for enthusiasts! In this article, we will guide you through the process of creating unique doctor coat shaped pen holders and plaster cement flower pots using molding supplies. These fun and creative projects will enhance your handicraft skills and add a personal touch to your workspace or home decor. We will focus on two types of molds: silicone molds for handicrafts and custom molds for DIY projects.
Understanding Silicone Mold for Handicrafts
Silicone molds are widely used in the handicraft industry due to their flexibility, durability, and ease of use. They are heat-resistant and can withstand temperatures up to 480°F (250°C), making them ideal for various materials like plaster, cement, and resin. Silicone molds are also non-toxic, food-grade safe, and easy to clean, which makes them perfect for both professional and hobbyist use.
Custom Molds for DIY Projects
Custom molds allow you to create unique designs tailored to your preferences. By using silicone molds, you can easily replicate intricate details and textures, resulting in stunning and personalized handicrafts. Whether you're creating doctor coat shaped pen holders or plaster cement flower pots, custom molds offer endless possibilities for DIY projects.
Doctor Coat Shaped Pen Holder Making Process
Creating a doctor coat shaped pen holder using molding supplies is a fun and rewarding project. Follow these step-by-step instructions to achieve perfect results every time.
Step-by-Step Guide for Creating a Pen Holder Mould
- Prepare your workspace: Lay out a clean, flat surface and cover it with newspaper or a plastic sheet to protect it from any spills or mess.
- Create a doctor coat template: Draw a simple outline of a doctor coat on paper, making sure it fits the desired size of your pen holder. Cut out the template and trace it onto a piece of cardboard or foam board.
- Cut out the doctor coat shape: Carefully cut out the doctor coat shape using scissors or a craft knife.
- Prepare the silicone mold: Follow the manufacturer's instructions to mix and pour the silicone mold compound onto the doctor coat shape. Ensure there are no air bubbles trapped in the mold by gently tapping the surface.
- Allow the mold to cure: Let the silicone mold cure according to the manufacturer's instructions. This usually takes around 24 hours.
- Remove the mold: Once cured, carefully remove the silicone mold from the doctor coat shape.
Tips for Achieving Perfect Results
- Use a high-quality silicone mold compound to ensure the best results.
- Ensure there are no air bubbles trapped in the mold during the curing process.
- Allow sufficient curing time before removing the mold.
- Experiment with different materials like plaster, cement, or resin to find the one that best suits your project.
Plaster Cement Flower Pot Making Process
Creating plaster cement flower pots using molding supplies is another exciting project that showcases your handicraft skills. Follow these step-by-step instructions to achieve perfect results every time.
Step-by-Step Guide for Creating Flower Pot Mould
- Prepare your workspace: Lay out a clean, flat surface and cover it with newspaper or a plastic sheet to protect it from any spills or mess.
- Create a flower pot template: Draw a simple outline of a flower pot on paper, making sure it fits the desired size of your project. Cut out the template and trace it onto a piece of cardboard or foam board.
- Cut out the flower pot shape: Carefully cut out the flower pot shape using scissors or a craft knife.
- Prepare the silicone mold: Follow the manufacturer's instructions to mix and pour the silicone mold compound onto the flower pot shape. Ensure there are no air bubbles trapped in the mold by gently tapping the surface.
- Allow the mold to cure: Let the silicone mold cure according to the manufacturer's instructions. This usually takes around 24 hours.
- Remove the mold: Once cured, carefully remove the silicone mold from the flower pot shape.
Tips for Achieving Perfect Results
- Use a high-quality silicone mold compound to ensure the best results.
- Ensure there are no air bubbles trapped in the mold during the curing process.
- Allow sufficient curing time before removing the mold.
- Experiment with different materials like plaster, cement, or resin to find the one that best suits your project.
Conclusion: Enhancing Your Handicraft Skills with Molding Supplies
By following the step-by-step guides provided in this article, you can create unique doctor coat shaped pen holders and plaster cement flower pots using molding supplies. These projects will not only enhance your handicraft skills but also add a personal touch to your workspace or home decor. Remember to always use high-quality silicone mold compounds and experiment with different materials to find the best results for your projects. Happy crafting!

Mandi fashion store
Review

You May Also Like
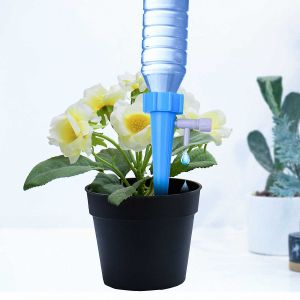
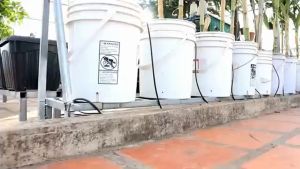
C.N. Green Plant Waterer Self Watering Spikes System-Vacation Automatic Irrigation Watering
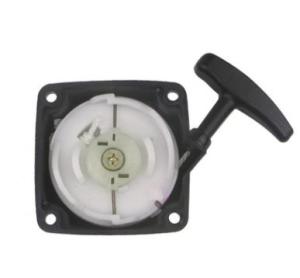
2 Stroke Engine Starter Universal Recoil Pull Starter Grass Cutter Spare Parts
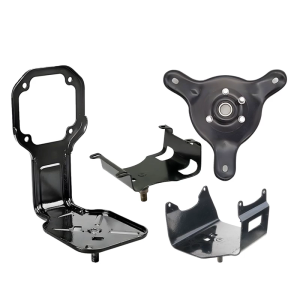
Steel Fuels Tanks Bracket Holder for Lawn Mowers Garden Enthusiasts Ensures Secure and Stable Support Easy Installation
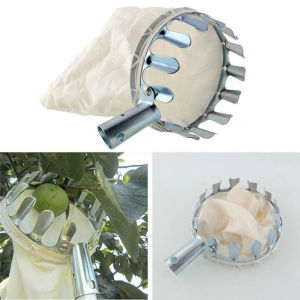
16CM Fruit Picker Head: A Convenient Garden Tool

100 Purple Eggplant Seeds: Planting & Growing Guide
Exploring Purple Variety Mais Seeds: A Comprehensive Guide

Hi-Q Agricultural Fertilizer Applicator: A Comprehensive Guide
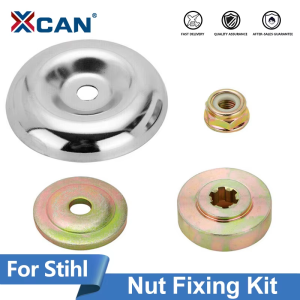
XCAN 4pcs Brushcutter Working Head Replacement Parts Maintenance Washer Kit Nuts For Grass Trimmer Head Cutter Tool
Smoking Gun For Food: A Comprehensive Guide to Wood Smoke Cooking
Smart Hydroponics LED Indoor Garden 8 pods Grow Kits w/ Plant Food A&B
10PCS Plant Rooting Equipment High Pressure Propagation Ball Garden Grafting Box 5cm/8cm Plant Grafted Plant Rooting Device Rooting Ball Reusable Grafting Box