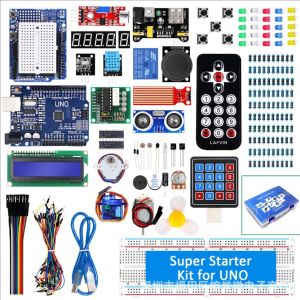
Super Starter Kit/ Kit For Uno R3 Projects Arduino
Super Starter Kit/ Kit For Uno R3 Projects Arduino
Welcome to our comprehensive guide on the Arduino Uno R3 Super Starter Kit, designed to help beginners and enthusiasts alike dive into the world of Arduino development boards and projects. This article will cover the basics of the Arduino Uno R3, its key features, and how to get started with programming tools. We'll also explore beginner-friendly projects and provide tips for maximizing your experience with this versatile development board kit.
Introduction to Arduino Uno R3 Projects & Development Board Kit
Understanding the Basics of Arduino Uno R3
The Arduino Uno R3 is a microcontroller board based on the ATmega328P chip. It has been widely used in various projects due to its ease of use, affordability, and compatibility with a wide range of sensors and actuators. As a beginner-friendly development board, the Arduino Uno R3 is perfect for learning the basics of electronics and programming.
Key Features of the Arduino Uno R3 Development Board Kit
- Microcontroller: ATmega328P
- Operating Voltage: 5V
- Input Voltage (recommended): 7-12V
- Digital I/O Pins: 14 (of which 6 provide PWM output)
- Analog Input Pins: 6
- DC Current per I/O Pin: 40 mA
- Flash Memory: 32 KB (ATmega328P)
- SRAM: 2 KB (ATmega328P)
- EEPROM: 1 KB (ATmega328P)
- Clock Speed: 16 MHz
Exploring the Arduino Uno R3 Projects & Starter Kit
The Arduino Uno R3 Super Starter Kit includes all the necessary components to get started with Arduino development. Some of the essential items included in the kit are:
- Arduino Uno R3 board
- USB cable
- Breadboard
- Jumper wires
- LEDs
- Resistors
- Potentiometer
- Push buttons
- Temperature sensor
- Relay module
Getting Started with Arduino Programming Tools
Installing Arduino IDE & Other Essential Tools
To begin programming with the Arduino Uno R3, you'll need to install the Arduino Integrated Development Environment (IDE). The IDE is available for Windows, macOS, and Linux operating systems. Download the latest version from the official Arduino website and follow the installation instructions.
Additionally, you may want to install other essential tools such as:
- Fritzing: A free, open-source electronics design application for creating circuit diagrams and schematics.
- PlatformIO: An open-source ecosystem for IoT development that supports multiple microcontrollers, including the Arduino Uno R3.
Writing Your First Arduino Program
Once you have installed the Arduino IDE, it's time to write your first program. Open the IDE and create a new sketch by clicking on File > New. In the code editor, type the following code:
void setup() {
  pinMode(LED_BUILTIN, OUTPUT);
}

void loop() {
  digitalWrite(LED_BUILTIN, HIGH);
  delay(1000);
  digitalWrite(LED_BUILTIN, LOW);
  delay(1000);
}
This simple program will make the built-in LED on the Arduino Uno R3 blink at a rate of one second.
Debugging & Troubleshooting Common Issues
When working with Arduino projects, you may encounter various issues. Here are some common problems and their solutions:
- Upload Error: Ensure that the correct board and port are selected in the Arduino IDE. Also, make sure that the USB cable is properly connected.
- Syntax Error: Check your code for any syntax errors, such as missing semicolons or mismatched parentheses.
- Runtime Error: Use the Serial Monitor to debug your code by printing values and messages during runtime.
Arduino Uno R3 Projects for Beginners
Creating a Simple LED Blinking Circuit
To create a simple LED blinking circuit, connect an LED to one of the digital pins on the Arduino Uno R3 board using a breadboard and jumper wires. Then, upload the code provided in the previous section to make the LED blink.
Building a Temperature Sensor Project
Using the temperature sensor included in the Arduino Uno R3 Super Starter Kit, you can build a project that measures and displays the temperature. Connect the sensor to the appropriate analog input pin on the board and write a program to read the temperature values and display them on the Serial Monitor.
Developing a Basic Home Automation System
With the relay module included in the kit, you can control electrical devices such as lights or fans using the Arduino Uno R3 board. Connect the relay module to a digital pin on the board and write a program to turn the device on and off based on specific conditions.
Maximizing Your Arduino Uno R3 Experience
Expanding Your Knowledge with Advanced Projects
Once you have mastered the basics of Arduino programming, challenge yourself by working on more advanced projects. Some ideas include building a weather station, creating a robot, or developing a smart home system.
Joining Online Communities & Forums
To stay updated on the latest developments in the Arduino community, join online forums and social media groups dedicated to Arduino enthusiasts. These platforms provide valuable resources, tutorials, and support for users at all skill levels.
Sharing Your Arduino Uno R3 Projects & Experiences
Share your Arduino Uno R3 projects and experiences with others by creating tutorials, blog posts, or videos. This not only helps you solidify your knowledge but also inspires and educates other Arduino enthusiasts.
In conclusion, the Arduino Uno R3 Super Starter Kit is an excellent resource for anyone looking to explore the world of electronics and programming. With its comprehensive collection of components and beginner-friendly projects, this kit provides a solid foundation for learning and growing as an Arduino developer.

Simper
Review

You May Also Like
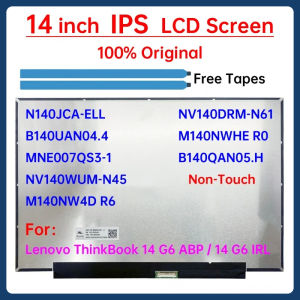
14" Laptop LCD Screen N140JCA-ELL NV140WUM-N45 NV140DRM-N61 M140NWHE R0 For Lenovo ThinkBook 14 G6 ABP IRL Display Matrix Panel
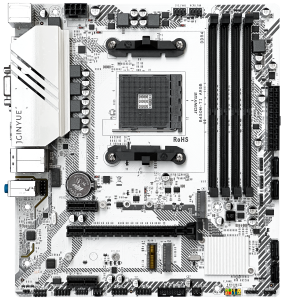
1PC B450M-TI ARGB Motherboard M.2 NVME ARGB PC Motherboard AMD Processor Dual-Channel 4*DDR4 Memory AM4 USB Mainboard

Thunderbox V2.0: A Comprehensive Guide to the 400W Portable Power Station
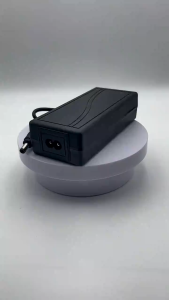
TG DC12V Adapter 3A / 5A /6A/8A Power Supply Adapter For CCTV/TV Plus/WIFI Routers/DVR/LED Strip Lights

0~40V 120W Step-Down Stabilized Voltages Current Regulator Converter Constant Voltages Current Step Down Module Easy Use
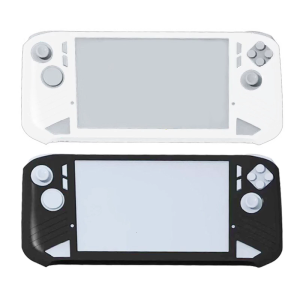
Shockproof TPU Shell Guard Enclosure For Claw 8 AI+ Handheld Gaming System Provides Impact Resistance For All Functions
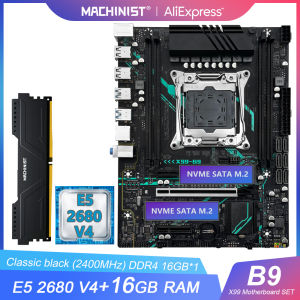
MACHINIST X99 B9 motherboard set kit LGA2011-3 Xeon E5 2680 V4 CPU processor DDR4 16GB 2400MHZ RAM NVME M.2 SATA M-ATX x99 c612

Mini Recording Sound Card Audio Interface Portable Mini Recording Sound Card BT Accompaniment Lightweight Type-C Power Supply for Recording Live Streaming Audio Interface Smartphone Tablets Plug and Play

Dell 3040 Quadcore
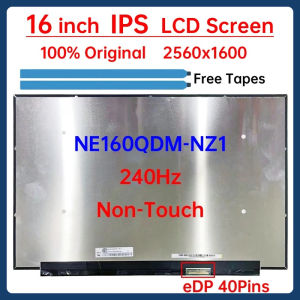
16 Inch 240Hz Laptop LCD Screen NE160QDM NZ1 NE160QDM-NZ1 V8.0 Display Matrix Panel Replacement 2560x1600 100% sRGB eDP 40 Pins
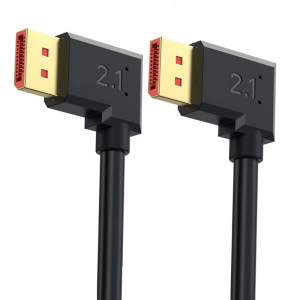
DisplayPort 2.1 Video Cable 54Gbps Fast Speed Connectors For 4090 7900XTX Graphics Cards and RTX3070/RTX3080/RTX3090