DIY Self Adhesive Vinyl Flooring: A Comprehensive Guide
DIY Self Adhesive Vinyl Flooring: A Comprehensive Guide
Introduction to Vinyl Flooring for Commercial Use
Vinyl flooring has become increasingly popular in recent years due to its durability, affordability, and ease of installation. In this comprehensive guide, we will focus on self-adhesive vinyl flooring, which is perfect for both residential and commercial use. We'll cover everything from the benefits of self-adhesive vinyl flooring to the installation process and maintenance tips.
What Are the Benefits of Self Adhesive Vinyl Flooring?
Self-adhesive vinyl flooring offers numerous advantages over traditional flooring options. Some of the key benefits include:
-
Durability: Self-adhesive vinyl flooring is highly resistant to wear and tear, making it an excellent choice for high-traffic areas.
-
Waterproof: Unlike other flooring materials, self-adhesive vinyl flooring is completely waterproof, making it ideal for bathrooms, kitchens, and other areas prone to moisture.
-
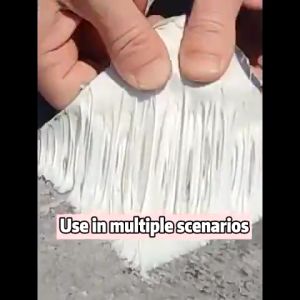
Easy Installation: With self-adhesive vinyl flooring, there's no need for messy adhesives or complicated installation processes. Simply peel off the backing and stick the tiles to your existing floor.
-
Affordable: Compared to other high-end flooring options, self-adhesive vinyl flooring is relatively inexpensive, making it accessible for most budgets.
-
Aesthetic Appeal: Self-adhesive vinyl flooring comes in a wide range of colors, patterns, and designs, allowing you to create a custom look that complements your existing decor.
What Are Vinyl Stickers for Flooring?
Vinyl stickers for flooring are adhesive-backed vinyl sheets that can be cut into various shapes and sizes to create unique designs on your floor. These stickers are perfect for adding personalized touches to your space, such as logos, patterns, or even custom artwork. They're easy to install and remove, making them a great option for temporary or semi-permanent flooring solutions.
How to Install Waterproof Linoleum Tiles
Waterproof linoleum tiles are another popular option for self-adhesive flooring. To install these tiles, follow these steps:
-
Clean and dry the surface of your existing floor.
-
Peel off the backing of the first tile and carefully place it on the floor.
-
Press down firmly to ensure the tile adheres properly.
-
Repeat this process for each subsequent tile, making sure to align them correctly.
-
Once all tiles are installed, trim any excess material using a utility knife.
Choosing the Right Materials for Your Project
Selecting the right materials is crucial for a successful self-adhesive vinyl flooring project. In this section, we'll discuss waterproof stone tiles and how to choose the right flooring stickers.
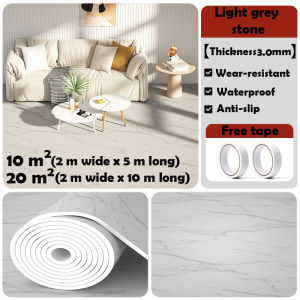
What Are Waterproof Stone Tiles?
Waterproof stone tiles are made from a combination of stone chips and resin, creating a durable and water-resistant surface. These tiles are perfect for bathrooms, kitchens, and other areas prone to moisture. They come in a variety of colors and finishes, allowing you to create a custom look that complements your existing decor.
How to Select the Right Flooring Stickers
When choosing flooring stickers, consider the following factors:
-
Design: Look for stickers that match your desired aesthetic and complement your existing decor.
-
Size: Make sure the stickers are large enough to cover the area you want to decorate.
-
Adhesion: Check the adhesive strength of the stickers to ensure they will stay in place over time.
-
Durability: Choose stickers that are resistant to wear and tear, so they last longer.
Installation Process for DIY Vinyl Tiles
Installing self-adhesive vinyl flooring is a straightforward process that can be completed in just a few simple steps. In this section, we'll discuss how to prepare your floor for installation, provide a step-by-step guide to installing self-adhesive vinyl flooring, and offer tips for maintaining and cleaning your new flooring.
How to Prepare Your Floor for Installation
Before installing self-adhesive vinyl flooring, it's essential to prepare your floor properly. Follow these steps:
-
Clean the surface of your existing floor thoroughly.
-
Repair any cracks or holes in the floor using a patching compound.
-
Allow the floor to dry completely before proceeding with installation.
Step-by-Step Guide to Installing Self Adhesive Vinyl Flooring
To install self-adhesive vinyl flooring, follow these steps:
-
Measure the area you want to cover and cut the vinyl tiles to size using a utility knife.
-
Peel off the backing of the first tile and carefully place it on the floor.
-
Press down firmly to ensure the tile adheres properly.
-
Repeat this process for each subsequent tile, making sure to align them correctly.
-
Once all tiles are installed, trim any excess material using a utility knife.
How to Maintain and Clean Your New Flooring
Maintaining and cleaning your self-adhesive vinyl flooring is simple. Follow these tips:
-
Regular Cleaning: Sweep or vacuum your floor regularly to remove dirt and debris.
-
Spot Cleaning: For stains or spills, use a damp cloth and mild soap to clean the affected area.
-
Deep Cleaning: Once a month, use a floor cleaner specifically designed for vinyl flooring to deep clean your floor.
By following these steps, you can enjoy a beautiful, durable, and low-maintenance self-adhesive vinyl flooring solution for years to come.

DIY TooL Mall
Review
You May Also Like
Amoki【Ready in Stock】 Magnetic Wristband Holding Tools Bracer For Holding ScrewsNailsDrill BitsSmall Tools
Bag Hook Wardrobe Storage Fantastic Seamless Pannier Bag Shelf Silk Scarf Tie Arch Rack Stackable Coat Rack
Door lock Mute Door Knob Lock Set Lock With 3 Keys Aluminium Alloy Handle Lock Stainless Steel Square Door Lockset Entrance Lock
10M Double-Sided Tape Mesh Heavy High Strong Sticky Durable Duct Cloth Tape Multiable Tape Removable

10m High Pressure Car Wash Water Gun Booster & Telescopic Hose: A Multifunctional Flushing and Watering Car Wash Artifact
COD 100pcs Security Display Hook Anti Sweep Anti Theft Detent Locks Magnetic Locks
VEELIKE 15.74"x118.11" Silver Stainless Steel Contact Paper Rust Resistance Waterproof Removable Peel and Stick Wallpaper for Metal Surface Kitchen Cabinet Refrigerator Elevator Door
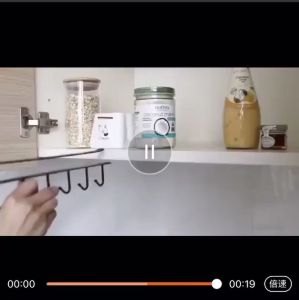
J.C 6 Hooks Cup Holder Hang Kitchen Cabinet Shelf Storage Rack Organizer Tools

Best Price Nano Tape: Double-sided Waterproof & Strong Adhesive
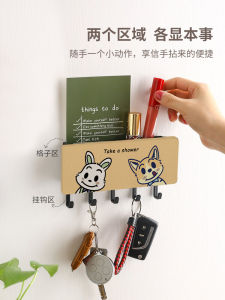
Dopamine Clothes Hook No Drilling Door Back Key Coat Hook Entrance Wall Mounted Hooks for Keys And Clothes Plastic Material
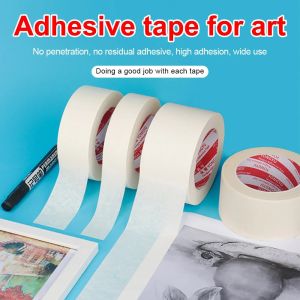
General Purpose Masking Tape For Production Painting: 0.78-Inch By 21-Yard 1 Roll