HONDA CLICK V2 VENOM FRONT ONLY STICKER DECALS FOR MOTORCYCLE PARTS AND ACCESSORIES
HONDA CLICK V2 VENOM FRONT ONLY STICKER DECALS FOR MOTORCYCLE PARTS AND ACCESSORIES
Introduction to Honda Click V2 Venom Front Only Sticker Decals
Custom motorcycle graphics have been a popular way for riders to express their personality and style for decades. With the rise of motorcycle customization, front motorcycle decals have become increasingly important, enhancing the look of the bike and making it stand out from the crowd. In this article, we will explore the world of Honda Click V2 Venom front only sticker decals and provide you with everything you need to know about choosing, installing, and maintaining these eye-catching accessories.
How to Choose the Right Stickers for Your Motorcycle
When selecting motorcycle parts accessories, there are several factors to consider. First, make sure the stickers you choose are compatible with your Honda Click V2 Venom. This includes checking the size, shape, and placement of the decals to ensure they fit perfectly on your bike. Additionally, consider the quality of the materials used in the stickers, as this will affect their durability and longevity.
Factors to Consider When Selecting Motorcycle Parts Accessories
- Compatibility with your Honda Click V2 Venom
- Quality of materials used
- Size, shape, and placement of the decals
Understanding HONDA CLICK V2 VENOM STICKER Compatibility
Before purchasing any front motorcycle decals, it is essential to verify their compatibility with your specific model. This will help ensure a perfect fit and avoid any potential issues during installation. To check compatibility, refer to the manufacturer's specifications or consult with a professional.
Installation Process for Honda Click V2 Venom Front Only Sticker Decals
Installing motorcycle decals can be a straightforward process if you follow the proper steps. Here is a step-by-step guide to help you through the installation process:
Step-by-Step Guide to Installing Motorcycle Decals
- Clean the surface where the decal will be applied
- Remove the backing paper from the decal
- Position the decal on the desired location
- Press down firmly to ensure proper adhesion
- Remove any air bubbles by gently pressing with a squeegee or credit card
Tips for a Smooth Installation Experience
- Work in a clean, dust-free environment
- Use a hairdryer to soften the adhesive if needed
- Take your time and be patient during the installation process
Maintenance and Care for Your Honda Click V2 Venom Front Only Sticker Decals
To keep your motorcycle decals looking their best, proper maintenance and care are essential. Here are some tips to help you maintain the appearance and longevity of your front motorcycle decals:
Cleaning and Protecting Your Motorcycle Decals
- Use a mild soap and water solution to clean the decals
- Rinse thoroughly with clean water
- Apply a clear coat protectant to prevent fading and damage
Troubleshooting Common Issues with Front Motorcycle Decals
If you encounter any issues with your front motorcycle decals, such as peeling or bubbling, there are several steps you can take to address these problems:
- Reapply the decal using a hairdryer to soften the adhesive
- Remove air bubbles by gently pressing with a squeegee or credit card
- Consult with a professional if the issue persists
Conclusion: Enhancing Your Ride with Honda Click V2 Venom Front Only Sticker Decals
In conclusion, Honda Click V2 Venom front only sticker decals offer a fantastic way to enhance the appearance of your motorcycle and express your unique style. By carefully selecting compatible decals, following proper installation procedures, and maintaining them regularly, you can enjoy years of enjoyment and satisfaction from your custom motorcycle graphics.

Azel's Decal Store

Review

You May Also Like
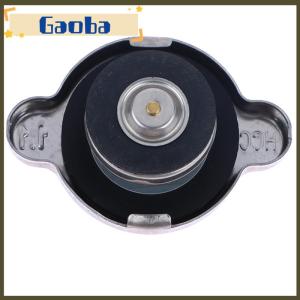
gaoba 253301P000 Water Tank Cap Cover SONATA AZERA CEEDRadiator Coolant Cover Assembly
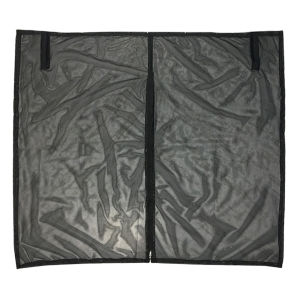
Car Sunshade Screen UV Protection Boot Window Screen Car Sunshade Mosquito Net for Self Driving Tour for Outdoor Camping
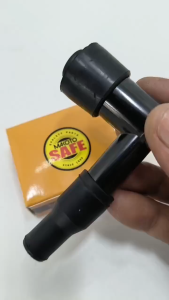
LUCKY KK MAKOTO SPARK PLUG CAP UNIVERSAL
Summer Motorcycle Leather Gloves Protection Retro Fingerless Motocross Gloves Biker Motorcyclist Cycling Half Gloves Brown Black
2PC Versatile Heavy-Duty Dual-Stage Folding Ramp for Cars Motorcycles ATVs Wheelchairs Golf Carts - Gray
Vital chainblock 2tons with 3meters lifting chain made in japan Vital Chain Blocks 2 Ton 2 Ton Jack Stands - Lazada
Motorcycle alloy Silver handle bars switch Set For TMX 155 TMX Alpha 125 CG 125
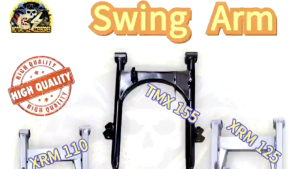
Motorcycle Swing Arm Assembly for TMX/CT100/Wave100/XRM110/XRM125 Duty Swing Arm Assy

Canbus Car License Plate Bulbs For Ford Escape 2001- 2016 2017 2018 2019 LED Interior Map Dome Reading Trunk Footwell Light Kit
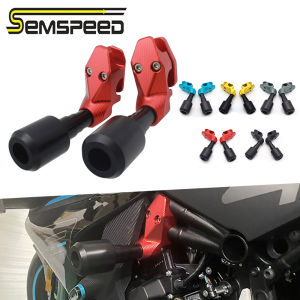
SEMSPEED Motorcycle Anti Crash Engine Frame Fairing Falling Protection Pad For CFMOTO 450SR 450NK 2021-2023 2024
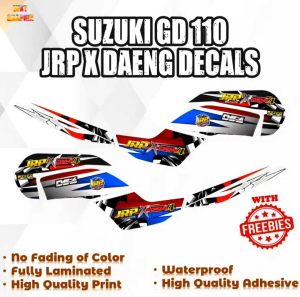
SUZUKI GD 110 JRP X DAENG DECALS (WATERPROOF LAMINATED FADE PROOF)