Hikvision CCTV DVR DS-7204HGHI-K1 4 Channel 2MP DVR HDTVI/AHD/CVI/CVBS/IP Video Input For Analog CCTV Camera Digital Video Recorder
Hikvision CCTV DVR DS-7204HGHI-K1 4 Channel 2MP DVR HDTVI/AHD/CVI/CVBS/IP Video Input For Analog CCTV Camera Digital Video Recorder
The Hikvision DS-7204HGHI-K1 is a 4-channel 2MP DVR designed specifically for analog CCTV cameras. This digital video recorder (DVR) supports HDTVI, AHD, CVI, CVBS, and IP video inputs, making it an ideal choice for both new installations and upgrading existing systems. In this comprehensive guide, we will explore the key features and capabilities of the DS-7204HGHI-K1, how to install it, optimize its performance and security, and troubleshoot common issues.
What is the Hikvision DS-7204HGHI-K1?
The Hikvision DS-7204HGHI-K1 is a high-performance 4-channel DVR that supports analog cameras with HDTVI, AHD, CVI, CVBS, and IP video inputs. This versatile device offers a wide range of features and capabilities, making it an excellent choice for small businesses, homes, and other environments that require reliable surveillance.
Key Features & Capabilities
- Resolution: Supports up to 2MP resolution
- Channels: 4 channels for connecting analog cameras
- Video Input: HDTVI, AHD, CVI, CVBS, and IP video inputs
- Storage: Supports SATA hard drives up to 4TB
- Network Connectivity: Built-in Ethernet port for network connectivity
- Audio Support: Supports audio input/output
Compatibility with Analog Cameras
The Hikvision DS-7204HGHI-K1 is compatible with a wide range of analog cameras, including those with HDTVI, AHD, CVI, and CVBS video inputs. This makes it an ideal choice for upgrading existing systems or integrating with new installations. Additionally, the device supports IP video inputs, allowing for greater flexibility and scalability.
How to Install the Hikvision DS-7204HGHI-K1
Installing the Hikvision DS-7204HGHI-K1 is a straightforward process that requires only a few components and accessories. In this section, we will walk you through the step-by-step installation process.
Required Components & Accessories
- DVR: Hikvision DS-7204HGHI-K1
- Mouse: For navigating the DVR's interface
- Power Adaptor: For powering the DVR
- Manual: Included with the DVR for reference
Step-by-Step Installation Process
- Connect the power adaptor to the DVR and plug it into a power outlet.
- Connect the mouse to the DVR's USB port.
- Connect the analog cameras to the DVR's video input ports.
- Insert the SATA hard drive into the DVR's hard drive bay.
- Connect the DVR to your network via the built-in Ethernet port.
- Follow the on-screen instructions to configure the DVR's settings.
Optimizing Performance & Security
To get the most out of your Hikvision DS-7204HGHI-K1, it's important to optimize its performance and security. In this section, we will explore how to enhance video quality, configure recording settings, and secure your DVR.
Enhancing Video Quality
To improve video quality, you can adjust the following settings:
- Resolution: Increase the resolution to capture more detail.
- Frame Rate: Increase the frame rate to reduce motion blur.
- Bitrate: Increase the bitrate to improve image quality.
Configuring Recording Settings
To optimize recording settings, you can adjust the following parameters:
- Recording Mode: Choose between continuous recording, motion detection recording, or scheduled recording.
- Storage Allocation: Allocate storage space for each channel.
- Recording Duration: Set the recording duration for each channel.
Securing Your DVR
To secure your Hikvision DS-7204HGHI-K1, you can implement the following measures:
- Change Default Password: Change the default password to prevent unauthorized access.
- Enable Encryption: Enable encryption to protect data during transmission.
- Disable Unused Ports: Disable unused ports to reduce the risk of exploitation.
Troubleshooting Common Issues
Despite its reliability, the Hikvision DS-7204HGHI-K1 may occasionally encounter issues. In this section, we will explore how to resolve connectivity problems, address playback errors, and fix system glitches.
Resolving Connectivity Problems
If you're experiencing connectivity issues, try the following steps:
- Check Network Connection: Ensure that the DVR is connected to the network via the built-in Ethernet port.
- Reset Network Settings: Reset the network settings to their default values.
- Update Firmware: Update the firmware to the latest version.
Addressing Playback Errors
If you're experiencing playback errors, try the following steps:
- Check Hard Drive: Ensure that the hard drive is properly connected and functioning.
- Clear Cache: Clear the DVR's cache to free up space.
- Reindex Database: Reindex the DVR's database to fix any issues.
Fixing System Glitches
If you're experiencing system glitches, try the following steps:
- Restart DVR: Restart the DVR to resolve any temporary issues.
- Update Firmware: Update the firmware to the latest version.
- Contact Support: Contact Hikvision support if the issue persists.

Hikvision-Dimoon Online Store

You May Also Like
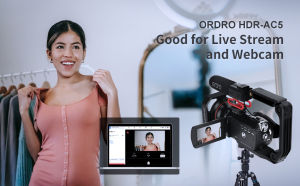
ORDRO AC5 4K 12x Optical Zoom Video Camera - Perfect Camcorder for Live Streaming

PEGATAH 8MP HD Night Color Wifi IP Wireless Security PTZ Camera 4X Zoom Cameras Humanoid Tracking Cam No Ad APP Light Alarm
4K HD Hidden Camera: A Comprehensive Guide
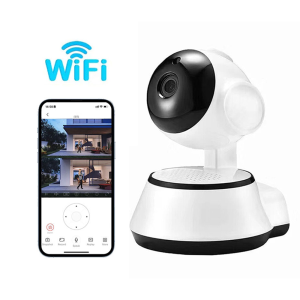
2MP V380 WiFi Indoor HD Smart Wireless CCTV PTZ Camera: A Comprehensive Guide

Coolshotnew mirrorless camera 48 million high SLR digital camera self-timer WiFi
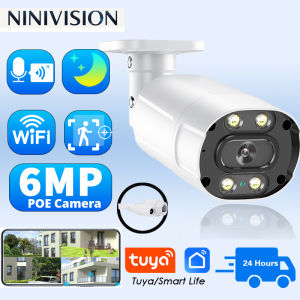
OVERSCAM 6MP POE Security Camera - Outdoor CCTV System | IP66 Waterproof | AI Human Detection | 24/7 Color Night Vision | Plug & Play
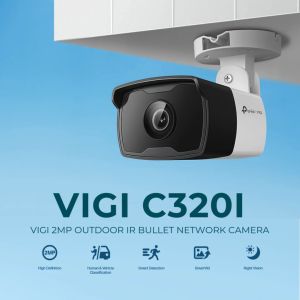
TP-Link VIGI C320I - 2MP Outdoor IR Bullet Network CCTV Waterproof Camera

Endura Cable Cutter for Flat Cord THHN & Other Cable
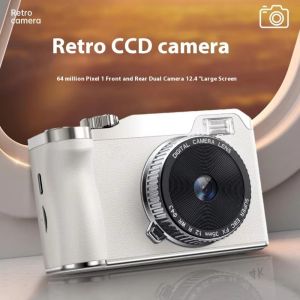
DOUBLEL Autofocus 4K HD Digital Camera 16x Zoom Front/Rear Dual Camera Entry-Level CCD Camera Compact 2.4 Inch Screen 64MP Photography Video Camcorder Student Beginners
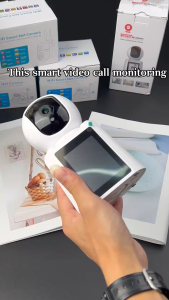
V380 PRO Video Calling Smart CCTV Camera HD 1080P Home Two Way Voice Night vision PTZ Control Detect Alarm Baby Monitor IP Camera Connect to phone

BOBLOV L02 Body Mini Worn Action Camera Sports Motion Detect Night Vision HD 1080P 256GB 1500mAh 9H Wearable Police Camera DVR Video Audio Recorder Camcorder Motorcycle Dash Cam For Vlogging