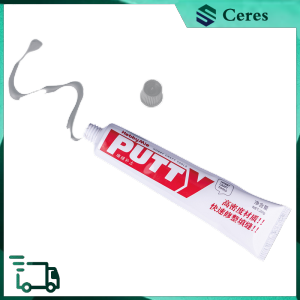
20g Filling Putty for Plastic Model Repair: A Comprehensive Guide
20g Filling Putty for Plastic Model Repair: A Comprehensive Guide
Introduction to 20g Filling Putty
Welcome to this comprehensive guide on using the 20g filling putty for repairing plastic models. This high-density putty is specifically designed for gap filling and fast drying, making it an ideal choice for model builders looking to achieve professional results.
Key Features of the Product
- Content: 20g
- Color Options: Black, gray, and white
- Fast Drying: Dries in approximately 1-2 hours at room temperature
- Versatile: Can be used for filling gaps, scratches, and other imperfections on plastic models
Packing List and Specifications
Each pack includes:
- 1 x 20g filling putty
How to Prepare for Plastic Model Repair
Before applying the 20g filling putty, it's essential to prepare the surface properly. Follow these steps to ensure a smooth repair process:
Preparing the Surface with Water Sandpaper
- Wet depressions or scratch areas using the attached water sandpaper.
- Ensure the grinding area is slightly larger than the recess or scratch.
Cleaning the Grinding Area
After wet grinding, wash and dry the area to remove any dirt and grease. This step is crucial for achieving a clean and smooth repair.
Filling the Gaps with 20g Filling Putty
Now that the surface is prepared, it's time to apply the filling putty. Follow these steps:
Applying the Putty with a Special Spatula
- Thin out the right amount of fill soil as needed.
- Use a special spatula to apply the putty, slightly higher than the surrounding area.
Letting the Putty Harden
Allow the putty to harden completely, which takes approximately 1-2 hours at room temperature.
Smoothing the Surface
Once the putty has hardened, it's time to smooth the surface. Follow these steps:
Wet Grinding with Water Sandpaper
- After the putty has hardened, use water sandpaper to wet grind the area smooth.
Addressing Bubbles and Pits
If bubbles form or pits appear, repeat steps 2-3 until the desired smoothness is achieved.
Finishing Touches
The final steps involve completing the repair and finishing touches. Follow these steps:
Final Sanding and Polishing
- Complete the repair by wet grinding the area with fine sandpaper.
Painting and Finishing
After completion, you can paint the repaired area to achieve a seamless finish.
By following this comprehensive guide, you'll be able to successfully repair plastic models using the 20g filling putty. Remember to prepare the surface properly, apply the putty carefully, and smooth the area before painting for a professional result.
Conclusion
Using the 20g filling putty for plastic model repair is a straightforward process that requires attention to detail and patience. By following the steps outlined in this guide, you'll be able to achieve professional results and bring your plastic models to life.
If you have any questions or need further assistance, please don't hesitate to reach out. Happy modeling!

Ceres Store
You May Also Like
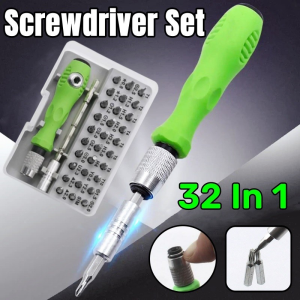
32 In 1 Precision Screwdriver Set: A Comprehensive Guide
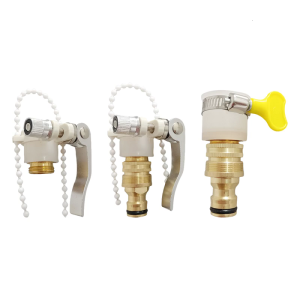
Universals Tap Connectors 15mm 23mm Quick Connection Garden Hose Fittings for Faucets Kitchen and Outdoor Daily Use
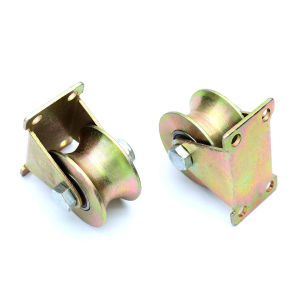
Masely 1.2 Inch U/V Groove Wheel Stainless Steel Sliding Door Roller for Inverted Track Rolling Gate Wire

Kitchen Faucet Extension Tube Universal Soft Hose Anti-splash Extended Pipe Multi-functional Utility Lengthened Car Wash Tools
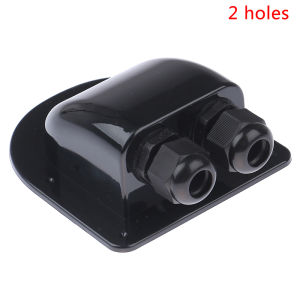
RV Solar Roof Gland Box IP68 Waterproof ABS Junction Box Double Cable Entry Gland For Solar Panel Motorhomes Campervans Yacht
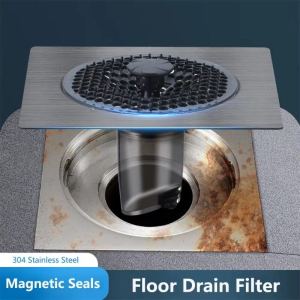
304 Stainless Steel Floor Drain Filter Anti-odor Kitchen Strainer Stopper Drainer Hair Catcher Bathroom Accessories

Electric Drill Modified Electric Saw Electric Reciprocating Saw Power Drill - Woodworking Cutting Tool - Convert Drill to Reciprocating Saw/Jigsaw - Metal File - Blue Color
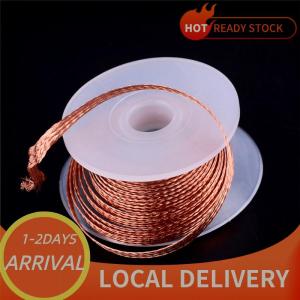
🚚Local Delivery🔥 1PC 3.5mm 1.5M Desoldering Braid Solder Remover Wick Wire Repair Tool

LAFVIN WiFi ESP8266 Development Board Starter Kit for IOT Breadboard Wifi Sensor Module Kit for Arduino

Screw Stickers & Seamless Hole-Free Adhesive Paste: A Comprehensive Guide
5PCS New Upgraded Self-adhesive Large Wall Hooks Acrylic Strong Load-bearing Luxury Durable Traceless Hook