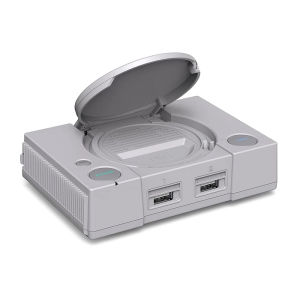
RETROFLAG PiStation Case: A Comprehensive Guide for Raspberry Pi 4 & Pi 4B
RETROFLAG PiStation Case: A Comprehensive Guide for Raspberry Pi 4 & Pi 4B
What is the RETROFLAG PiStation Case?
The RETROFLAG PiStation Case is a sleek and stylish enclosure designed specifically for the Raspberry Pi 4 and Pi 4B models. This cooling fan case provides a perfect solution for keeping your system cool while offering a compact design that can fit on any desk or shelf. It comes with three heatsinks and a built-in cooling fan, ensuring optimal performance and temperature control.
Overview of the Case
The RETROFLAG PiStation Case is a high-quality, professional-grade enclosure that offers superior protection and cooling for your Raspberry Pi 4 or Pi 4B. Its compact size and stylish design make it an ideal choice for anyone looking to build a compact and powerful home server, media center, or gaming rig.
Key Features
- Sleek and compact design
- Built-in cooling fan and three heatsinks
- Compatible with Raspberry Pi 4 and Pi 4B models
- Easy-to-install LCD case
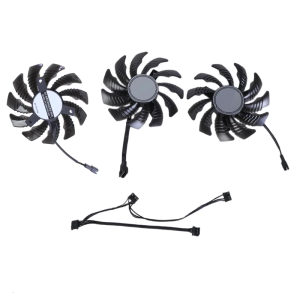
How to Install the Cooling Fan & Heatsinks
Installing the cooling fan and heatsinks is a straightforward process that can be completed in just a few minutes. Follow the steps below to ensure your system stays cool and performs optimally.
Installing the Cooling Fan
- Remove the bottom cover of the RETROFLAG PiStation Case.
- Locate the cooling fan and carefully attach it to the designated spot on the case.
- Secure the cooling fan in place by screwing it down using the provided screws.
- Replace the bottom cover of the case.
Attaching the Heatsinks
- Remove the top cover of the RETROFLAG PiStation Case.
- Carefully attach the three heatsinks to the designated spots on the Raspberry Pi board.
- Ensure that the heatsinks are securely attached and make good contact with the components.
- Replace the top cover of the case.
Using the Pistation LCD Case
The Pistation LCD Case is an optional accessory that can be used with the RETROFLAG PiStation Case. It provides a convenient way to monitor system status and temperature, as well as control various settings.
Connecting the LCD Case
- Connect the LCD case to the GPIO port on the Raspberry Pi board.
- Power on the system and wait for the LCD display to initialize.
- Adjust the settings as needed using the buttons on the LCD case.
Setting Up the Display
To set up the display, follow these steps:
- Open the terminal on your Raspberry Pi.
- Type the command
sudo raspi-configand press Enter. - Navigate to the "Interfacing Options" menu and select "LCD".
- Follow the on-screen instructions to configure the display settings.
Tips for Optimal Performance
To ensure optimal performance and temperature control, follow these tips:
Maintaining Proper Airflow
- Keep the case clean and free of dust.
- Ensure that the cooling fan is working properly and not blocked by any obstructions.
- Position the case in a well-ventilated area.
Keeping the System Cool
- Monitor the system temperature regularly using the LCD case or other monitoring tools.
- Adjust the cooling fan speed as needed to maintain a comfortable operating temperature.
- Avoid running resource-intensive applications for extended periods of time.
In conclusion, the RETROFLAG PiStation Case is an excellent choice for anyone looking to build a compact and powerful Raspberry Pi system. With its built-in cooling fan and heatsinks, it provides superior temperature control and performance, making it ideal for a wide range of applications. By following the installation instructions and tips for optimal performance, you can ensure that your system stays cool and runs smoothly for years to come.

Global Merch Park
You May Also Like
3pcs 77mm 4Pin Graphics Fan for RTX3050 3060 3060TI Efficient Cooling and Enhances GPU Service PLD08010S12HH Model
For X1C P1S P1P Five Way Feed Port 4 in 1 Feed Pipe Filament Tube Expansion Port 3D Printer Connector Replacement
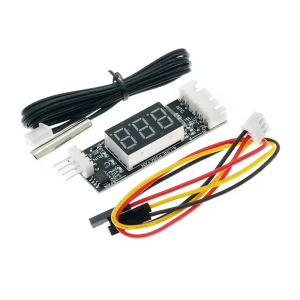
Universal 4Wire PWM Fan Controller 12V3A Digital Temperature Display Speed Adjust Energy Efficient DC8V~16V Power Supply
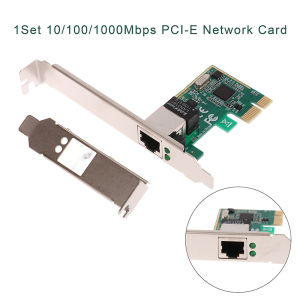
💕 Store opening 💕 1Set 10 100 1000Mbps Gigabit Ethernet PCI Express PCI-E Network Card RJ-45 LAN Adapter Converter Network Controller
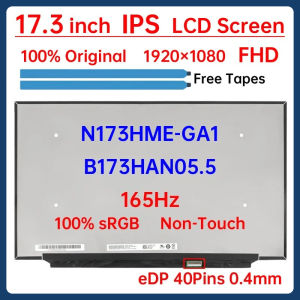
17.3 Inch 165Hz Laptop LCD Screen N173HME-GA1 B173HAN05.5 Display Matrix Panel Replacement 1920x1080 IPS 100% sRGB eDP 40 Pins
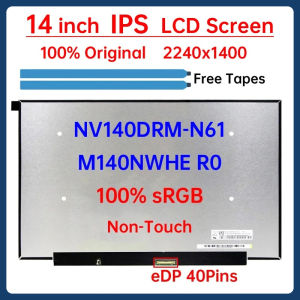
14" Laptop LCD Screen NV140DRM N61 NV140DRM-N61 M140NWHE R0 Display Panel Matrix 2240x1400 IPS 100% sRGB eDP 40 Pins Non-Touch
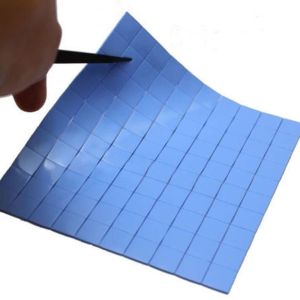
AXW9994 High IC 10mm 100pcs Thermal Practical Conductive Heatsink Pad High Quality
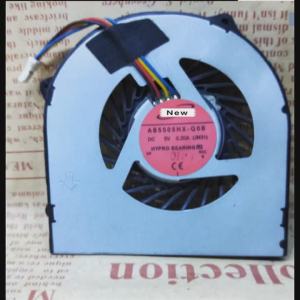
For ADDA AB5505HX-Q0B JM31 DC 5V 0.20A Server Cooling Fan
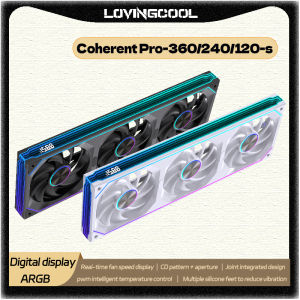
LOVINGCOOL Coherent Pro-360/240/120 ARGB digital display PC fan computer case Siamese Building block fan Integration
3D Printer Nozzle Cleaning Tool Reliable 3D Printer Nozzle Cleaner Cleaning Tool For Extended Equipment Lifespan
Hagibis Dust Mesh Filter for Mac mini M4/M4 Pro 2024: A Comprehensive Guide