Super Load Bearing Tissue Box: A Comprehensive Guide
Super Load Bearing Tissue Box: A Comprehensive Guide
Understanding the Super Load Bearing Tissue Box
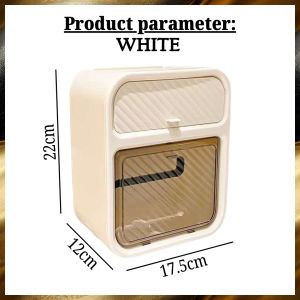
The Super Load Bearing Tissue Box is a versatile and efficient storage solution designed to accommodate a double layer tissue box, making it an ideal addition to any bathroom or restroom area. This wall mount bathroom dispenser offers a sleek, professional look while providing ample storage space for toilet paper rolls and other bathroom accessories.
Key Features & Benefits
- Double Layer Tissue Box: The Super Load Bearing Tissue Box can hold two layers of tissues, allowing for extended use without frequent refills.
- Wall Mount Design: This dispenser is designed to be mounted on the wall, freeing up valuable counter space and providing easy access to tissues.
- Super Load Bearing Capacity: With its robust construction, the Super Load Bearing Tissue Box can handle the weight of multiple toilet paper rolls, ensuring reliable performance.
- Storage Drawer Toilet Paper Holder: The storage drawer feature allows for additional storage of bathroom accessories, making it a versatile addition to any restroom.
Installation Process
Installing the Super Load Bearing Tissue Box is a straightforward process that can be completed in just a few simple steps. Follow the instructions below to ensure a successful installation:
- Prepare the Wall: Select a suitable mounting location and mark the wall with a pencil to indicate the position of the dispenser.
- Drill Pilot Holes: Using a drill, create pilot holes at the marked locations to ensure proper alignment of the mounting screws.
- Attach the Wall Mount: Secure the wall mount to the dispenser using the provided hardware.
- Mount the Dispenser: Attach the dispenser to the wall using the mounting screws and a screwdriver.
- Install the Tissue Box: Slide the double layer tissue box into the dispenser and secure it in place.
Choosing the Right Wall Mount Bathroom Dispenser
Selecting the right wall mount bathroom dispenser is essential for maximizing storage and functionality in your restroom. Consider the following factors when choosing a dispenser:
- Load Capacity: Determine the load capacity required for your specific needs, taking into account the number of toilet paper rolls and other bathroom accessories you plan to store.
- Design: Choose a dispenser that complements the aesthetic of your restroom, whether you prefer a modern or traditional look.
- Mounting Options: Consider the mounting options available, such as wall mount or freestanding, to determine which option best suits your space.
Popular Brands & Models
Some popular brands and models of wall mount bathroom dispensers include:
- Super Load Bearing Tissue Box: A double layer tissue box dispenser with a storage drawer toilet paper holder.
- Roll Holder for Toilet Paper: A compact roll holder designed to accommodate multiple toilet paper rolls.
- Dispenser for Bathroom Accessories: A versatile dispenser that can store a variety of bathroom accessories, including tissues, toilet paper rolls, and more.
Maximizing Storage with a Toilet Paper Roll Holder
To maximize storage space in your restroom, consider incorporating a toilet paper roll holder into your wall mount bathroom dispenser. This feature allows for additional storage of toilet paper rolls, ensuring a constant supply of tissues for all restroom users.
Best Practices for Storage
Follow these best practices to maximize storage space and functionality in your restroom:
- Keep the Dispenser Organized: Regularly clean and organize the dispenser to ensure easy access to tissues and other bathroom accessories.
- Monitor Inventory Levels: Keep track of inventory levels to avoid running out of tissues or other essential items.
- Consider Additional Storage Solutions: Incorporate additional storage solutions, such as shelves or cabinets, to further maximize storage space in your restroom.
Maintaining Your Wall Mount Bathroom Dispenser
To ensure the longevity and functionality of your wall mount bathroom dispenser, follow these maintenance tips:
- Regular Cleaning: Regularly clean the dispenser to remove dirt, grime, and other debris that may accumulate over time.
- Check for Damage: Inspect the dispenser periodically for signs of damage or wear and tear, addressing any issues promptly to prevent further damage.
- Replace Worn Parts: Replace worn parts, such as mounting hardware or storage drawers, to ensure continued performance and functionality.
How to Install a Double Layer Tissue Box
Installing a double layer tissue box in your wall mount bathroom dispenser is a simple process that can be completed in just a few steps. Follow the instructions below to ensure a successful installation:
Tools & Materials Needed
- Wall Mount Bathroom Dispenser: A dispenser designed to accommodate a double layer tissue box.
- Double Layer Tissue Box: A tissue box designed to hold two layers of tissues.
- Mounting Hardware: Screws, nuts, and bolts required to secure the dispenser to the wall.
- Screwdriver: A tool used to tighten screws and attach mounting hardware.
Step-by-Step Installation Guide
- Prepare the Wall: Select a suitable mounting location and mark the wall with a pencil to indicate the position of the dispenser.
- Drill Pilot Holes: Using a drill, create pilot holes at the marked locations to ensure proper alignment of the mounting screws.
- Attach the Wall Mount: Secure the wall mount to the dispenser using the provided hardware.
- Mount the Dispenser: Attach the dispenser to the wall using the mounting screws and a screwdriver.
- Install the Tissue Box: Slide the double layer tissue box into the dispenser and secure it in place.
Troubleshooting Common Issues
Encountering issues with your wall mount bathroom dispenser can be frustrating, but addressing these problems promptly can help maintain its functionality and performance. Follow the tips below to troubleshoot common issues:
Dealing with Misalignment
If your dispenser is misaligned, follow these steps to correct the issue:
- Remove the Dispenser: Carefully remove the dispenser from the wall, taking care not to damage the mounting hardware or surrounding area.
- Reposition the Wall Mount: Adjust the position of the wall mount to ensure proper alignment.
- Reattach the Dispenser: Secure the dispenser to the wall using the mounting screws and a screwdriver.
Resolving Storage Drawer Problems
If you're experiencing issues with the storage drawer, follow these steps to resolve the problem:
- Inspect the Drawer: Check the drawer for signs of damage or wear and tear, addressing any issues promptly to prevent further damage.
- Lubricate the Slides: Apply lubricant to the drawer slides to ensure smooth operation.
- Replace Worn Parts: Replace worn parts, such as drawer slides or handles, to ensure continued performance and functionality.

AllTach
Review
You May Also Like

Travel Outdoor Cup Portable Cartoon Bear Toothbrush Toothpaste Storage Boxes Bathroom Organizer
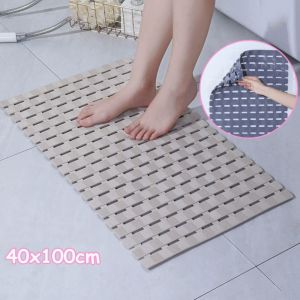
PRIMEPICKGLOBAL Hydrophobic Anti-Slip Mat PVC Rectangle Bathroom Mat Portable Non-Slip Easy Drying Mat Bathroom
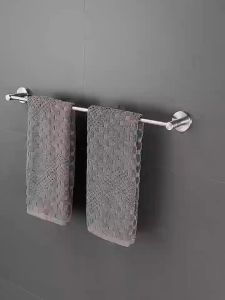
Stainless Steel Towel Rack: Single & Double Bar Bathroom Accessories Towel Rail Kitchen Wall Cloth Holder
White Coated Bathroom Rack /Kitchen Rack /Multi Purpose rack 2 and 3 Layer Wall Hanging Organizer
Superior Tension Mats: Flock Minimalist Floor Mat & Non-Slip Household Doormat
Durable Strong Bristle Modern Toilet Scrubber Brush (BR013)

Manyue Home Begonia Chunxiao: A Guide to Chinese Style Living Room Cushions
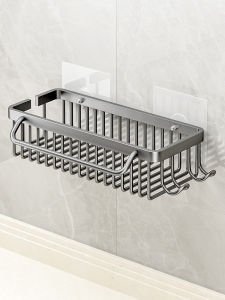
Bathroom Wall Mounted Storage Rack No Drilling Required Modern Style Single Layer Shelf for Wash Basin Toilet And Shower Area
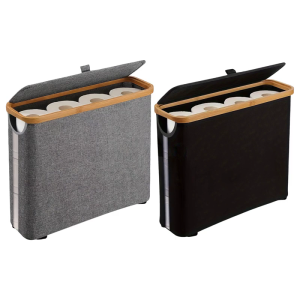
Elegant Toilet Paper Storage Basket for Bathroom Organization Holds Up to 12 Rolls With Quick Assembly Black or Gray
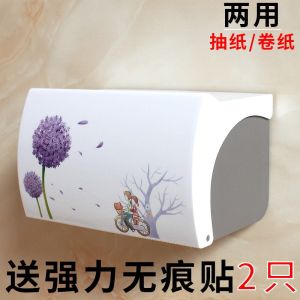
Waterproof Toilet Paper Holder Wall Mounted No Drilling Required Tissue Box for Bathroom Plastic Material Easy to Use

1PC Cartoon Goose Hand Towel Kitchen Bathroom and Toilet Hand Towel Hanging Type with Super Water Absorption Quick Drying