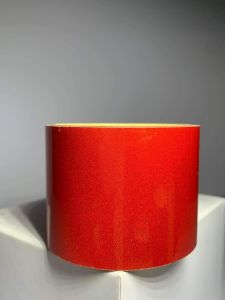
REFLECTORIZED STICKER 1 2 3 4 inches - width x 5FT 10FT - length
REFLECTORIZED STICKER 1 2 3 4 inches - width x 5FT 10FT - length
What Are ReflectORIZED Stickers?
ReflectORIZED stickers are reflective safety stickers that are designed to enhance visibility and safety in low-light conditions. They are available in various sizes, with widths ranging from 1 to 4 inches and lengths from 5 to 10 feet. These stickers are perfect for use on vehicles, bicycles, and other objects that need to be visible at night or in low-light environments.
Key Features: 1 to 4 Inches Width
ReflectORIZED stickers come in four different widths: 1 inch, 2 inches, 3 inches, and 4 inches. Each width offers a unique level of visibility and safety, making them ideal for various applications. The smaller widths are perfect for smaller objects like bicycles, while the larger widths are better suited for larger vehicles or equipment.
Key Features: 5FT to 10FT Length
In addition to their varying widths, ReflectORIZED stickers also come in two different lengths: 5 feet and 10 feet. These lengths allow users to customize their application based on the size of the object they want to make visible. For example, a 5-foot sticker may be sufficient for a bicycle, while a 10-foot sticker would be better suited for a larger vehicle or equipment.
Benefits of ReflectORIZED Stickers
ReflectORIZED stickers offer numerous benefits, including increased visibility and safety. By enhancing the visibility of objects in low-light conditions, these stickers help prevent accidents and ensure the safety of both the object and those around it. Additionally, ReflectORIZED stickers are easy to apply and maintain, making them a convenient and effective solution for improving visibility and safety.
How to Choose the Right ReflectORIZED Sticker
Choosing the right ReflectORIZED sticker depends on several factors, including width, length, visibility, safety, application, and usage.
Factors to Consider: Width & Length
When choosing a ReflectORIZED sticker, consider the width and length that best suit your needs. Smaller widths are ideal for smaller objects, while larger widths are better suited for larger vehicles or equipment. Similarly, shorter lengths may be sufficient for smaller objects, while longer lengths may be necessary for larger objects.
Factors to Consider: Visibility & Safety
Another factor to consider when choosing a ReflectORIZED sticker is visibility and safety. ReflectORIZED stickers are designed to enhance visibility in low-light conditions, making them ideal for use on vehicles, bicycles, and other objects that need to be visible at night or in low-light environments. By choosing a sticker that offers optimal visibility and safety, you can help prevent accidents and ensure the safety of both the object and those around it.
Factors to Consider: Application & Usage
Finally, consider the application and usage of the ReflectORIZED sticker. These stickers can be applied to a variety of surfaces, including metal, plastic, and glass. However, some surfaces may require special preparation before application. Additionally, consider how the sticker will be used and whether it needs to withstand certain conditions, such as extreme temperatures or exposure to sunlight.
How to Apply ReflectORIZED Stickers
Applying ReflectORIZED stickers is a straightforward process that requires only a few simple steps.
Step-by-Step Application Process
- Clean the surface where the sticker will be applied.
- Peel the backing off the sticker.
- Align the sticker with the desired location.
- Press the sticker firmly onto the surface.
- Smooth out any air bubbles or wrinkles.
Tips for Proper Installation
To ensure proper installation of ReflectORIZED stickers, follow these tips:
- Clean the surface thoroughly before applying the sticker.
- Ensure the surface is dry before applying the sticker.
- Apply the sticker in a clean, dust-free environment.
- Avoid touching the sticky side of the sticker.
- Smooth out any air bubbles or wrinkles immediately after application.
Maintenance & Care
To maintain the effectiveness of ReflectORIZED stickers, follow these maintenance and care tips:
- Clean the sticker regularly with a soft cloth and mild soap.
- Avoid using abrasive cleaners or solvents.
- Inspect the sticker periodically for any signs of wear or damage.
- Replace the sticker if it becomes damaged or worn.
In conclusion, ReflectORIZED stickers are an effective solution for enhancing visibility and safety in low-light conditions. By choosing the right sticker and following proper application and maintenance procedures, you can ensure the safety of both the object and those around it.

RETRO TRADE MARKETING
Review
You May Also Like
For QJMOTO 900 900X SRT900 TRK902 TRK902/X Motorcycle Navigation Holder Phone Holder GPS Holder 22mm
Rear Windshield Wiper Blade Windscreen Wipers Accessories For Toyota Land Cruiser 200 J200 2008-2020 2009 2010 2011 2012 2013
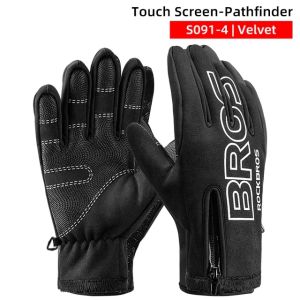
ROCKBROS Motorcycle Gloves Adjustable Warm Full Finger Gloves Anti-slip Toch-screen Windproof Cycling Gloves
ZEBRA Ritzy a113 Modular Dual Visor Helmet Full Face Half Face for Motorcycle Men Women
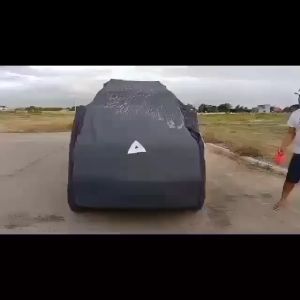
Car Cover for Fortuner WITH CARRIER MONTERO WITH CARRIER ALL BIG SUV WITH OR WITHOUT CARRIER

QJMOTOR SRK 400 TOP BOX BRACKET / MOTORCYCLE ACCESSORIES / HEAVY DUTY / POWDER COATED BLACK / LIFETIME WARRANTY / ORIGINAL
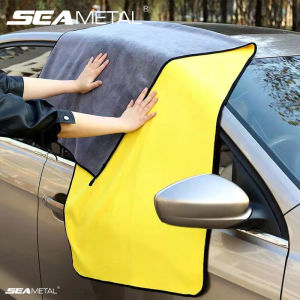
SEAMETAL 160x60cm Car Wash Towel 400GSM Microfiber High Water Absorption Cleaning Towels Thickened Soft Car Washing Drying Cloth
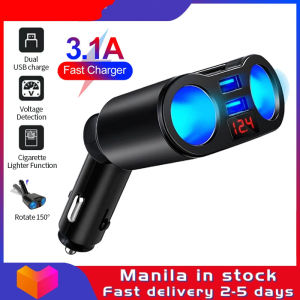
LED Car Charger 12V/24V 3.1A Digital Display Dual USB Charger 2-Way Car Cigarette Lighter Socket Adapter 110° Rotation Converter Adapter
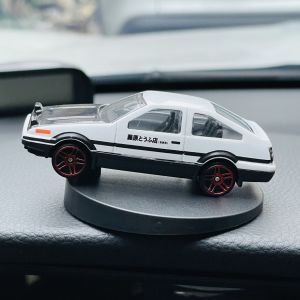
1:64 Initial D AE86 Fujiwara Racing Drift Car Model Statue Adornments Auto Center Console Child creative car toy ornaments

Transpeed 4T40E 4T45E Automatic Transmission Oil Filter Gasket Kit for BUICK Lacrosse 2.4 CHEVROLET PONTIAC Car Accessories 2004-ON OEM 24221762
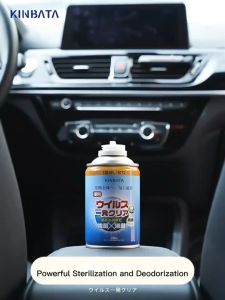
Anti Bacterial Spray for Car Deodorizer and Sterilizer Antibacterial Deodorant for Car Air Freshener for Car Spray