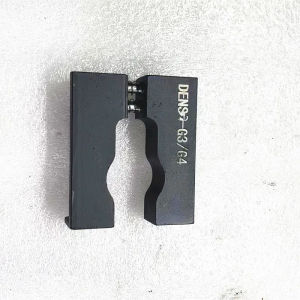
For Denso G3 G4 GM Series Diesel Common Rail Injector Fixture Clamp ToolInjector Dismantle Tool
For Denso G3 G4 GM Series Diesel Common Rail Injector Fixture Clamp ToolInjector Dismantle Tool
Introduction to the Denso G3 G4 GM Series Injector Dismantle Tool
The Denso G3 G4 GM Series Diesel Common Rail Injector Fixture Clamp Tool is a specialized automotive repair tool designed for maintaining diesel common rail injectors. This versatile tool is made in Mainland China and is compatible with Denso G3, G4, and GM series injectors, making it a valuable addition to any automotive repair shop.
Key Features and Benefits
The Denso G3 G4 GM Series Injector Dismantle Tool offers several advantages over other injector maintenance tools:
- Compatibility: Works with multiple Denso G3, G4, and GM series injectors, ensuring broad applicability.
- Precision: Designed to provide accurate and reliable disassembly of diesel common rail injectors.
- Ease of use: Simple installation process and straightforward operation.
- Cost-effective: Offers excellent value for money compared to similar tools on the market.
Comparison with Other Injector Maintenance Tools
Compared to other diesel engine injector maintenance tools, the Denso G3 G4 GM Series Injector Dismantle Tool stands out due to its compatibility with various Denso injectors, ease of use, and cost-effectiveness. Other tools may lack these features, making the Denso G3 G4 GM Series Injector Dismantle Tool an ideal choice for automotive repair professionals.
How to Use the Denso G3 G4 GM Series Injector Dismantle Tool
Using the Denso G3 G4 GM Series Injector Dismantle Tool is a straightforward process. Follow this step-by-step guide to ensure proper installation:
- Prepare the work area: Clear the workspace and gather necessary tools and materials.
- Remove the injector: Carefully remove the diesel common rail injector from the engine.
- Install the fixture clamp: Attach the Denso G3 G4 GM Series Injector Dismantle Tool to the injector, ensuring a secure fit.
- Disassemble the injector: Follow the manufacturer's instructions to disassemble the injector using the tool.
- Clean and inspect: Thoroughly clean and inspect the injector components before reassembly.
Common Mistakes to Avoid
When using the Denso G3 G4 GM Series Injector Dismantle Tool, avoid these common mistakes:
- Forcing the fixture clamp: Do not force the fixture clamp onto the injector; ensure a secure fit instead.
- Improper disassembly: Follow the manufacturer's instructions carefully to avoid damaging the injector components.
- Neglecting cleaning and inspection: Always clean and inspect the injector components before reassembly to maintain optimal performance.
Maintaining the Denso G3 G4 GM Series Injector Dismantle Tool
Proper maintenance of the Denso G3 G4 GM Series Injector Dismantle Tool is essential to ensure its longevity and effectiveness. Follow these regular maintenance tips:
- Keep the tool clean: After each use, clean the tool and store it in a dry, secure location.
- Inspect for wear: Regularly check the tool for signs of wear or damage, and replace any worn parts as needed.
- Follow manufacturer guidelines: Adhere to the manufacturer's maintenance recommendations to prolong the tool's lifespan.
Troubleshooting Common Issues
If you encounter issues with the Denso G3 G4 GM Series Injector Dismantle Tool, refer to the troubleshooting guide below:
- Fixture clamp not fitting securely: Ensure the correct injector type is being used and double-check the compatibility of the tool.
- Difficult disassembly: Follow the manufacturer's instructions carefully and avoid forcing the tool onto the injector.
- Tool damage: Inspect the tool regularly for signs of wear or damage, and replace any worn parts as needed.
Conclusion and Next Steps
In summary, the Denso G3 G4 GM Series Diesel Common Rail Injector Fixture Clamp Tool is a valuable addition to any automotive repair shop. Its compatibility with multiple Denso injectors, ease of use, and cost-effectiveness make it an ideal choice for maintaining diesel common rail injectors. To learn more about this tool and other automotive repair solutions, visit our website or contact us directly.

fooqrd
Review

You May Also Like
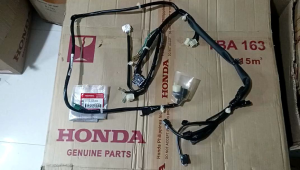
Wire Harness Honda Genuine(Part Number: 32100-K25-600)(Beat Fi V1)
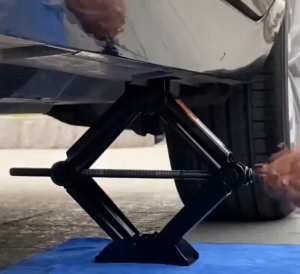
3 Ton Jack Repair Kit & Car Tools Set: A Comprehensive Guide
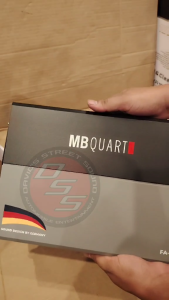
MB QUART FA460: A High Performance 4 Channel Amplifier
SHOEI X14 Helmet Anti Fog Film for Visors Helmets X14 CW-1 CWR-1 CNS-1 CNS-3 Motorcycle Helmet Accessories Helmets Visor Sticker

Tutupop Car Decal Sticker Reflective Cartoon Animation Prank Decoration Auto Body Patch Customizable Fun Vehicle Decals

CLICK V2 / CLICK V3 / CLICK V4 PULLEY COVER WITH TRANSPARENT SCREEN MATTE BLACK Z-1006 / CARBON C-1007 CVT REPLACEMENT COVER FOR HONDA CLICK 125 / 150 MOTORCYCLE 1PC

Winter Thermal Fleece Balaclava Scarf Outdoor Sports Ski Face Mask Neck Warmer Snood Hood Hat Windproof Cold Warm Riding Cap

Car Code Readers with Graphical Live Data Streaming Multilingual OBDII Scanner Tool for gasolines Vehicles Since 1996

NEOGLOW APOLLO MAX 300W 50000LM 6500K CarLEDHeadlight H4 H11super bright 3 years warranty lP68
MRP-BRAKE CABLE FOR TMX155 FOR MOTORCYCLE
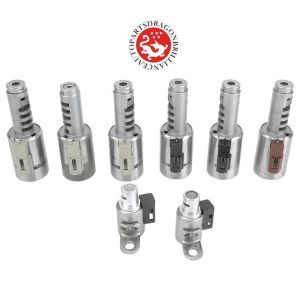
8Pcs Transmission Valve Solenoids Replacement OEM TF80-SC TF81-SC TF80SC TF81SC For CITROEN For Volvo For PEUGEOT For RENAULT