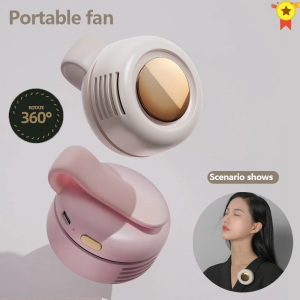



Handmade DIY Resin Burger Caviar Sushi Simulation Mobile Phone Case Hair Clip Dollhouse Accessories Fashion Jewelry Accessories
Handmade DIY Resin Burger Caviar Sushi Simulation Mobile Phone Case Hair Clip Dollhouse Accessories Fashion Jewelry Accessories
Introduction to Handmade Resin Accessories
Handmade resin accessories have become increasingly popular in recent years due to their unique, customizable designs and affordability. These accessories can be used in various ways, such as phone cases, hair clips, and dollhouse decor, making them versatile and ideal for fashion enthusiasts.
What are Handmade Resin Accessories?
Handmade resin accessories are crafted using epoxy resin, a two-part liquid polymer that hardens when mixed together. This material allows for customization, enabling users to incorporate various colors, textures, and objects into their creations.
Types of Handmade Resin Accessories
Some popular types of handmade resin accessories include phone cases, hair clips, jewelry pieces, and dollhouse decor. These items can be customized to suit individual preferences and tastes, making them perfect for fashion enthusiasts and DIY hobbyists alike.
Benefits of Using Handmade Resin Accessories
Handmade resin accessories offer several benefits, such as affordability, customization, durability, and eco-friendliness. They provide a unique touch to personal style and can be easily created at home using readily available materials.
How to Create a DIY Resin Mobile Phone Case
A resin mobile phone case is a perfect way to add a personal touch to your device. Follow these steps to create your own custom phone case.
Materials Needed for Resin Phone Case
- Epoxy resin kit
- Mixing cups
- Stirring sticks
- Mold release spray
- Silicone mold
- Phone case base
- Color pigments
- Decorative objects (optional)
Step-by-Step Guide to Making a Resin Phone Case
- Prepare the silicone mold by spraying it with mold release spray.
- Mix the epoxy resin according to the manufacturer's instructions.
- Add color pigments to achieve the desired shade.
- Pour the resin mixture into the mold, filling it about halfway.
- Insert the phone case base into the mold, pressing it gently to remove air bubbles.
- Pour the remaining resin mixture over the phone case base, ensuring it's evenly distributed.
- Allow the resin to cure according to the manufacturer's instructions.
- Once cured, carefully remove the phone case from the mold and trim any excess resin.
- Sand the edges and surfaces if necessary to achieve a smooth finish.
Tips for Customizing Your Resin Phone Case
- Incorporate decorative objects like glitter, beads, or small trinkets into the resin mixture for added texture and visual interest.
- Experiment with different color combinations to create unique patterns and designs.
DIY Resin Caviar & Sushi Simulation Dollhouse Accessories
Resin caviar and sushi simulation accessories add a touch of realism to dollhouse decor. Follow these steps to create your own custom dollhouse accessories.
Materials Needed for Resin Caviar & Sushi Simulation Accessories
- Epoxy resin kit
- Mixing cups
- Stirring sticks
- Mold release spray
- Silicone mold
- Color pigments
- Decorative objects (optional)
Step-by-Step Guide to Making Resin Caviar & Sushi Simulation Accessories
- Prepare the silicone mold by spraying it with mold release spray.
- Mix the epoxy resin according to the manufacturer's instructions.
- Add color pigments to achieve the desired shade.
- Pour the resin mixture into the mold, filling it about halfway.
- Insert the desired shape (e.g., caviar or sushi) into the mold, pressing it gently to remove air bubbles.
- Pour the remaining resin mixture over the shape, ensuring it's evenly distributed.
- Allow the resin to cure according to the manufacturer's instructions.
- Once cured, carefully remove the accessory from the mold and trim any excess resin.
- Sand the edges and surfaces if necessary to achieve a smooth finish.
Tips for Customizing Your Resin Caviar & Sushi Simulation Accessories
- Incorporate decorative objects like glitter, beads, or small trinkets into the resin mixture for added texture and visual interest.
- Experiment with different color combinations to create unique patterns and designs.
DIY Hair Clip Accessories Using Handmade Resin
Resin hair clips offer a stylish and customizable alternative to traditional hair accessories. Follow these steps to create your own custom hair clips.
Materials Needed for Resin Hair Clips
- Epoxy resin kit
- Mixing cups
- Stirring sticks
- Mold release spray
- Silicone mold
- Color pigments
- Decorative objects (optional)
- Hair clip base
Step-by-Step Guide to Making Resin Hair Clips
- Prepare the silicone mold by spraying it with mold release spray.
- Mix the epoxy resin according to the manufacturer's instructions.
- Add color pigments to achieve the desired shade.
- Pour the resin mixture into the mold, filling it about halfway.
- Insert the hair clip base into the mold, pressing it gently to remove air bubbles.
- Pour the remaining resin mixture over the hair clip base, ensuring it's evenly distributed.
- Allow the resin to cure according to the manufacturer's instructions.
- Once cured, carefully remove the hair clip from the mold and trim any excess resin.
- Sand the edges and surfaces if necessary to achieve a smooth finish.
Tips for Customizing Your Resin Hair Clips
- Incorporate decorative objects like glitter, beads, or small trinkets into the resin mixture for added texture and visual interest.
- Experiment with different color combinations to create unique patterns and designs.
By following these guidelines, you can create your own unique and stylish handmade resin accessories. Enjoy the creative process and have fun customizing your fashion jewelry, phone cases, and dollhouse decor!" }

TAO Jewellery
Review

You May Also Like
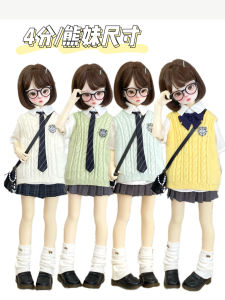
Bear Sister Mdd Doll Clothes Accessories College Style Knitted Vest Plaid Shirt Skirt Bjd4 Preorder Suitable Age 14 And above
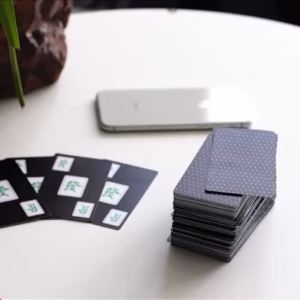
Waterproof Card Mahjong Playing Cards Frosted Thickened Plastic Travel Portable Home Hand Rub Paper Mahjong
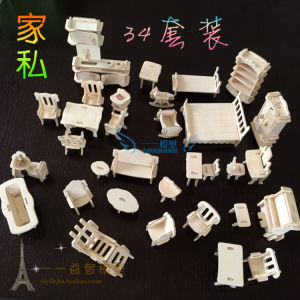
Promotion Wooden 3D Puzzle Educational DIY Mini Furniture Decoration Home Private Set Model Toy for Children under 14 Years Old
Renaissance Cork Glass Magic Bottle with Bottle Cover Viking Knight Retro Belt Accessories Halloween Dress up Props
LEGO® Ideas 21345 Polaroid OneStep SX-70 Camera Age 18+ Building Blocks 2024 (516pcs)
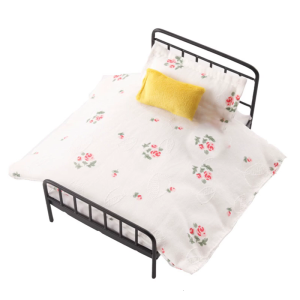
Doll House Bed and Bedding Iron Frame Bed With Rural Styles Quilt And Pillow 1/12 Miniature Furniture Scene Collection
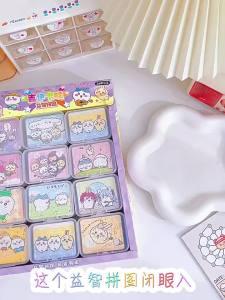
3 Chiikawa Cartoon Puzzle Hachiware Usagi Kurimanjuu Momonga Puzzle Educational Toys For Kids s Home Decor Kids stationery gift
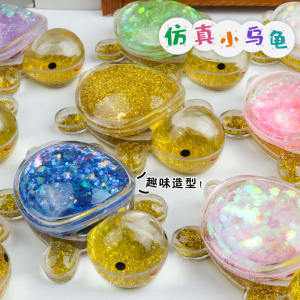
Creative Stress Reliever Toy Turtle Honey Flow Sand Display Tabletop Bling Decorative Accessories Cartoon Style Animal Shape
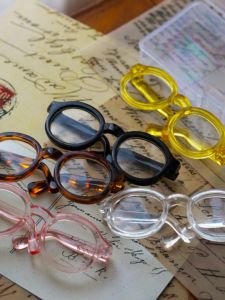
Transparent Acrylic Glasses for 15cm Cotton Doll Celebrity Toy Figurines British Style Academic Theme Soft Plush Doll Clothes

【4 PCS】baofeng orignal UV 5R walkie talkie 5KM long range 5W 128 Channels FM Two Way Radio

JOYL Table Tennis ( ping pong ) Training Exercise Toy(Random dsgn only)