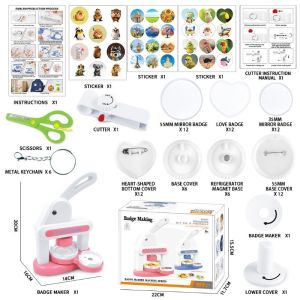
Button Badge Maker Machine Different Size Mold 55mm 35mm Mold Heart Shape DIY Badge Pin Refrigerator Sticker Maker Machine Kit With 30pcs Badge Parts/Pic/Circle Cutter
Button Badge Maker Machine Different Size Mold 55mm 35mm Mold Heart Shape DIY Badge Pin Refrigerator Sticker Maker Machine Kit With 30pcs Badge Parts/Pic/Circle Cutter
Introduction to the 30pcs Badge Parts Kit & DIY Badge Pin Maker
Welcome to our comprehensive guide on the Button Badge Maker Machine! This versatile kit allows you to create custom badge pins and refrigerator stickers using different size molds, including 55mm and 35mm molds, and even a heart shape badge mold. In this article, we will explore the key features of the DIY Badge Pin Maker, provide step-by-step instructions on how to use the machine, and highlight the benefits of the various mold options.
Overview of the 30pcs Badge Parts Kit
The 30pcs Badge Parts Kit is a collection of essential components required to create custom badge pins and refrigerator stickers. It includes various materials such as metal pins, plastic backs, and adhesive strips, allowing you to craft unique designs that suit your preferences. This kit is perfect for beginners and experienced DIY enthusiasts alike, offering endless possibilities for customization.
Key Features of the DIY Badge Pin Maker
The DIY Badge Pin Maker is a compact and user-friendly machine that simplifies the process of creating custom badge pins and refrigerator stickers. Some of its key features include:
- Easy-to-use interface
- Versatile mold options (55mm, 35mm, and heart shape)
- Compatible with various materials, including metal, plastic, and paper
- Compact design for easy storage
How to Use the Refrigerator Sticker Maker & Button Badge Maker Machine
Now that you have an understanding of the DIY Badge Pin Maker and its features, let's dive into how to use the machine effectively.
Step-by-Step Guide to Using the Refrigerator Sticker Maker
To create custom refrigerator stickers using the Button Badge Maker Machine, follow these steps:
- Choose your desired design and print it on sticker paper.
- Cut out the design using the circle cutter included in the kit.
- Place the cut-out design onto the mold of your choice (55mm or 35mm).
- Insert the mold into the machine and press the start button.
- Once the process is complete, remove the mold and carefully peel off the sticker from the backing.
- Apply the sticker to your desired surface, such as a refrigerator or locker.
Step-by-Step Guide to Using the Button Badge Maker Machine
Creating custom badge pins using the Button Badge Maker Machine is just as simple! Follow these steps:
- Choose your desired design and print it on sticker paper.
- Cut out the design using the circle cutter included in the kit.
- Place the cut-out design onto the mold of your choice (55mm or 35mm).
- Insert the mold into the machine and press the start button.
- Once the process is complete, remove the mold and carefully peel off the badge pin from the backing.
- Attach the metal pin and plastic back to the badge pin, securing it with adhesive strips.
Exploring Different Size Mold Options: 55mm & 35mm
The Button Badge Maker Machine comes with two different size molds: 55mm and 35mm. Each mold offers unique benefits depending on your project requirements.
Benefits of the 55mm Mold
The 55mm mold is perfect for creating larger badge pins and refrigerator stickers. Its generous size allows for more intricate designs and provides ample space for text or images. This mold is ideal for creating custom pins for events, clubs, or personal projects that require a larger presence.
Benefits of the 35mm Mold
The 35mm mold is perfect for creating smaller badge pins and refrigerator stickers. Its compact size makes it ideal for creating custom pins for everyday use, such as keychains, lanyards, or locker decorations. This mold is also perfect for creating custom pins for children or as a starter kit for beginners.
Heart Shape Badge Mold: Design & Customization Options
In addition to the 55mm and 35mm molds, the Button Badge Maker Machine also includes a heart shape badge mold. This unique mold offers endless design and customization options, allowing you to create custom badge pins and refrigerator stickers with a romantic twist.
Designing Your Own Heart Shape Badge
To design your own heart shape badge, follow these steps:
- Choose your desired design and print it on sticker paper.
- Cut out the design using the circle cutter included in the kit.
- Place the cut-out design onto the heart shape mold.
- Insert the mold into the machine and press the start button.
- Once the process is complete, remove the mold and carefully peel off the badge pin from the backing.
- Attach the metal pin and plastic back to the badge pin, securing it with adhesive strips.
Customizing Your Badge with the Heart Shape Mold
The heart shape mold offers endless customization options, allowing you to create unique designs that suit your preferences. Some ideas include:
- Adding text or images to the heart shape badge
- Using different colors and patterns to create a personalized look
- Creating custom pins for special occasions, such as Valentine's Day or weddings
Conclusion: Maximizing the Potential of Your Button Badge Maker Machine Kit
In conclusion, the Button Badge Maker Machine is a versatile and user-friendly tool that allows you to create custom badge pins and refrigerator stickers with ease. With its various mold options, including 55mm, 35mm, and heart shape molds, you can explore endless design possibilities and create unique projects that suit your preferences. So why wait? Start creating custom badge pins and refrigerator stickers today with the Button Badge Maker Machine!
[Keywords: 30pcs Badge Parts Kit, DIY Badge Pin Maker, Refrigerator Sticker Maker, Button Badge Maker Machine, Heart Shape Badge Mold]

MagicalHouse
Review

You May Also Like
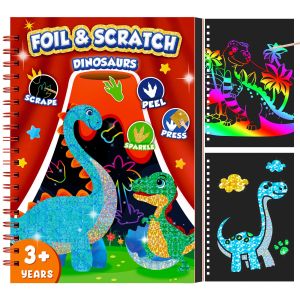
Dinosaur Scratch Art Book for Kids Foil and Scratch Art Paper No Mess Art Crafts DIY Creative Activity Kit for Birthdy Gifts
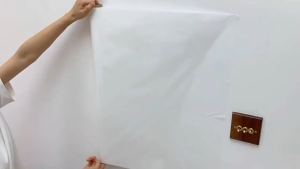
Whiteboard Wall Sticker With tools 45cm/60cm*200cm Electrostatic Reusable Easy Clean Kids
Guangna Direct Liquid Soft Tip Acrylic Marker Pen 168 Waterproof Colored Glass Stone Plastic Art Drawing Graffiti Pen
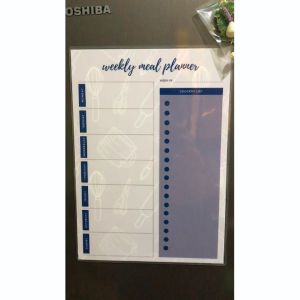
CeaCraft Magnetic Meal Planner: A Kitchen Organization Tool
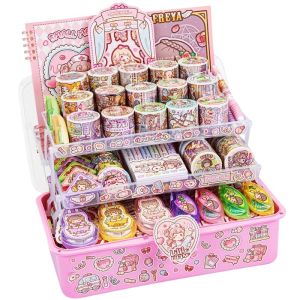
Duga New Princess Guide Booklet Adhesive Tape Decorative Material Princess Girl Heart Cute Popular Notebook Tape Roll Quiet Book Matching Set
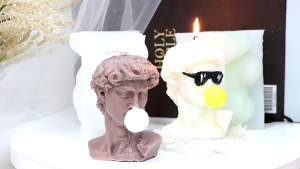
Epoxy Handmade Soap Mold David Decoration Mold for DIY Decoration Making Soap Melt Resin Polymer Clay
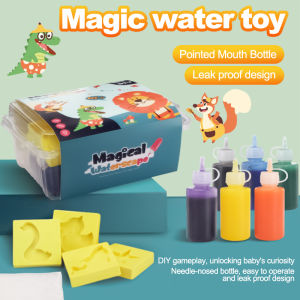
Kids DIY Magic Water Elf Toy: A Fun Montessori Education & Creative Family Craft
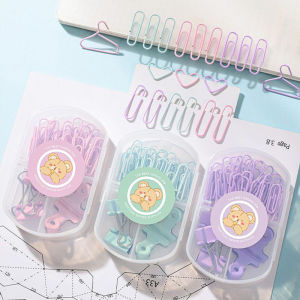
Multifunctional Paper Clips Pushpins Binder clips Paper Clip Office Supplies Combination Set
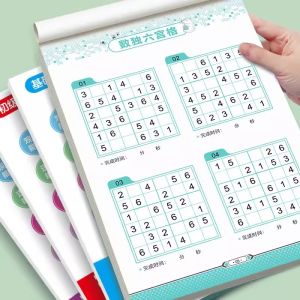
Sudoku Toy Book for Children Kindergarten First Grade Primary School Students Attention Training Labyrinth Game Educational
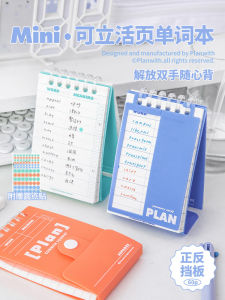
Plan with English Wordbook: A Portable Stand-up Memory Notebook for Student Exam Preparation
paper tube 12 inches and 24 inches brand new cardboard core packaging carton craft roll diy packing material board corrugated