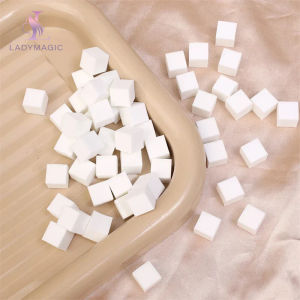
200Pcs Square Nail Art Sponge & DIY Manicure Tool: A Comprehensive Guide
200Pcs Square Nail Art Sponge & DIY Manicure Tool: A Comprehensive Guide
What is a Square Nail Art Sponge?
A square nail art sponge is a versatile tool used for creating stunning nail designs. It comes in various sizes, allowing you to choose the perfect one for your project. These sponges are made from soft, absorbent material that can easily pick up nail polish or gel polish.
How to Choose the Right Size
When selecting a square nail art sponge, consider the size of your nails and the level of detail you want to achieve. Smaller sponges are ideal for intricate designs, while larger ones work well for broader strokes.
Key Features & Benefits
- Versatile: Square nail art sponges can be used to create a wide range of nail designs, from simple gradients to complex patterns.
- Easy to use: Simply dip the sponge into your chosen polish and apply it to your nails for instant results.
- Reusable: With proper care, these sponges can last for multiple uses, making them a cost-effective option for nail art enthusiasts.
Understanding Gradient Nails Brushes
Gradient nails brushes are another essential tool for creating beautiful nail art designs. These brushes feature a unique shape that allows you to easily apply polish in a gradient pattern.
How to Create Stunning Nail Art
To create gradient nail art using a square nail art sponge, first paint your nails with a base color. Then, dip the sponge into a contrasting polish and gently press it onto your nails, blending the colors together for a seamless look.
Tips for Perfecting Your Technique
- Practice makes perfect: Experiment with different techniques and color combinations to find what works best for you.
- Clean your tools: Regularly clean your square nail art sponge and gradient nails brushes to ensure they remain in good condition.
DIY Manicure Tool: A Beginner's Guide
If you're new to nail art, don't worry! With a little practice and the right tools, you can create professional-looking manicures at home.
Step-by-Step Instructions
- Start by preparing your nails: Trim and file them to your desired shape, then clean them thoroughly.
- Apply a base coat to protect your nails and promote polish adhesion.
- Choose your desired nail polish or gel polish and paint your nails.
- Use a square nail art sponge or gradient nails brush to add your chosen design.
- Finish with a top coat to seal your manicure and extend its longevity.
Common Mistakes to Avoid
- Overloading your sponge or brush with polish can result in uneven application. Be sure to tap off any excess before applying.
- Rushing through the process can lead to mistakes. Take your time and enjoy the creative process!
Maximizing the Potential of Gel Polish Design
Gel polish offers a durable, long-lasting alternative to traditional nail polish. By using square nail art sponges and gradient nails brushes, you can create stunning gel polish designs that will last for weeks.
Choosing the Right Colors
When selecting gel polish colors, consider the occasion and your personal style. For a classic look, opt for neutral shades like pink, nude, or gray. For a bolder statement, try bright hues like red, blue, or green.
Techniques for Achieving Professional Results
- Practice on fake nails or acrylics before attempting gel polish designs on your natural nails.
- Invest in quality tools and supplies to ensure the best possible results.
Conclusion: Mastering the Art of Mini Nails Sponge & Square Nail Art Sponge
With the right tools and techniques, you can create beautiful nail art designs that will turn heads. By following this guide, you'll be well on your way to mastering the art of mini nails sponge and square nail art sponge. So why wait? Get creative and start designing your dream manicure today!

Ladymagic
You May Also Like
1/3/5PC 3MM Tattoo Practice Skin Silicone Fake Skin DoubleSided Thicker Tattoo Training Skin Permanent Makeup Tattoo Accessories

Bremod Premium Matcha Chocolate 7.77 (HAIR COLORANT/HAIR DYE WITH OXIDIZING CREAM) Hair Color

10 Pcs HerSkin Turmeric Soap 100g Sabon Pampaputi Whitening Exfoliating Moisturizing Facial Body Wash Moisturizer Niacinamide Alpha Arbutin Acne Pimples Pores Pekas Melasma Peklat Scars Blemishes Dark Spots Hydrating Beauty Skin Care For Men & Women
⚡Flawless Eraser Double-Ended Foundation Stick Light Makeup Base Concealer Stick Concealer Foundation Stick Long-Lasting Non-Makeup Cream

Handmade Childrens Nail Art Stickers Girls Student Cartoon Cute New Year Style Wearable False Nails Purple Color from China

GMEELAN SKIN WHITENING EXFOLIATING GEL/ Orange Exfoliating Gel for Face Whitening 50g
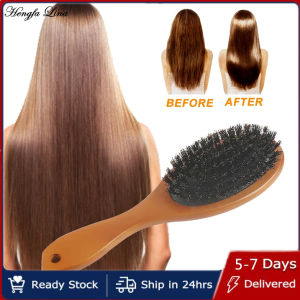
Hengfa Lina Natural Boar Bristle Hairbrush & Wood Handle Boar Bristle Beard Comb: A Comprehensive Guide
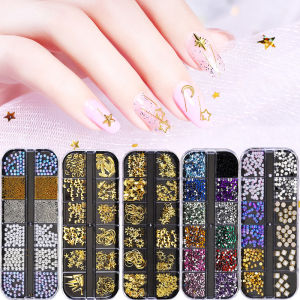
JOSLOVE Nail Decoration Mix: A Comprehensive Guide
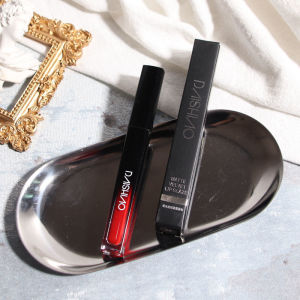
Waterproof Matte Lipstick Set: A Comprehensive Guide
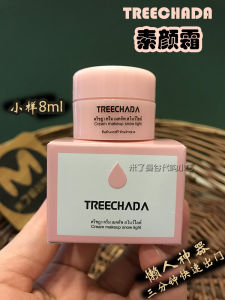
Treechada Natural Look Cream Sample 8ml Brightens Skin Tone Conceals Flaws Hydrates Moisturizes Travel Size Foundation
YOU GLOW BABE Beauty White Soap 10x Whitening Micropeeling BLEACHING SOAP BEAUTY WHITE YOU GLOW BABE