Car Interior Button Repair Stickers: Matte Black Decals for Mercedes
Car Interior Button Repair Stickers: Matte Black Decals for Mercedes
Introduction to Car Interior Button Repair Stickers
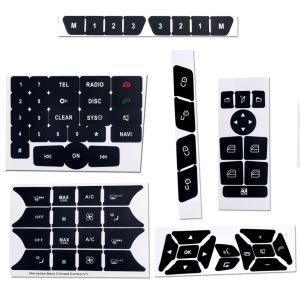
Car Interior Button Repair Stickers are designed to restore the appearance of worn-out buttons on your car's steering wheel unit. These stickers are made from opaque vinyl material, allowing you to replace the original look of your car's buttons. Although the shape and size of the letters and drawings may not exactly match the original, they serve their purpose by repairing the wear on the original buttons. The size of the sticker is slightly smaller, so there is no risk of peeling off at the edges. Additionally, the signs and letters are cut so that the panel light can pass through them.
Choosing the Right Decal for Your Mercedes Model
When selecting the right decal for your Mercedes model, it is essential to consider the specific make and model of your vehicle. For example, if you own a GLK350 C Class CLS C218, W172, W204, W207, W212, or W218, these stickers are compatible with your car. By choosing the appropriate decal for your vehicle, you can ensure a seamless and professional-looking repair.
Installation Guide: Applying Car Interior Button Repair Stickers
Tools Needed
To apply the car interior button repair stickers, you will need the following tools:
- A clean, lint-free cloth
- Isopropyl alcohol
- A small brush or cotton swab
- Scissors (if necessary)
Step-by-Step Instructions
- Clean the area around the buttons using a clean, lint-free cloth and isopropyl alcohol. Allow the area to dry completely before proceeding.
- Remove the protective backing from the sticker.
- Carefully align the sticker with the button, ensuring that it is centered and properly positioned.
- Press the sticker onto the button, starting from the center and working your way outward. This will help eliminate any air bubbles.
- Use a small brush or cotton swab to gently press the edges of the sticker onto the button.
Tips for a Smooth Application
- Work in a clean, dust-free environment to avoid any debris getting trapped under the sticker.
- Apply the stickers one at a time to minimize the risk of mistakes.
- Take your time and be patient; rushing can lead to errors.
Maintaining Your Car Interior Button Repair Stickers
Cleaning and Care
To keep your car interior button repair stickers looking their best, it is essential to clean and care for them properly. Use a soft, lint-free cloth and a mild cleaning solution to wipe down the stickers. Avoid using abrasive cleaners or scrubbing too hard, as this can damage the vinyl material.
Troubleshooting Common Issues
If you encounter any issues with your car interior button repair stickers, such as peeling or bubbling, there are a few things you can do to address these problems:
- Ensure that the area around the button is clean and dry before applying the sticker.
- Check that the sticker is properly aligned and centered on the button.
- If the sticker is peeling or bubbling, carefully remove it and reapply it following the step-by-step instructions above.
By following these guidelines, you can ensure that your car interior button repair stickers look great and last for years to come.

GardenSecret
Review

You May Also Like
【Free Switch】MOFOX D1 2pcs Laser Gun LED Mini Driving Light For Motorcycle Car 4000lm 40W Waterproof Motorcycle LED Bulb Auxiliary Light
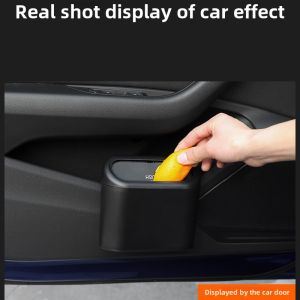
For Kia Sportage JE/KM 1993~2002 Car Door Seat Clip Stand Holder Tray Multipurpose Trash Can Provide lasting Durable Accessories
JDM 8 Kanji Stickers for Motorcycle Design Decals Vinyl Motorcycle Sticker Waterproof Front Fairings Japanese Sticker
BYD Seagull Song plus/pro Hanhai Dolphin Qin Car Wheat Spike Side Sticker Metal Body Modification
![[NEW LAUNCH] DDPAI N2 Dual 2K 1440P Super Capacitor Dash Cam with NightVIS 2.0](https://img.lazcdn.com/g/ff/kf/S8261044912c24d7ba8e6733a01b0013dZ.png_300x300q80.png)
[NEW LAUNCH] DDPAI N2 Dual 2K 1440P Super Capacitor Dash Cam with NightVIS 2.0
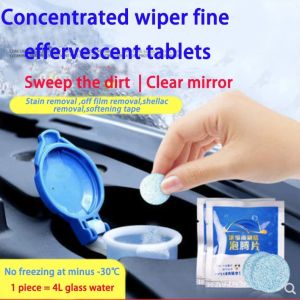
Hot! 10pcs Car Solid Cleaner Effervescent Tablets Spray Cleaner Car Window Windshield Glass Cleaning Auto Accessories
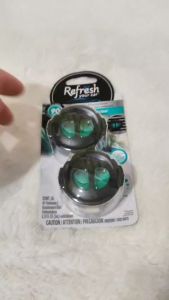
Refresh Your Car: Coastal Rush Air Freshener & 2pcs Mini Car Diffusers
![[LIXIAOJU] RKJXT1F42001 4-Way Switch Car Navigation Encoder Key Rocker Push Switch Encoder](https://img.lazcdn.com/g/p/dfcdfb73802b28894020fad9d7160944.jpg_300x300q80.jpg)
[LIXIAOJU] RKJXT1F42001 4-Way Switch Car Navigation Encoder Key Rocker Push Switch Encoder
Impeller Installation Removal Spline Wrench Tool WR001 High Performances Impeller Spline Wrench Tool for Marine
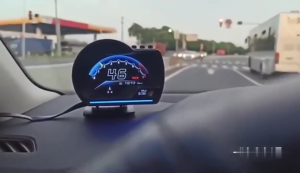
P6 Obd2+Gps Speedometer Dual System Head Up Display Car Hud Gauge Digital Obd2 Car Speedometer Water&Oil Temp Rpm Meter
![REAR OIL SEAL 142-5868 CH11304 CH10782 996-848 998-753 REPLACES(ALTERNATIVE) 336012 1425868 130-8107 2W1734 4P2734 [LOCAL STOCK SHIP IN 24HRS. LOCAL SUPPLIER WARRANTY] FOR CATERPILLAR C15 C16 C18](https://img.lazcdn.com/collect/social-img/18c73eb69db1407fb3f5f3520a7b98c3_e8515de098544fd5a18ba9b27cc07612.png_300x300q80.png)
REAR OIL SEAL 142-5868 CH11304 CH10782 996-848 998-753 REPLACES(ALTERNATIVE) 336012 1425868 130-8107 2W1734 4P2734 [LOCAL STOCK SHIP IN 24HRS. LOCAL SUPPLIER WARRANTY] FOR CATERPILLAR C15 C16 C18