


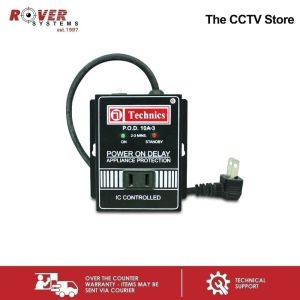
Technics Power-On-Delay Indicator: A Comprehensive Guide
Technics Power-On-Delay Indicator: A Comprehensive Guide
What is a Power-On-Delay Indicator?
A Power-On-Delay Indicator, also known as a POD, is an electrical device designed to delay the activation of power to a connected load after the power source has been turned on. This delay allows time for the equipment to stabilize before it starts operating, which helps prevent potential damage from power surges or sudden voltage spikes. In this guide, we'll focus on the Technics POD-10A3, a reliable and efficient power management device.
Key Features of the POD-10A3
The Technics POD-10A3 offers several key features that make it an ideal choice for various applications:
- Power Range: 500W - 1000W
- Current Rating: 10A
- Delay Time Range: 0-30 seconds
- Compact Design: Easy to install and integrate into existing systems
How Does It Work?
The POD-10A3 works by monitoring the input power supply and delaying the activation of the output load. Once the input power is detected, the device initiates a timer, which counts down the preset delay time before allowing the connected load to receive power. This delay period provides crucial time for equipment to stabilize, reducing the risk of damage from sudden voltage spikes.
Benefits of Using a Power-On-Delay Indicator
Integrating a Technics POD-10A3 into your system can offer several advantages:
Improved Power Management
By delaying the activation of power to connected loads, the POD-10A3 helps manage power more efficiently, reducing the risk of equipment damage caused by power surges or voltage spikes.
Enhanced Electrical Safety
The delay period allows time for equipment to stabilize before receiving power, reducing the risk of electrical faults and enhancing overall safety.
Cost Savings & Energy Efficiency
By preventing potential damage from power surges and voltage spikes, the POD-10A3 helps extend the lifespan of connected equipment, leading to cost savings and improved energy efficiency.
How to Install and Use a Power-On-Delay Indicator
To get the most out of your Technics POD-10A3, follow these steps:
Step-by-Step Installation Process
- Turn off the power supply to the equipment you wish to connect to the POD-10A3.
- Connect the input power supply to the POD-10A3 using the appropriate wiring.
- Connect the output load to the POD-10A3 using the appropriate wiring.
- Set the desired delay time using the adjustment knob on the POD-10A3.
- Turn on the power supply to the equipment and monitor the delay period.
Setting Up Delay Time
The Technics POD-10A3 features an adjustable delay time range of 0-30 seconds. To set the desired delay time, simply rotate the adjustment knob on the device until the desired time is reached.
Troubleshooting Common Issues
If you encounter any issues with your Technics POD-10A3, refer to the troubleshooting guide provided in the user manual. Common issues may include incorrect wiring, faulty connections, or incorrect delay time settings.
Choosing the Right Power-On-Delay Indicator for Your Needs
When selecting a power-on-delay indicator, consider the following factors:
Considerations for Different Applications
Different applications may require different power-on-delay indicators depending on their specific needs. For example, industrial equipment may require a higher power rating and current capacity compared to residential appliances.
Comparing Technics Indicators with Other Brands
When comparing the Technics POD-10A3 with other brands, consider factors such as reliability, efficiency, ease of installation, and cost-effectiveness. The Technics POD-10A3 offers a reliable and efficient solution for various applications at an affordable price point.
Long-Term Maintenance & Support
To ensure the longevity and optimal performance of your Technics POD-10A3, follow the maintenance guidelines provided in the user manual. Regular inspections and cleaning can help prevent potential issues and extend the lifespan of the device. Additionally, Technics offers excellent customer support and technical assistance to address any concerns or questions you may have.

ROVER SYSTEMS
Review

You May Also Like

TTArtisan 25mm F2 Camera Lens For Sony E Mount A6400 Fujifilm XA XT4 XT30 Panasonic Olympus M43 Nikon Z30 Z50
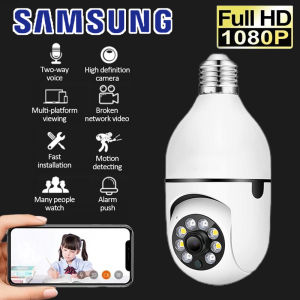
Samsung CCTV Camera Connect Cellphone CCTV With No Wifi Needed Auto Tracking 360° Rotation 3D Panoramic Security 1080p Two Way Audio Voice Bulb PTZ IP Camera 10M Night Vision CCTV With E27 Standard Lamp Holder Wireless CCTV
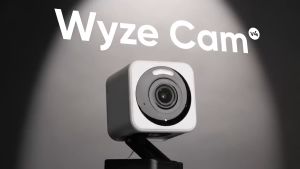
WYZE Cam V4 Security Camera - CCTV + Baby Monitor

Rover Systems 16.7 cm x 13.9 cm x 10 cm L-type Wall Mount Metal CCTV Camera Bracket
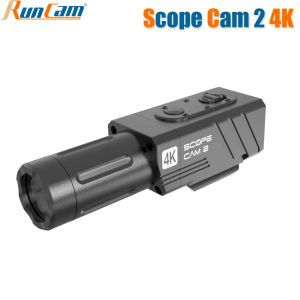
RunCam Scope Cam 2: A Comprehensive Guide to the 4K Airsoft Camera

tp-link Tapo C200C Pan/Tilt Home Security Wi-Fi Camera | TP-Link Tapo by EJD
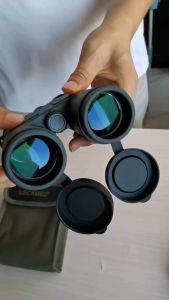
USCAMEL 10x42 Binoculars & High Power HD Telescope: Outdoor Mountaineering Tour & Concert
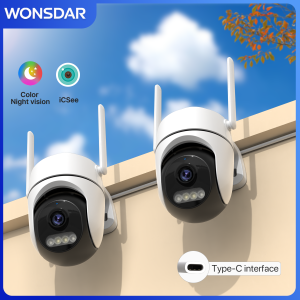
WONSDAR 2pcs Quantity HD IP Camera PTZ WiFi Camera Video Surveillance Home Security Protection Type-C Detection iCsee

AHD to HDMI/VGA/Composite Video Converter: Your Multi-Format Solution
8MP 4G Sim Card Solar WiFi Dual CCTV Camera: A Comprehensive Guide
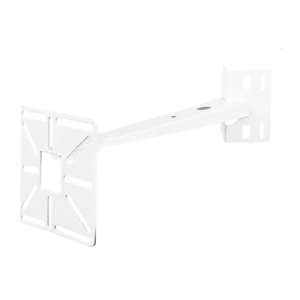
Adjustable Security Camera Bracket For Most CCTV Cameras For Secure Installation Rack