


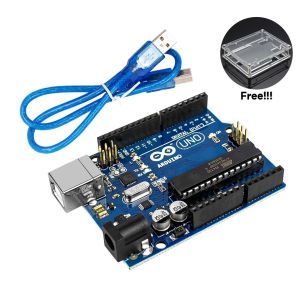
UNO R3 Development Board compatible with Arduino ATmega328P CH340 CH340G With Straight Pin Header and Cable
UNO R3 Development Board compatible with Arduino ATmega328P CH340 CH340G With Straight Pin Header and Cable
Understanding the UNO R3 Development Board
The UNO R3 development board is a popular microcontroller board based on the ATmega328P microcontroller. It is compatible with Arduino IDE and offers a wide range of features and benefits, making it an excellent choice for beginners and experienced developers alike.
Key Features & Benefits
- Compatibility: The UNO R3 board is compatible with Arduino IDE, making it easy to use and program.
- Versatility: It has a wide range of input/output pins, allowing developers to connect various sensors, actuators, and other components.
- Ease of use: The board comes with built-in USB connectivity, eliminating the need for external power supplies or programming interfaces.
- Cost-effective: The UNO R3 board is affordable, making it an excellent choice for hobbyists and educators.
How to Choose the Right Model
When selecting the UNO R3 development board, consider the following factors:
- Compatibility: Ensure that the board is compatible with your desired microcontroller, such as the ATmega328P.
- Features: Consider the number of input/output pins, onboard memory, and other features that may be required for your project.
- Price: Choose a board that fits within your budget while still meeting your project requirements.
CH340 & CH340G Compatibility Explained
The UNO R3 development board is compatible with both CH340 and CH340G USB-to-serial converters. These converters allow the board to communicate with your computer via USB, enabling programming and debugging.
Identifying Compatible Boards
To determine if your UNO R3 board is compatible with CH340 or CH340G, check the USB-to-serial converter chip on the board. If it has a CH340 or CH340G logo, it is compatible.
Setting Up Your Environment
To set up your environment for using the UNO R3 development board, follow these steps:
- Install the Arduino IDE from the official website.
- Connect the UNO R3 board to your computer via USB.
- Open the Arduino IDE and select the appropriate board and port settings.
- Upload a sample sketch to test the connection.
Cable Options for Arduino Projects
Selecting the right cable is crucial for successful communication between your UNO R3 development board and your computer. There are two types of cables commonly used for Arduino projects: USB A-to-B cables and USB A-to-mini-B cables.
Selecting the Right Cable
To select the right cable for your project, consider the following factors:
- Compatibility: Ensure that the cable is compatible with your UNO R3 board and computer.
- Durability: Choose a cable that is durable and can withstand frequent use.
- Price: Select a cable that fits within your budget while still meeting your project requirements.
Troubleshooting Common Issues
If you encounter issues with your cable, try the following troubleshooting steps:
- Check connections: Ensure that the cable is securely connected to both the UNO R3 board and your computer.
- Update drivers: Install the latest drivers for your USB-to-serial converter chip.
- Try a different cable: If the issue persists, try using a different cable.
Getting Started with Straight Pin Headers
Straight pin headers are essential components for connecting various sensors, actuators, and other components to your UNO R3 development board. They provide a secure and reliable connection, making them ideal for long-term use.
Installing Straight Pin Headers
To install straight pin headers on your UNO R3 development board, follow these steps:
- Solder the straight pin headers onto the appropriate holes on the board.
- Insert the desired components into the corresponding holes on the board.
Best Practices for Long-Term Use
To ensure the longevity of your UNO R3 development board and straight pin headers, follow these best practices:
- Avoid overloading: Do not connect more components than the board can handle.
- Keep connections clean: Regularly clean the connections to prevent corrosion and ensure reliable operation.
- Use appropriate power supply: Provide a stable and appropriate power supply to avoid damaging the board.

Simper
You May Also Like
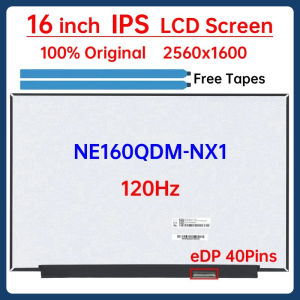
16 Inch 120Hz Laptop LCD Screen NE160QDM NX1 NE160QDM-NX1 Display Matrix Panel Replacement 2560x1600 eDP 40 Pins Non-Touch
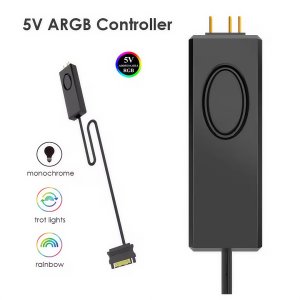
CX FUTRUE 5V Gorgeous ARGB Controllers Desktop Strong Toughness SATA Pins Power Supply Electric Portable RGB Remote Control.

HP Laptop | 14/15 inch | Ryzen 5 5th/7th Generation | 8GB | 256/512GB | Windows 11 | AMD Radeon Integrated Graphics | 100% Free Shipping | 2 Years Warranty | Free Microsoft Office | Brand New | Original | Low Price
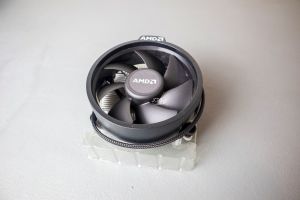
AMD Ryzen Original Heat Sink Fan4 PIN can Support R3 R5 R7 R9 CPU Socket AM4 Motherboard (HSF)

4CH 9CH 18CH DC Power Distribution CCTV Power Supply Box PCB Board Terminal Block 5V 12V 24V 36V 60W/120W/180W/240W/300W/360W Switch Power Supply
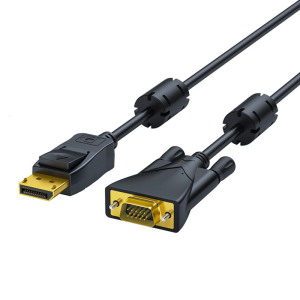
DisplayPort to VGA Adapter Cable Double Magnetic Rings Anti Interferences Design Ensures Long Distanced Connection
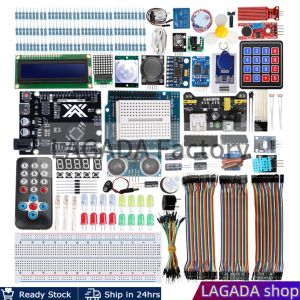
Makerlab Upgraded Uno R3 DIP Kit 2023: A Comprehensive Guide & PDF Manual
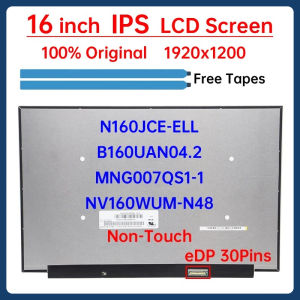
16" LCD Screen NV160WUM-N48 N160JCE-ELL MNG007QS1-1 For Lenovo ThinkPad E16 Gen 3 ThinkBook 16 G8 IAL IRL Display Matrix Panel
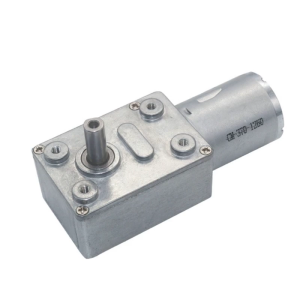
JGY370 Reversible Worm Gear Motor High Torque Speed Reducer 6V/12V24V Miniature Metal Motor with Shaft 2 RPM to 375 RPM
Lenovo ThinkPad 4G 8G 16G 32G DDR4 2400 2666 3200 Laptop Internal Memory T480 T490 P52 Re480 E47090 580 Computer Memory Upgrade
![[COD] Shinia 1Set Computer CPU Radiator Mounting Bracket Backplane Accessories For LGA2011 X99 X79 E5 1700 1366 115X 1200 AMD AM2 AM3 AM4 AM5](https://img.lazcdn.com/g/p/d00d279afc116ec79998d829f7f1d1ed.jpg_300x300q80.jpg)
[COD] Shinia 1Set Computer CPU Radiator Mounting Bracket Backplane Accessories For LGA2011 X99 X79 E5 1700 1366 115X 1200 AMD AM2 AM3 AM4 AM5


