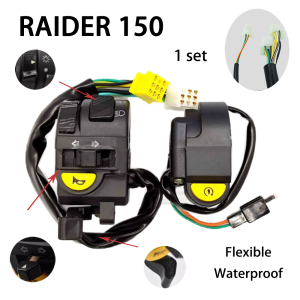
Left/Right Handle Switch For Suzuki Raider150/R-150/ Raider J: A Comprehensive Guide
Left/Right Handle Switch For Suzuki Raider150/R-150/ Raider J: A Comprehensive Guide
What is a Motorcycle Handle Switch?
A motorcycle handle switch is an essential component of any bike, responsible for controlling various functions such as turning signals, horn, high beam, and more. These switches are usually located on the handlebars, allowing riders to easily access them while riding.
Key Components of Handle Switches
Handle switches consist of several components, including:
- Switches: These are the buttons or levers that activate the desired function.
- Wiring: This connects the switch to the motorcycle's electrical system.
- Mounting hardware: This secures the switch to the handlebar.
Importance of Handle Switches
Handle switches play a vital role in ensuring rider safety and comfort. They allow riders to control various functions, such as turning signals, horn, high beam, and more, without taking their hands off the handlebars. Additionally, they contribute to the overall aesthetics of the bike, enhancing its appearance.
Choosing the Right Handle Switch for Your Suzuki Raider150/R-150/Raider J
When selecting a handle switch for your Suzuki Raider150/R-150/Raider J, consider the following factors:
Key Features to Look For
- Compatibility: Ensure the switch is compatible with your specific model.
- Quality: Opt for a durable and reliable switch to ensure long-term performance.
- Aesthetics: Choose a switch that complements your bike's design.
Factors to Consider When Selecting a Handle Switch
- Functionality: Consider the functions you need, such as turning signals, horn, and high beam.
- Installation: Evaluate the ease of installation, considering the tools required and the time needed.
- Cost: Determine your budget and find a switch that offers good value for money.
How to Install a Left/Right Handle Switch for Your Suzuki Raider150/R-150/Raider J
Installing a handle switch on your Suzuki Raider150/R-150/Raider J is a straightforward process. Follow these steps to ensure a successful installation:
Tools Required for Installation
- Screwdriver
- Pliers
- Wire stripper/cutter
Step-by-Step Installation Guide
- Remove the old handle switch by disconnecting the wiring and unscrewing the mounting hardware.
- Install the new handle switch by connecting the wiring and securing the mounting hardware.
- Test the switch to ensure proper functionality.
Troubleshooting Common Issues with Handle Switches
Handle switches may experience issues from time to time. Here are some common problems and their solutions:
Common Problems & Solutions
- Loose wiring: Reconnect the wiring securely.
- Inoperative switch: Check the wiring and replace the switch if necessary.
- Misaligned switch: Adjust the mounting hardware to align the switch properly.
Maintenance Tips for Long-Term Performance
- Regularly inspect the wiring and switch for any signs of wear or damage.
- Keep the switch clean and free from debris.
- Replace the switch if it becomes damaged or inoperative.

STRICTLYAUTOPARTS
Review

You May Also Like
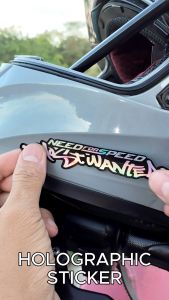
Motor Sticker Waterproof NFS MOST WANTED Honda Click 125i Accessories Sticker Motorcycle Design Hologram Decals Vinyl Stickers

Aisin Stabilizer Link for Santa Fe 06-11 Set of 2 pcs.

Multi-Function Armrest Storage Box Leather Tissue Box Cup Holder Car Center High-End Organizer Box

Ford Focus MK4 Accessories: Qi Car Wireless Charger & Fast Cell Phone Charging Plate Adapter
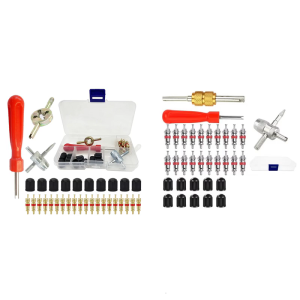
Multiurpose Tire Valves Cores Removal Tool Set Abrasion Resistant Coating for Quick Installation On Trucks Bikes Car
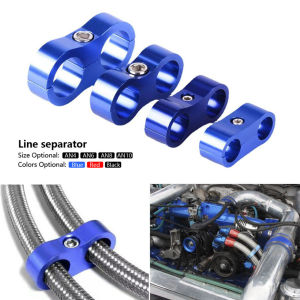
JaneDream Universal Auto Part AN4 AN6 AN8 AN10 Billet Oil Fuel Water Hose Tube Separator

Raincoat poncho heavy duty rubberized three layer coating material for 100% waterproof a heavy rain raincoat
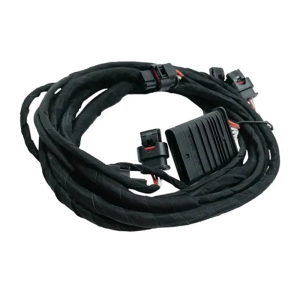
2215401205 Front Bumper Wiring Harness for W221 S550 CL550 Smooth Vehicle Electrical System Integration and Improvement
Garage Repair Tools: Mastering the 48mm Shaft Puller & CV Axis Puller

Car Interior Sticker Gear Film for Toyota Corolla Cross XG10 2020-2023 Car Gear Panel Sticker Carbon Fiber Black
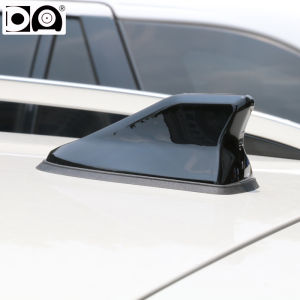
Waterproof shark fin antenna special car radio aerials auto antenna Stronger signal Piano paint for Renault Megane 1 2 3 4 5