


130-Egg Fully Automatic Egg Incubator: A Comprehensive Guide
130-Egg Fully Automatic Egg Incubator: A Comprehensive Guide
Introduction to the 130-Egg Incubator
Overview of the Incubator
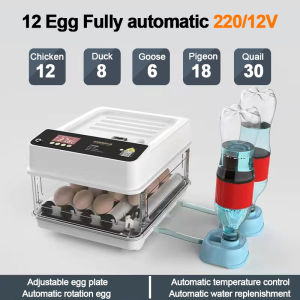
The 130-Egg Fully Automatic Egg Incubator is a cutting-edge device designed to efficiently hatch chicken, duck, goose, quail, and other bird eggs. This intelligent digital hatcher features temperature control and auto turning mechanisms, making it ideal for farmers, hobbyists, and anyone interested in raising poultry.
Key Features
- Dual Power Options: Available in 12V and 220V configurations, allowing for versatile placement and operation.
- Temperature Control: The incubator maintains optimal temperature conditions for egg development, ensuring successful hatching.
- Auto Turning Mechanism: The incubator automatically turns eggs at regular intervals, mimicking natural conditions and promoting healthy embryo growth.
How to Use the 130-Egg Incubator
Setting Up the Incubator
- Choose a suitable location for the incubator, away from direct sunlight and drafts.
- Connect the power source, either 12V or 220V, depending on your preference.
- Set the desired temperature using the digital control panel.
Temperature Control
The incubator features a built-in thermostat that maintains optimal temperature conditions for egg development. It is crucial to monitor and adjust the temperature as needed to ensure successful hatching.
Auto Turning Mechanism
The auto turning mechanism gently rotates eggs at regular intervals, promoting healthy embryo growth and mimicking natural conditions. This feature helps prevent embryo malformations and increases the chances of successful hatching.
Egg Incubation Process
Preparing Eggs for Incubation
- Collect clean, fresh eggs from your flock or purchase them from a reputable supplier.
- Store eggs at room temperature for 1-2 days before placing them in the incubator.
- Clean the eggs gently with a damp cloth to remove any dirt or debris.
Monitoring Egg Development
During the incubation process, monitor egg development by candling the eggs weekly. Candling involves shining a bright light through the egg to observe embryo growth and detect any abnormalities.
Hatching Process
As the hatching date approaches, prepare a brooder for the chicks. The brooder should provide a warm, safe environment with proper ventilation and access to food and water.
Caring for Chicks Post-Hatching
Brooder Setup
Set up a brooder with a heat lamp, bedding material, and appropriate food and water containers. Maintain a consistent temperature of around 90°F (32°C) for the first week, gradually reducing it over time.
Feeding and Watering
Provide chicks with a balanced diet of chick starter feed and fresh, clean water. Adjust feeding and watering schedules as needed based on chick growth and development.
Health and Growth Monitoring
Monitor chicks for signs of illness or injury, and consult a veterinarian if necessary. Regularly weigh chicks to track growth and development, ensuring they meet expected milestones.

Lanbao
You May Also Like
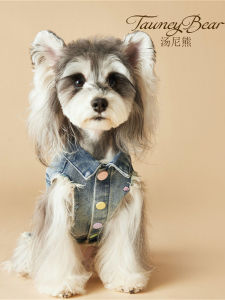
Warm Denim Shirt Vest Dog Clothes for Maltese Yorkie Teddy Schnauzer Bichon Shiba Inu Marmoset in Spring Autumn Pet Supplies
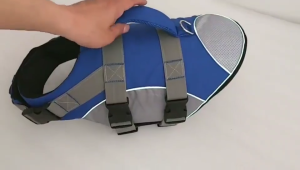
Dog Swimsuit Safety Swimsuit Rescuing Handle for Dog Swimming Dog Life Vest with Handle Flotation Device
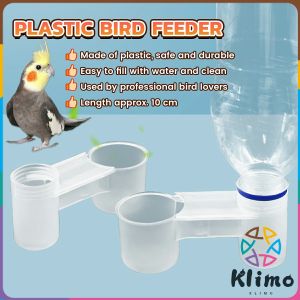
KLIMO Pet Bird Drinker Feeder Water Bottle Cup Chicken Pigeon Special Drinking Feeding Tool for Poultry Pets

PetMarra Chunks in Milk 130g Pouch: The Perfect Puppy Wet Food
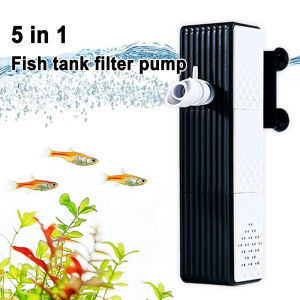
Fish Tank Filter Water Purification Cycle Three-In-One Built-In Small Aquarium Filtration System Oxygen Pump Mute
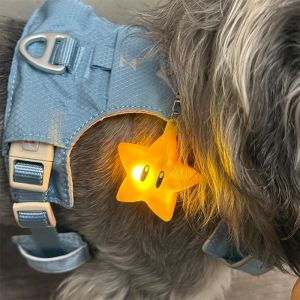
Glowing Dog Leash Light Portable Night Walking Dog Collar Anti-Lost Cat Pendant Light Pet Supplies Dog Leash Lamp
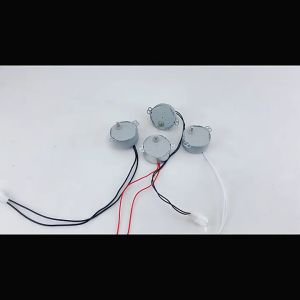
220V Egg Turner Synchronous Incubator Motor: A Comprehensive Guide
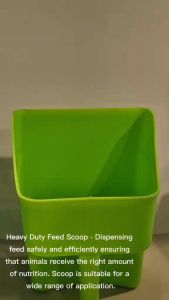
Heavy Duty Feed Scoop: Durable Plastic Scoop Ideal for Livestock
Automatic Cat Litter Box Extra Large App Smart Self Cleaning Litter Box for Multiple Cats Odor-Free Waste Disposal Toilet Box
ER52858 Breathable Portable Hock Joint Wrap Disabled Joint Injury Help Weak Legs For Right Left Leg Dog Protector Support Pet Knee Pads Dog Support Brace Pet Supplies
Soft Rabbit Fur Pet Bed Mat for Small Dogs And Cats Cool Proof Warm in Winter round Shape Open Design Large And Medium Dogs


