Bisofice Film & Slide Scanner: A Comprehensive Guide
Bisofice Film & Slide Scanner: A Comprehensive Guide
Introduction to the Bisofice Film Scanner
The Bisofice Film Scanner is a cutting-edge device designed specifically for converting your cherished film negatives and slides into digital JPEG photos. With its versatile compatibility, built-in memory, and user-friendly interface, this scanner makes it easy to preserve and share your memories. This article will guide you through setting up, using, and taking advantage of the advanced features of the Bisofice Film Scanner.
Key Features of the Bisofice Film Scanner
The Bisofice Film Scanner offers several key features that make it stand out among other scanners:
- Compatibility: Supports various film types, including 135 film (36*24mm), 126KPK, 110 film, Super8, monochrome, and slides.
- Built-in Memory: Comes with a built-in 16GB memory, allowing you to store and transfer your scanned photos easily.
- LCD Screen: Equipped with a 5-inch LCD screen for adjusting settings and previewing scanned images.
- Free App Support: Download the free app to connect with your PC, TV, or mobile device and access advanced features.
- Compatibility with Windows: Works seamlessly with Windows XP/Vista/7/8/10.
Compatibility with Different Film Types
One of the most impressive aspects of the Bisofice Film Scanner is its versatility. It supports various film types, including 135 film (36*24mm), 126KPK, 110 film, Super8, monochrome, and slides. This means that you can scan almost any type of film you have, ensuring that all your memories are preserved in digital form.
How to Set Up Your Bisofice Film Scanner
Setting up the Bisofice Film Scanner is simple and straightforward. Here's a step-by-step guide to get you started:
- Connect the HD Data Cable & Type-C Cable: Connect the provided HD data cable and Type-C cable to the scanner and your PC, TV, or mobile device.
- Download the Free App & Connect to PC: Download the free app from the app store and connect it to your PC. This will allow you to access advanced features and transfer your scanned photos effortlessly.
Using the Bisofice Film Scanner
Now that your scanner is set up, it's time to start scanning your films and slides. Here's how to do it:
- Scanning 135 Film (36*24mm) & Other Film Types: Place your film or slide onto the appropriate stand, adjust the settings on the LCD screen, and press the scan button. The scanner will automatically detect the film type and adjust the settings accordingly.
- Converting Slides to Digital JPEG Photos: To convert slides to digital JPEG photos, simply place them on the slide stand and follow the same steps as above. The scanner will automatically convert the slides to high-quality JPEG photos.
Advanced Features of the Bisofice Film Scanner
In addition to its basic scanning capabilities, the Bisofice Film Scanner offers several advanced features that enhance your scanning experience:
- Utilizing the Built-in 16GB Memory: Store your scanned photos directly on the scanner's built-in 16GB memory. This allows you to transfer your photos to your computer or mobile device at your convenience.
- Adjusting the 5 LCD Screen Settings: Customize your scanning experience by adjusting the settings on the 5-inch LCD screen. You can control brightness, contrast, color balance, and more to achieve the perfect scan.
Conclusion & Final Thoughts
The Bisofice Film Scanner is a versatile and user-friendly device that makes it easy to preserve and share your cherished memories. With its compatibility with various film types, built-in memory, and advanced features, this scanner is a must-have for anyone looking to digitize their film collection. So why wait? Get your Bisofice Film Scanner today and start preserving your memories in digital form!

Dream Painter

Review

You May Also Like
3.5cm Heavy Duty Hard Rubber Roller Printing Screen Plastic Frame Craft Tool

ZEBRA DS9308 2D Handsfree Scanner
Soonpos Touch Screen Android Handheld POS Terminal With 58mmThermal Receipt Printer 3G 4G WiFi GPS Bluetooth Smart Cashier Mobile POS Machine Compatible With Food Panda Loyverse POS UTAK Salesplay POS System
Understanding ETQ Compatible CLT406S & Toner Printers
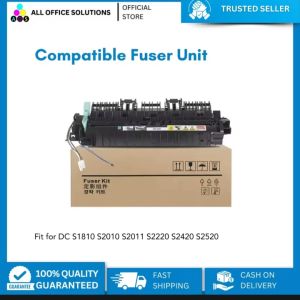
AOS Compatible DocuCentre sS2320 S2520 Copier MFP Fuser Kit
Original Galaxy Eco Solvent Ecosolvent Tarpaulin Ink and Cleaning Solution 1 Liter
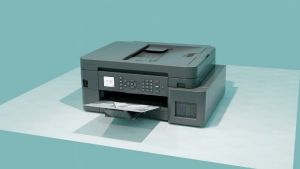
Brother MFC-T930DW Ink Tank Printer
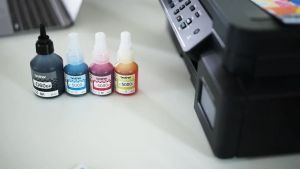
Brother BT5000 Ink Black/Cyan / Magenta / Yellow
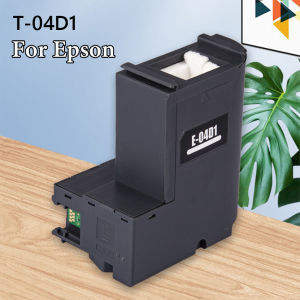
5X C13T04D100 Inkrite Maintenance Box for Epson Printers: A Comprehensive Guide
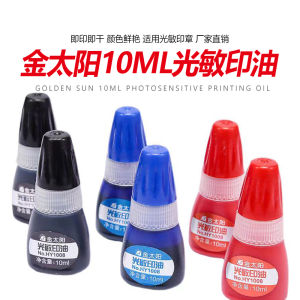
Gold Sun Light Sensitive Ink 10ML Bottle Equivalent to Deli Red Blue Black Light Sensitive Stamp Ink Stationery Business Supplies
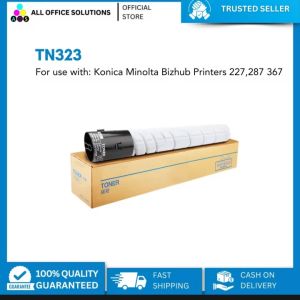
AOS TN-323 Compatible Toner Cartridge Konica Minolta Bizhub 227 287 367