


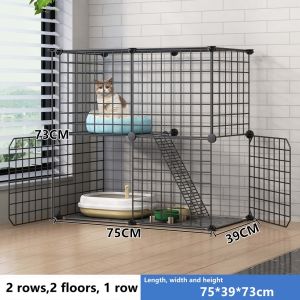
DIY Metal Anti-rust Cat Cage: 3 Layer Foldable Sturdy Pet Furniture
DIY Metal Anti-rust Cat Cage: 3 Layer Foldable Sturdy Pet Furniture
Introduction to DIY Metal Anti-rust Cat Cage
Are you looking for a compact, foldable pet cage that will keep your furry friend safe and cozy? Look no further! In this article, we'll guide you through the process of building a DIY metal anti-rust cat cage that's both sturdy and stylish. This 3-layer foldable pet furniture is perfect for cats of all sizes and provides ample space for your kitty to play, rest, and hide.
Key Features & Benefits
- 3 Layer Design: Multiple levels provide more space and fun for your cat.
- Foldable & Compact: Easy to store and transport, making it ideal for travel or limited-space living.
- Anti-rust Material: High-quality metal construction ensures durability and longevity.
- Customizable: Add accessories and personalize your cat's new home to suit their preferences.
Materials & Tools Needed
To build your DIY metal anti-rust cat cage, you'll need the following materials and tools:
-
Materials:
- Metal sheets (for base, frame, and layers)
- Metal rods (for support)
- Metal mesh (for sides and top)
- Screws and bolts
- Hinges
- Latches
- Paint or powder coating (anti-rust)
-
Tools:
- Drill
- Screwdriver
- Pliers
- Measuring tape
- Saw
- Paintbrush or spray gun
Step-by-Step Guide to Build a DIY Metal Cat Cage
Assembling the Base & Frame
- Cut the metal sheets to size for the base and frame using a saw.
- Drill holes for screws and bolts to attach the metal rods for support.
- Attach the metal rods to the base and frame using screws and bolts.
Attaching the Layers & Adding Accessories
- Cut the metal sheets for the layers and attach them to the frame using hinges.
- Install latches to secure the layers in place.
- Attach the metal mesh to the sides and top of the cage.
- Add any desired accessories, such as shelves, ramps, or scratching posts.
Final Touches & Customization Options
- Apply paint or powder coating to protect the metal from rust.
- Allow the paint to dry completely before using the cage.
- Customize the cage by adding your cat's favorite toys, blankets, or other personal touches.
Tips for Maintaining Your DIY Cat Cage
Cleaning & Maintenance Techniques
Regular cleaning and maintenance are essential to ensure your DIY metal anti-rust cat cage remains in good condition. Here are some tips:
- Clean the cage weekly using a mild detergent and water.
- Rinse thoroughly and allow the cage to air dry.
- Inspect the cage regularly for any signs of wear or damage.
- Tighten loose screws and bolts as needed.
Troubleshooting Common Issues
If you encounter any issues with your DIY metal anti-rust cat cage, here are some solutions:
- Loose Hinges or Latches: Tighten the screws and bolts securing the hinges and latches.
- Rust or Corrosion: Apply a rust-resistant coating or paint to protect the metal.
- Scratches or Dents: Sand down the affected area and apply touch-up paint.
Conclusion & Next Steps
Building a DIY metal anti-rust cat cage is a rewarding project that allows you to create a custom, durable, and stylish home for your feline friend. By following these steps and tips, you'll have a beautiful 3-layer foldable pet furniture that will provide years of enjoyment for both you and your cat.
Encouragement for DIY Enthusiasts
We encourage you to take on this DIY project and share your experiences with others. Not only will you have a unique, personalized cat house, but you'll also gain valuable skills and confidence in your ability to tackle similar projects in the future.
Additional Resources & Further Reading
For more information on DIY pet furniture and cat care, check out these resources:

M-PETS
You May Also Like
![[HATELI] Sykria Chicken Water Cups Automatic Chicken Waterer Kit for Poultry Thread Filling Waterer Poultry Drinking Bowl for Chicken Ducks Birds Turkeys etc (6 Pack)](https://img.lazcdn.com/g/ff/kf/Sda3bfe25f6f840b4aa76889ba202a92d0.jpg_300x300q80.jpg)
[HATELI] Sykria Chicken Water Cups Automatic Chicken Waterer Kit for Poultry Thread Filling Waterer Poultry Drinking Bowl for Chicken Ducks Birds Turkeys etc (6 Pack)
Earth Dog Collar Bandana Small Medium and Large Dogs German Shepherd Dog Thickened Anti-off Dog Leash with Swivel Buckle Collar Dog Supplies
BIOLINE 50ML Pet Deworming Sunscreen Spray
Rennas Double Layer Rabbit Toilet For Hamsters Toilet For Guinea Pig Toilet Pet Hamsters Accessories Rabbit Accessories
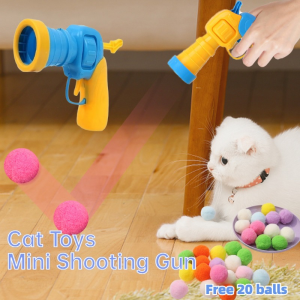
Cat Toys Interactive Launch: Mini Shooting Gun Games & Stretch Plush Ball Toys
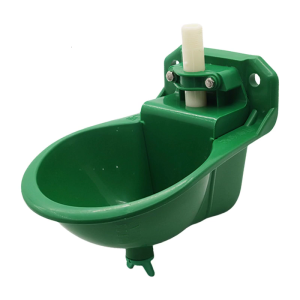
Sheep Waterer Bowl Automatic Drinking Cups Touch Switching Water Bowls Dispenser for Goat Small Horses Livestock
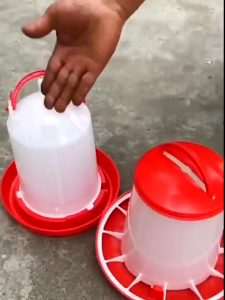
Buy 3 Get 3 Automatic Chicken Bucket Feeder Chicken Feeder Bucket Plastic Feeding Tool 1.5kg
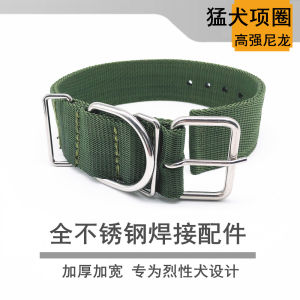
Thickened Nylon Dog Collar & Large Breed Dog Leash: A Comprehensive Guide
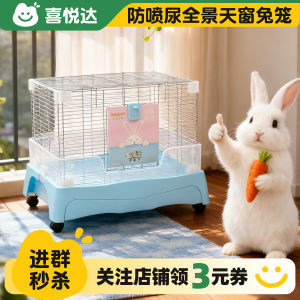
Indoor Pet Cage High Rim Urinal Proof Drawer Style Large Size Rabbit Cage for Guinea Pig And Chinchilla Joyful Arrival
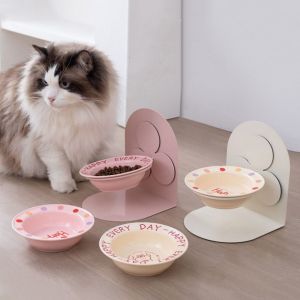
OUTOPEN Detachable Ceramic Cat Bowl Protects Cervical Adjustable Height Cat Water Bowl Pet Products with ic Stand Cat Drinking Bowls for Cat and Dog
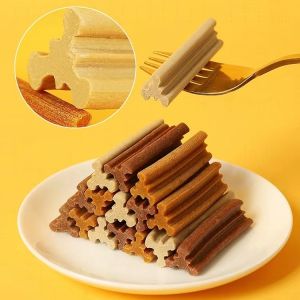
YAHO 265g Dog Dental Sticks Nutritional Dog Treats Dog Snack Train For Clean Teeth And Reward Pet Treats


