Yamaha Mio Gear 125 Tail Light Decal Spider
Yamaha Mio Gear 125 Tail Light Decal Spider
Introduction
Customizing your Yamaha Mio Gear 125 with a tail light decal is a great way to enhance its appearance and stand out on the road. In this article, we'll explore the different types of tail light decals available for the Yamaha Mio Gear 125, their installation process, and tips for maintaining and extending the life of your decal.
Customization Options
Yamaha Design Decal
Yamaha offers a range of official tail light decals specifically designed for the Mio Gear 125. These decals feature the iconic Yamaha logo and are made to match the bike's color scheme. They provide a sleek and professional look, perfect for those who want to maintain the original style of their motorcycle.
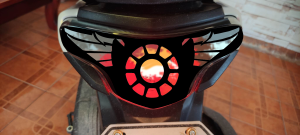
Iron Tail Light Decal
Iron tail light decals are another popular choice for customizing your Yamaha Mio Gear 125. These decals are made from high-quality iron material, giving them a rugged and durable appearance. Iron tail light decals come in various designs, allowing you to choose the one that best suits your personal style.
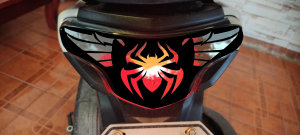
Tail Light Decal for Mio Gear
If you're looking for a custom decal specifically designed for the Yamaha Mio Gear 125, there are many options available. From spider-themed decals to geometric patterns, there's something for everyone. These decals are easy to install and provide a unique touch to your motorcycle's appearance.
Installation Guide
Preparation for Installation
Before installing your tail light decal, make sure the tail light area is clean and free of any dirt or debris. It's also important to ensure that the decal is properly aligned and positioned before applying it to the tail light.
Step-by-Step Installation Process
- Clean the tail light area thoroughly using a soft cloth and mild soap solution.
- Allow the tail light to dry completely before proceeding with the installation.
- Peel off the backing paper from the decal.
- Position the decal on the tail light, making sure it's centered and aligned.
- Gently press the decal onto the tail light, starting from the center and working your way outwards.
- Smooth out any air bubbles or wrinkles using a credit card or squeegee.
- Allow the decal to cure for at least 24 hours before exposing it to direct sunlight or water.
Tips for a Smooth Installation
- Work in a well-lit area to ensure proper alignment and positioning of the decal.
- Use a hair dryer on a low setting to help remove any stubborn air bubbles or wrinkles.
- Apply a small amount of soapy water to the decal before installation to make it easier to position and adjust.
Maintenance & Care
Cleaning & Protection
To keep your tail light decal looking its best, it's important to clean it regularly using a soft cloth and mild soap solution. Avoid using harsh chemicals or abrasive materials that could damage the decal's surface.
Troubleshooting Common Issues
If you notice any peeling, bubbling, or fading of your tail light decal, it may be time to replace it. Make sure to follow the manufacturer's instructions for proper removal and replacement.
Extending the Life of Your Decal
To extend the life of your tail light decal, avoid exposing it to extreme temperatures or direct sunlight for extended periods. Regular cleaning and maintenance will also help keep your decal looking its best.

NRP MOTOR PARTS SHOP

You May Also Like
Flexible Automotive Cooling System Hose Oxidation Resistant Long Lasting Fluid Hoses For Car 60 V70 80 Models
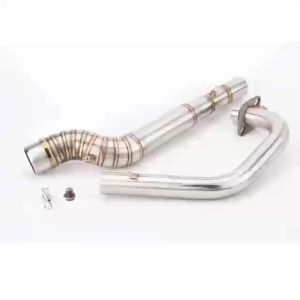
Big Elbow 51MM Stainless For SUZUKI Raider150 Exhaust Pipe Front Section
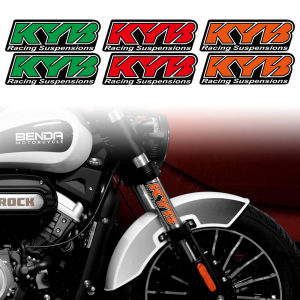
Fork KYB Racing Suspension Sticker Motorcycle Shock Absorption Moto Accessories Reflective Decal For Kawasaki Yamaha Tmax Suzuki Benelli KTM Honda Harley BMW
RAC All-Purpose Degreasers: Trigger & Mist Sprays for Bikes, Motorcycles & Cars
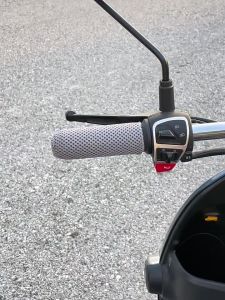
4Pcs/Set Motorcycle Grips Handle Bar Cover: Breathable & Non-slip Motocross Accessories
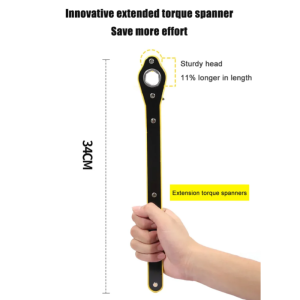
Car-mounted hand-operated jacks with power-saving ratchets Vehicle saving jack ratchet hand cranks saving hand jacks
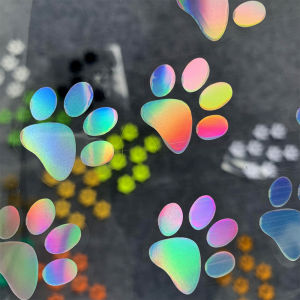
Funny Cat & Dog Paw Print Footprint Stickers: Waterproof & Reflective Vinyl
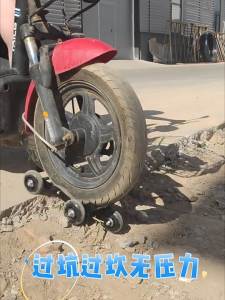
E Bike Flat Tire Booster Motorcycle 3 wheel Trailer Tire Blowout Roadside Selfhelp Wheel Puller Assisted Wheel Trailer Mover Tool Emergency premium
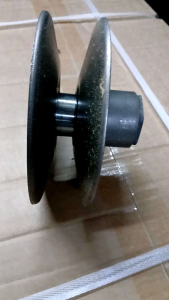
suzuki skydrive 125 torque drive assy
HONDA TMX ALPHA 125 SLIPPER CLUTCH ASSEMBLY SET
Headlight Cleaner Restorer for Yellow Foggy Lights Fast Restoration for Car & Motorcycle 150g