KAWASAKI Motorcycle Fairing Sticker: A Guide to Customizing Your Ride
KAWASAKI Motorcycle Fairing Sticker: A Guide to Customizing Your Ride
What Are Kawasaki H2SX Decals?
Kawasaki H2SX decals are custom-designed stickers that can be applied to the fairing and other parts of your motorcycle to enhance its appearance. These decals come in a variety of designs, colors, and patterns that allow you to personalize your ride and showcase your unique style.
Types of Decals Available
There are several types of Kawasaki H2SX decals available, including:
- Head Decals: These decals are specifically designed for the front of the motorcycle, covering the headlight and other areas of the fairing.
- Fairing Decals: These decals cover the entire fairing, providing a seamless look and adding a touch of elegance to your ride.
- Custom Decals: These decals can be designed to match your personal preferences, allowing you to add your own logo, artwork, or message to your motorcycle.
Benefits of Using Kawasaki H2SX Decals
Using Kawasaki H2SX decals offers several benefits, including:
- Enhanced Appearance: Decals can transform the look of your motorcycle, giving it a fresh and modern appearance.
- Personalization: Decals allow you to showcase your unique style and personality, making your ride stand out from the crowd.
- Protection: Some decals are made with waterproof and UV-resistant materials, protecting your motorcycle from scratches, scuffs, and other damage.
How to Install Modified Head Decals for H2
Installing modified head decals for your Kawasaki H2 requires some basic tools and materials, as well as a step-by-step process.
Tools and Materials Needed
- Scissors: For cutting the decal to size.
- Ruler: To measure the decal accurately.
- Squeegee: To apply pressure and remove air bubbles during installation.
- Alcohol-based cleaner: To clean the surface of the motorcycle before applying the decal.
- Microfiber cloth: To wipe down the surface after cleaning.
Step-by-Step Installation Process
- Clean the surface of the motorcycle using an alcohol-based cleaner and microfiber cloth.
- Measure and cut the decal to the desired size using scissors and a ruler.
- Peel off the backing paper from the decal.
- Carefully apply the decal to the motorcycle, starting at one end and working your way to the other.
- Use a squeegee to apply pressure and remove any air bubbles or wrinkles.
- Allow the decal to cure for at least 24 hours before riding.
Waterproof Stickers for Ninja 400: Enhancing Your Ride
Waterproof stickers for the Kawasaki Ninja 400 provide protection against the elements while enhancing the appearance of your motorcycle.
Choosing the Right Waterproof Sticker
When choosing a waterproof sticker for your Ninja 400, consider the following factors:
- Design: Choose a design that complements your personal style and enhances the overall appearance of your motorcycle.
- Material: Look for stickers made with waterproof and UV-resistant materials to protect your motorcycle from damage.
- Size: Measure the surface area of your motorcycle to ensure the sticker fits properly.
Installing the Waterproof Sticker
Follow the step-by-step process outlined above for installing modified head decals, substituting the decal with the waterproof sticker.
Custom Motorcycle Decals: Adding Personal Touches
Custom motorcycle decals allow you to add a personal touch to your ride, showcasing your unique style and personality.
Popular Custom Decal Designs
Some popular custom decal designs include:
- Logos: Add your favorite brand or company logo to your motorcycle.
- Artwork: Incorporate your favorite artwork or graphic design onto your motorcycle.
- Messages: Display a message or quote that inspires you on your motorcycle.
DIY Custom Decal Ideas
Consider creating your own custom decals using online design tools or software, such as Adobe Illustrator or Canva. You can also work with a professional designer to create a custom decal that perfectly matches your personal style.
Kawasaki Motorcycle Fairing Sticker: Tips and Tricks
Maintaining and troubleshooting common issues with Kawasaki motorcycle fairing stickers is essential to keep your ride looking its best.
Maintaining Your Stickers
To maintain your Kawasaki motorcycle fairing stickers, follow these tips:
- Clean Regularly: Clean your stickers regularly using an alcohol-based cleaner and microfiber cloth to remove dirt and grime.
- Avoid Scratches: Be careful not to scratch or scuff your stickers, as this can cause damage and reduce their lifespan.
- Protect from Sunlight: Keep your motorcycle in a shaded area when not in use to protect your stickers from UV damage.
Troubleshooting Common Issues
If you experience any issues with your Kawasaki motorcycle fairing stickers, try the following solutions:
- Air Bubbles: Use a squeegee to apply pressure and remove air bubbles during installation.
- Peeling: Apply a new layer of adhesive to the back of the sticker to prevent peeling.
- Scratches: Use a scratch remover or repair kit to fix any scratches or scuffs on your stickers.

TTqp

You May Also Like

HONDA MSX - Motorcycle SIDE MIRRROR SMALL heavyduty Good Quality | STOCK TYPE | 1 PAIR
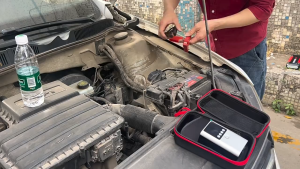
12V Vehicle portable Inflator & Emergency Car Jump Starter Power Supply 4 in 1 Machine - Large Capacity Car Jump Starting Tool
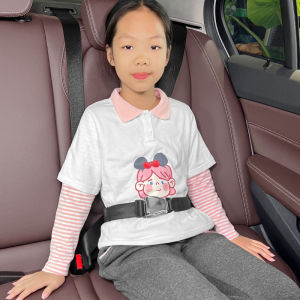
Car Seat Belt Strap Rear Row Child Sleeping Belt Rear Seat Inflatable Mattress Car Safety Belt Extender
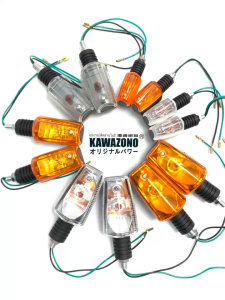
ZSY HIGH QUALITY MOTORCYCLE RUSI SIGNAL LIGHT MEDIUM/BIG COD
Carrie8 For Toyota Grevia: Blue Daytime Running Lights & Dragon Scales Design
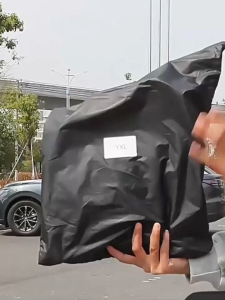
Toyota Innova car cover sedan waterproof for sun protection auto exterior covers all weather vios Raize Camry Fortuner Hilux Mirage G4 Pickup Suv hatchback Universal
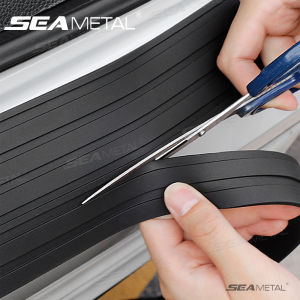
SEAMETAL Car Trunk Rear Bumper Guard Strip 104x8.5cm Rubber Door Sill Plate Protector Mouldings Pad Trim Cover Strip Car Styling
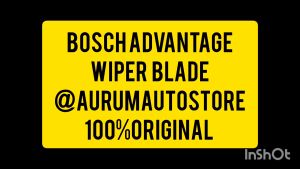
Bosch Advantage Wiper Blade Set for Toyota Land Cruiser J80 (1990-1998)
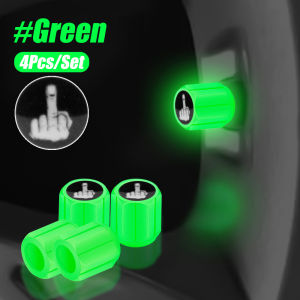
12PCS Luminous Wheels Cap: Enhance Your Vehicle's Aesthetics & Safety

For Volkswagen VW Phaeton Beetle BEC 2002~2019 Car Trash Bin Multipurpose Kit With Lid Leak-proof Portable Trash Can Accessories

Car Waist Rest & Drivers Seat Cushion: Enhance Your Comfort & Support