


DIY Bracelet Jewelry Organizer: A Comprehensive Guide
DIY Bracelet Jewelry Organizer: A Comprehensive Guide
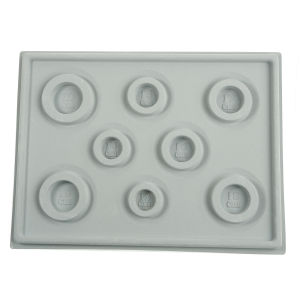
Introduction to the 1pc Beading Board
The 1pc Beading Board is a versatile, gray flocked bead board designed specifically for DIY bracelet and necklace beading jewelry making. This innovative tool offers an easy-to-use platform for organizing beads, measuring designs, and creating beautiful pieces of jewelry.
What is a Beading Board?
A beading board is a flat surface used to organize and measure beads before stringing them together to create bracelets, necklaces, earrings, and other types of jewelry. The 1pc Beading Board is made from high-quality plastic and flocked material, ensuring durability and longevity for your crafting needs.
Key Features of the 1pc Beading Board
- Gray Flocked Surface: The unique gray flocked surface provides a non-slip surface, making it easier to work with beads and avoid losing small components.
- Compact Size: The compact design allows for easy storage and portability, making it perfect for both home and travel use.
- Easy to Clean: The plastic and flocked material are easy to clean, ensuring your beading board remains in excellent condition for years to come.
Benefits of Using the 1pc Beading Board
Using the 1pc Beading Board offers numerous benefits for jewelry makers, including:
- Improved Organization: Easily arrange and measure beads on the beading board, ensuring accurate and consistent designs.
- Time-Saving: Save time by quickly arranging and measuring beads on the beading board, rather than counting and measuring individually.
- Increased Creativity: With the help of the beading board, you can experiment with different bead arrangements and designs, unleashing your creativity and producing stunning jewelry pieces.
How to Use the 1pc Beading Board
Using the 1pc Beading Board is simple and straightforward. Follow these steps to get started:
Setting Up Your Workspace
Before beginning your jewelry-making project, set up your workspace with the following items:
- Beading Board: Place the 1pc Beading Board on a flat surface, ensuring it is stable and secure.
- Beads: Gather your desired beads, clasps, and other jewelry components.
- Tools: Have your beading tools, such as pliers and cutters, within reach.
Measuring and Organizing Beads
Once your workspace is set up, follow these steps to measure and organize your beads:
- Arrange Beads: Place your beads on the beading board, arranging them according to your desired design.
- Measure Beads: Use the pre-marked measurements on the beading board to ensure accurate bead placement.
- Organize Beads: Once satisfied with your bead arrangement, remove the beads from the beading board and set aside.
Creating DIY Bracelets & Necklaces
Now that your beads are organized, it's time to create your DIY bracelets and necklaces. Follow these steps:
- String Beads: Thread your chosen beads onto the string or wire, following the pattern you arranged on the beading board.
- Add Clasps: Attach clasps to the ends of your bracelet or necklace using pliers.
- Trim Excess String/Wire: Cut any excess string or wire using cutters.
Tips for Maximizing the 1pc Beading Board's Potential
To get the most out of your 1pc Beading Board, consider these tips:
Customizing Your Beading Board
Personalize your beading board by adding custom markings or labels to help you keep track of specific bead sizes or patterns.
Maintaining Your Beading Board
To ensure your beading board remains in excellent condition, clean it regularly with a damp cloth and allow it to air dry.
Storing Your Beading Board
Store your beading board in a protective case or bag to prevent damage during transportation or storage.

Living Craftdiy Store
You May Also Like
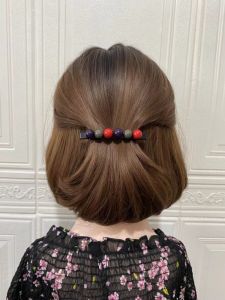
Womens 2025 New Spring High End Short Hair Half Updo Hair Clip Spring Loaded One Word Clip Back of Head Short Perm Hair Clip
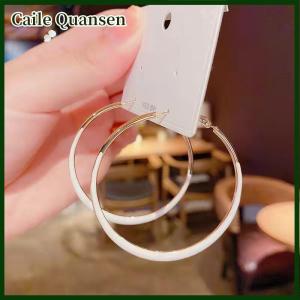
Caile 1Pair Girl Fashion Earrings Drop Glaze Earrings Exaggerated Circle Earrings Womens High-end French Temperament Hoop Earrings

Men Kuya Stainless Steel Eagles Ring Shining Rhinestone Gold Plated Ring Size 7-14
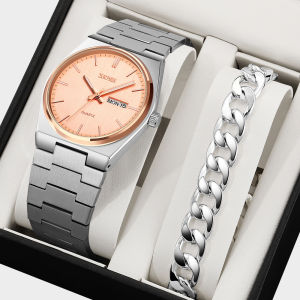
SKMEI【Free Cuban Bracelet Gift】Quartz Movement Solid Stainless Steel Strap Daily Wear Plain Atmosphere Fashion Business Comfort Charm Mens Watch 9288
NAVIFORCE Original Watch For Women Brand New 30m Waterpoof Stainless Steel Rounded Wristwatch Luminous Casual Watches Roman Numerals Dial NF5067
![[Towering Pride] Silk Scarf Clip 2021 New Design Brooches Women Vintage Trendy Charm Shawls](https://img.lazcdn.com/g/p/e8bfdf9d3510ecdebb637f24ca5c8235.jpg_300x300q80.jpg)
[Towering Pride] Silk Scarf Clip 2021 New Design Brooches Women Vintage Trendy Charm Shawls
Fashionable 925 Sterling Silver Green Avocado Earrings for Women Simple Elegant Personality Jewelry Hoops Ear Cuff

2M*2M Parasol Awnings Garden Patio Umbrella Sun Shade Square Retractable Outdoor Umbrella
2025 145cm Long Design Solid Women Scarf Luxury Silk Scarf Fashion Hair Headband Foulard Neckerchief Hijab Headband Hair Ribbon
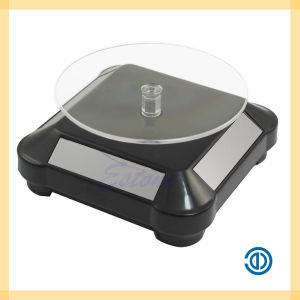
KI Solar Showcase 360 Turntable Rotating Jewelry Watch Ring Display Stand 037
Wide Headbands For Women Comfortable Elastic Hair Bands Breathable Workout Headbands For Fitness And Outdoor Activities
![[KUNLIAN] Outdoors Anti-UV Visor Sun Hat Men Women Foldable Solar Protection Portable Face Cover Shield Sunshade Cap Summer Sun Hats](https://img.lazcdn.com/g/p/f6a0d67c95598b30c7fc5fdf22782001.jpg_300x300q80.jpg)


